Crochet Under-Shelf Hanging Basket Pattern (Free & Easy)
A free, beginner-friendly pattern for a charming under-shelf hanging basket, designed to store small items with easy-to-follow steps.
Published October 5, 2026 · by Lina
- Skill level
- Beginner
- Yarn weight
- Worsted (4)
- Hook size
- 5 mm (H-8)
- Time
- 5 hours
- Gauge
- 12 dc and 7 rows = 10 cm
- Yardage
- about 180 yards
- Sizes
- 30 × 15 cm (12 × 6 in)
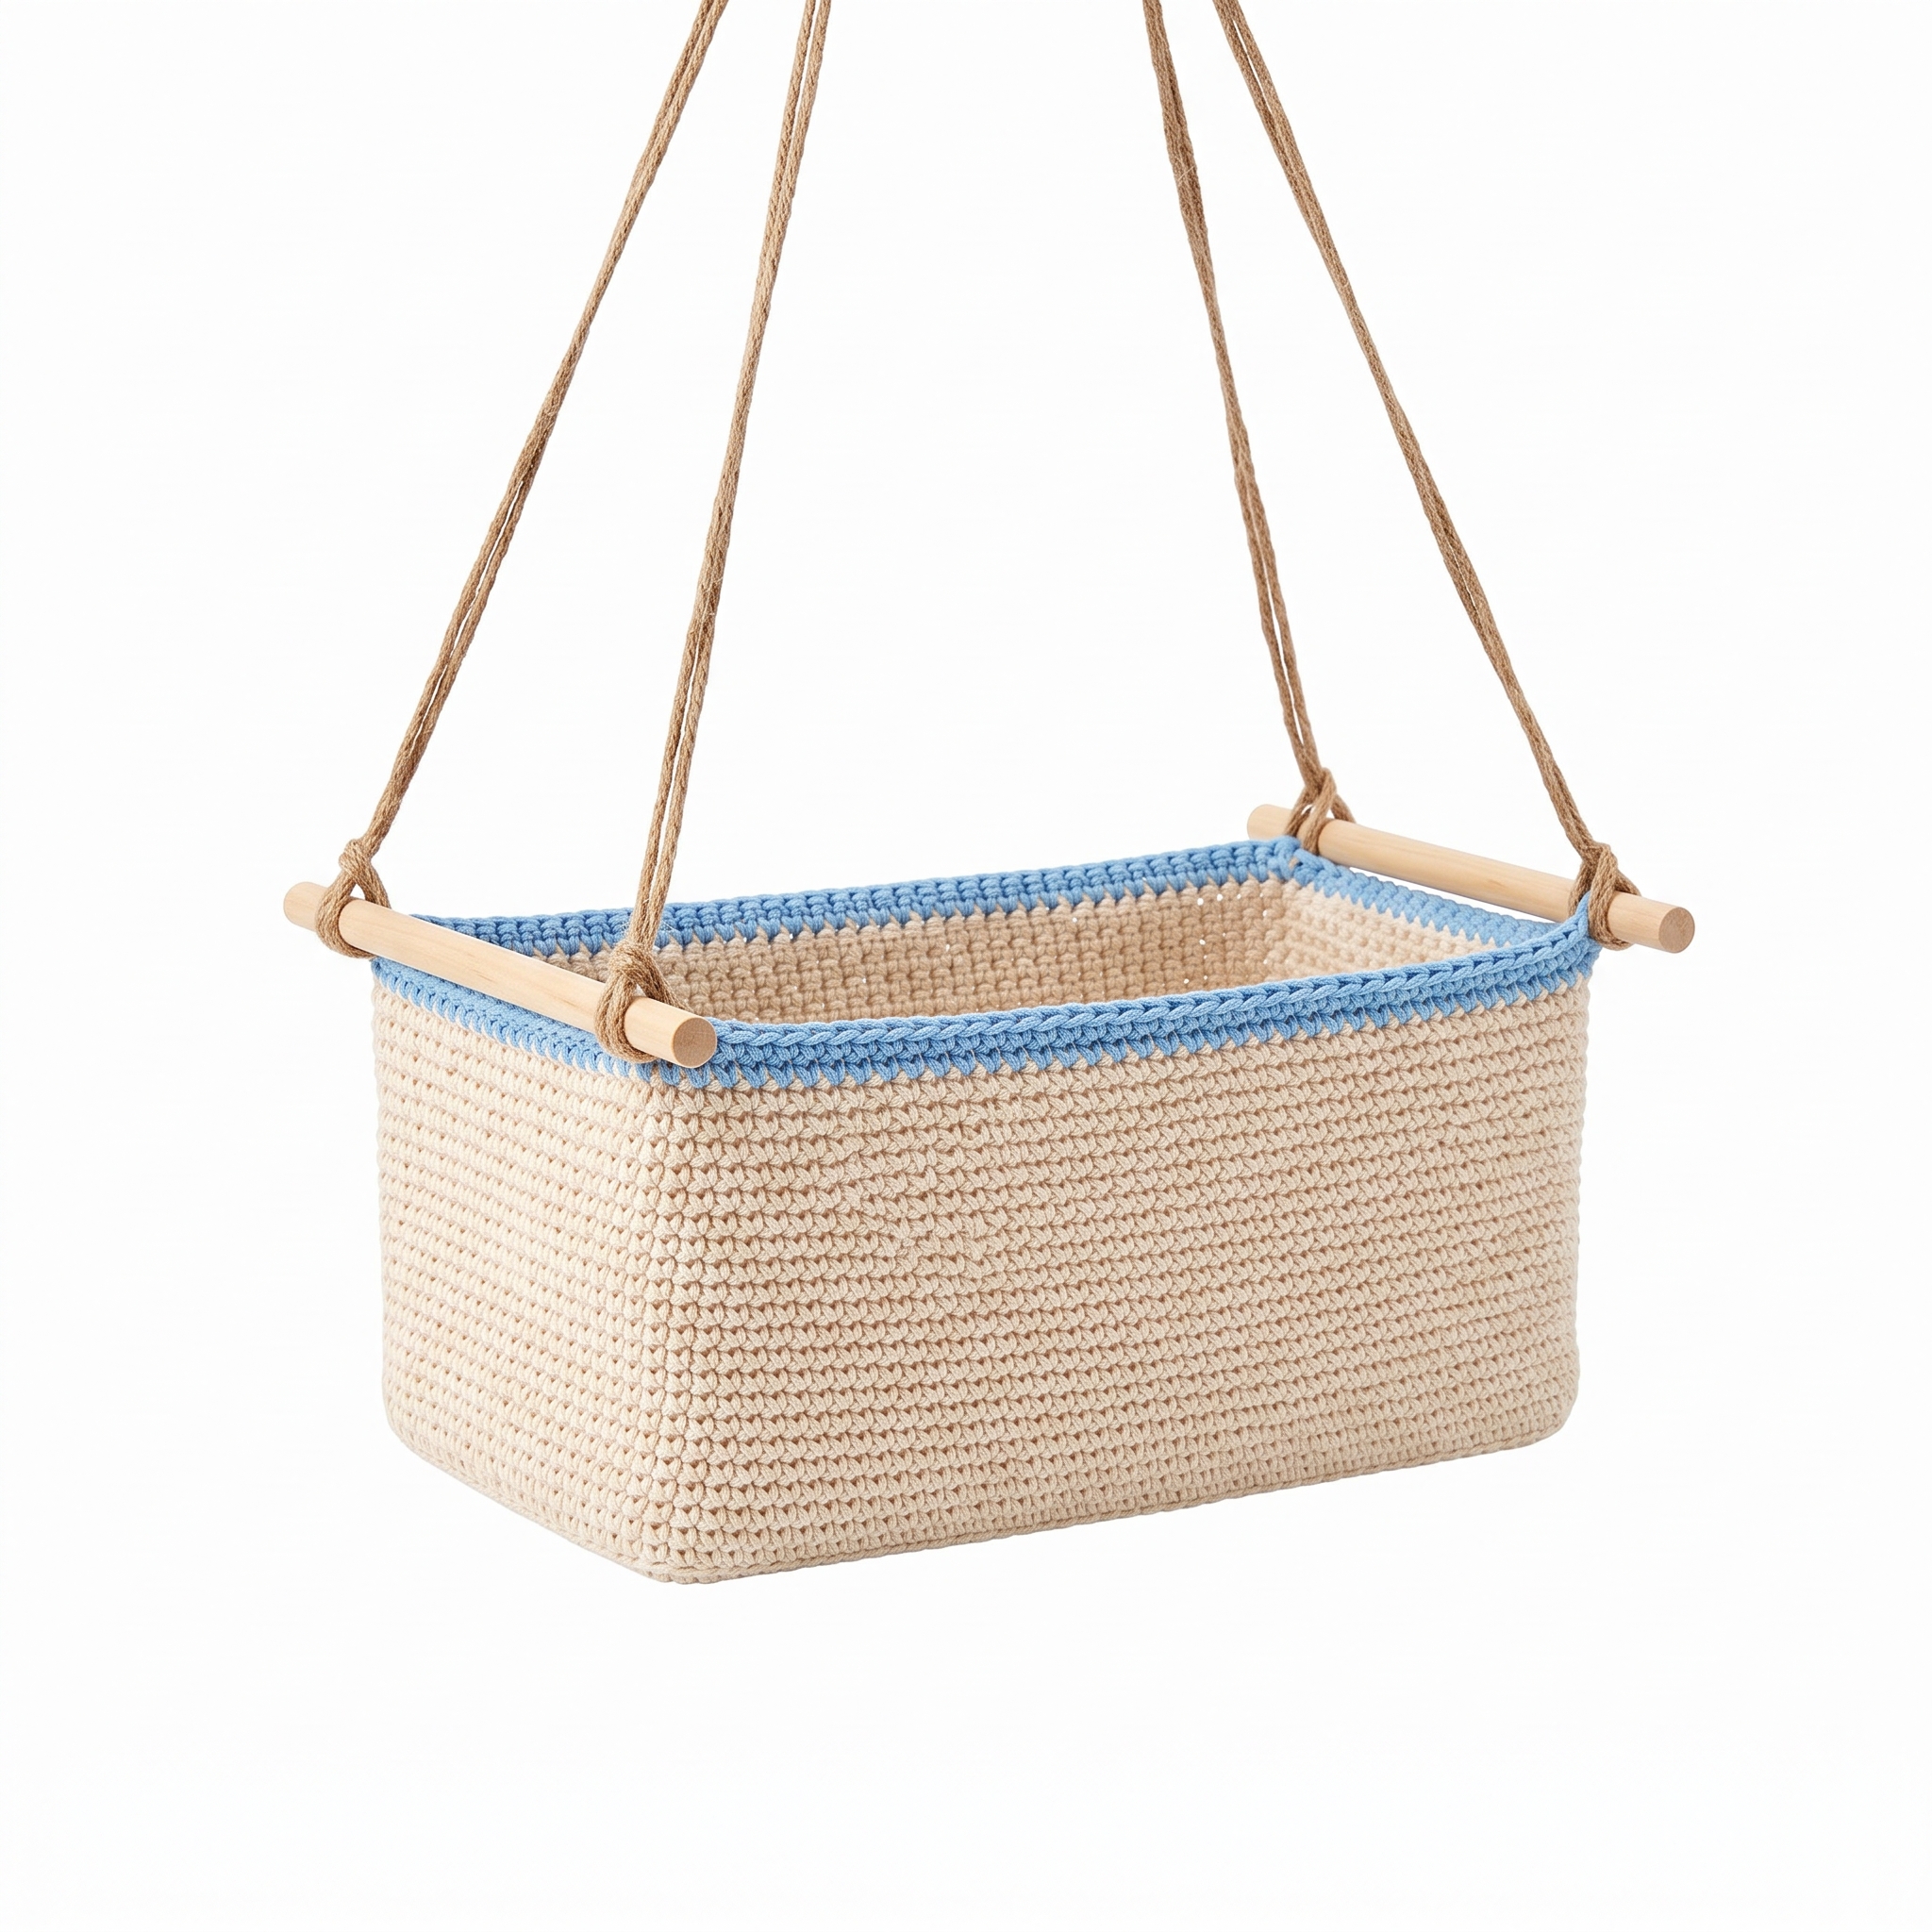
This under-shelf hanging basket crochet pattern makes a practical and charming addition to your home. The Shelf Sling is easy and satisfying to make, using basic stitches like double crochet and single crochet. You'll enjoy creating a useful item while practicing your crochet skills.
This pattern is perfect for beginners. It's straightforward and allows you to learn as you go. Plus, you'll have a neat solution for organizing your small belongings!
Why You'll Love This Shelf Sling
- Quick project – you can finish it in about 5 hours.
- Adjustable height – perfect for different shelf sizes.
- Useful for storage – great for small items like craft supplies or kitchen utensils.
- Beginner-friendly – clear, easy-to-follow instructions make it simple to create.
Is This Pattern Good for Beginners?
Yes! The Shelf Sling uses basic stitches like chains, double crochets, and single crochets. You'll also learn how to work in rows and rounds, making it a fantastic choice as your first crochet project.
Crochet Abbreviations (US Terms)
- ch – chain
- dc – double crochet
- sl st – slip stitch
- sp – space
Size and Gauge
- Finished size: 30 cm (12 in) wide, 15 cm (6 in) deep, adjustable height.
- Gauge: 12 dc and 7 rows = 10 cm (4 in).
To measure gauge correctly, make a swatch of 15 stitches and 10 rows. If your gauge differs, adjust your hook size.
Step 1: Make the Base
The base is worked flat in rows.
- With Color A, create a slip knot and ch 36.
- Row 1: Starting in the 4th ch from the hook, dc in each ch across. (34 dc)
- Row 2: Ch 3 (counts as dc), turn, dc in each dc across. (34 dc)
- Repeat Row 2 until you have 12 rows total.
- Fasten off and weave in ends.
Step 2: Create the Sides
The sides are worked in rows.
- With the right side facing, attach Color A to the starting edge of the base.
- Row 1: Ch 3 (counts as dc), dc in each stitch across. (34 dc)
- Row 2: Ch 3, turn, dc in the first dc, dc in the next dc, 2 dc in the next repeat around. (51 dc total)
- Rows 3–6: Ch 3, turn, dc in each dc across. (51 dc)
- Fasten off and weave in ends.
Step 3: Finish the Top Edge
We'll now work on the top edge.
- With the right side facing, attach Color B.
- Round 1: Ch 1, sc evenly around the top edge, placing 3 sc in each corner (about 60 stitches). Join with sl st.
- Round 2: Ch 1, sc in each stitch around. Join with sl st. (60 sc)
- Fasten off and weave in ends.
Step 4: Finishing
- Insert wooden or metal dowels through the top edge of the basket.
- Cut four 20-inch lengths of jute or cotton cord. Tie each cord at the ends of the dowels to create hanging loops.
Beginner Tips for a Neat Shelf Sling
- Use stitch markers to mark the start of each row to keep track of your progress.
- Count your stitches after each row to avoid mistakes.
- Keep your tension consistent; this will help the basket stand up correctly.
Common Mistakes (and How to Fix Them)
- "My basket is uneven." – Check your stitch count on each row. Rip back if needed and recount your stitches.
- "The height is not adjustable." – Ensure you haven’t tied the cords too short. You can untie knots and cut longer lengths if necessary.
- "I can’t get the edges to look neat." – Make sure you’re placing the correct number of stitches in the corners during the top edge round.
How to Care for Your Shelf Sling
Wash gently by hand or on a delicate machine cycle. Lay flat to dry to keep its shape.
FAQ
How do I adjust the size of the basket?
To make a larger basket, add more chains in the base and repeat rows for added height.
Can I use different yarn for this project?
Yes! You can substitute with another worsted weight yarn, but be mindful of your gauge.
How long will this project take?
It should take about 5 hours in total, depending on your pace.
Want a matching set? Pair it with our crochet coasters or see all our free crochet storage patterns.
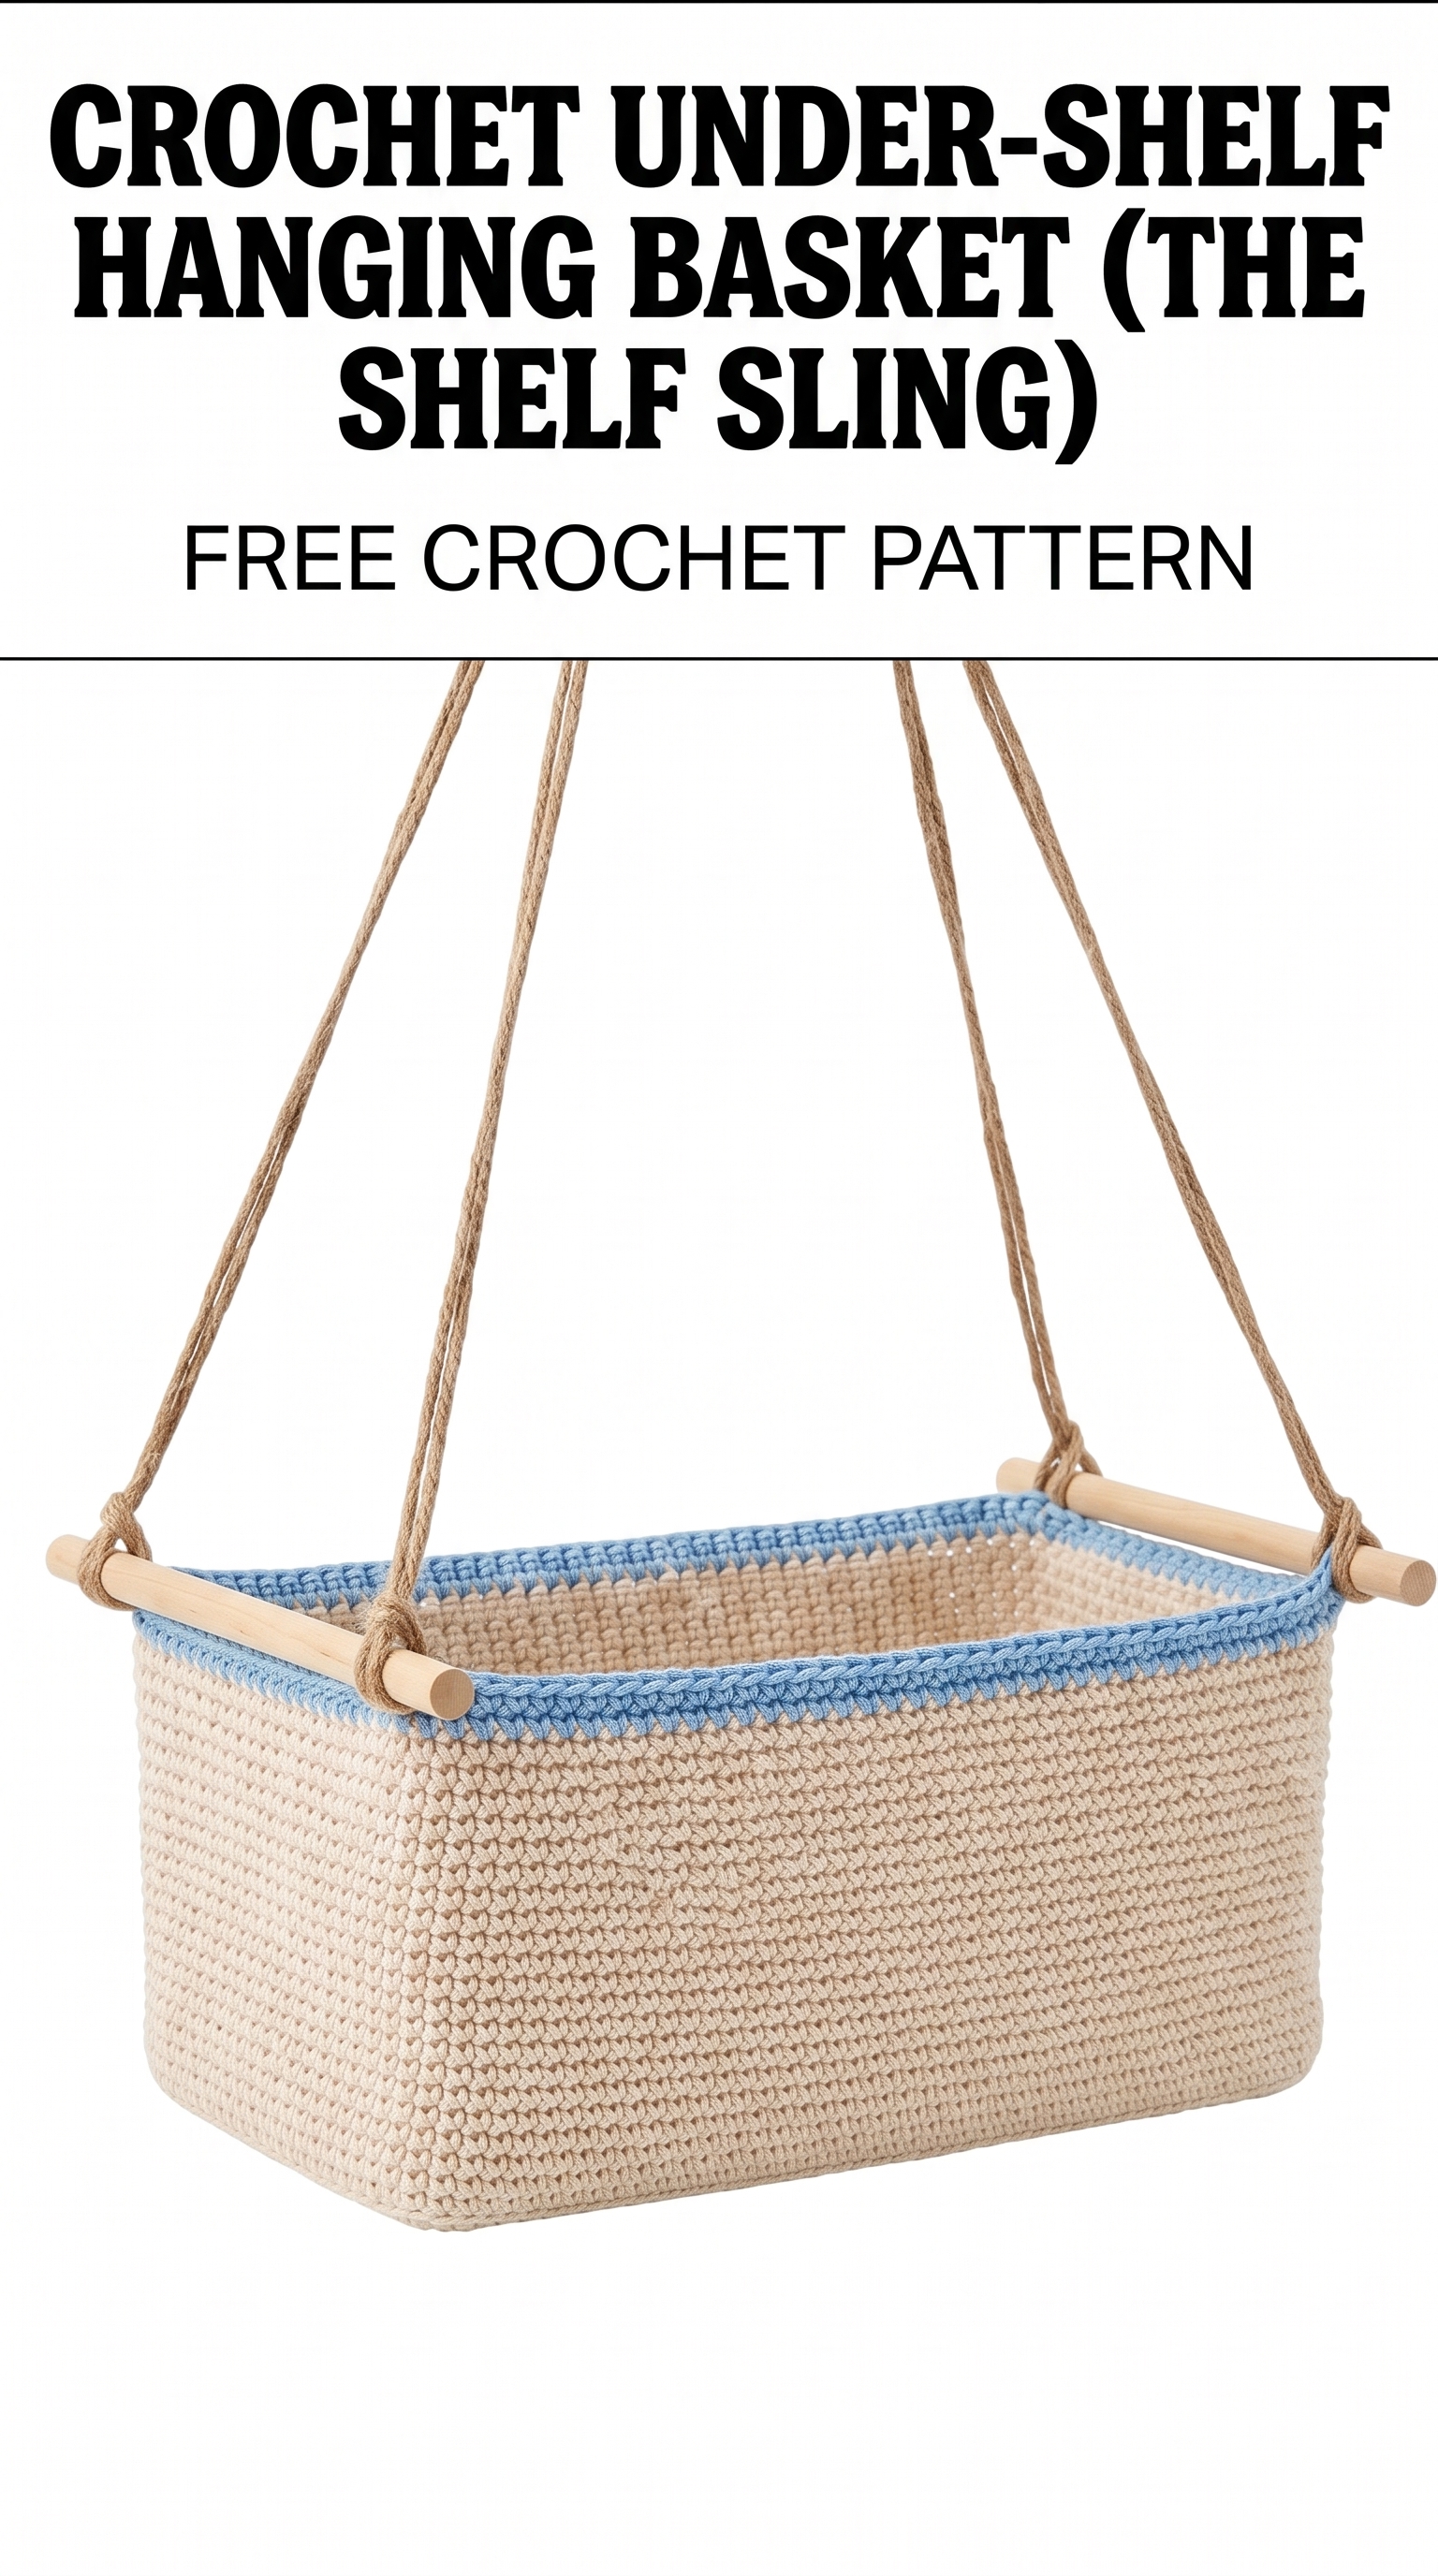
Image shown for inspiration — your finished result may vary slightly.