Extra Large Crochet Blanket Storage Basket Free Pattern
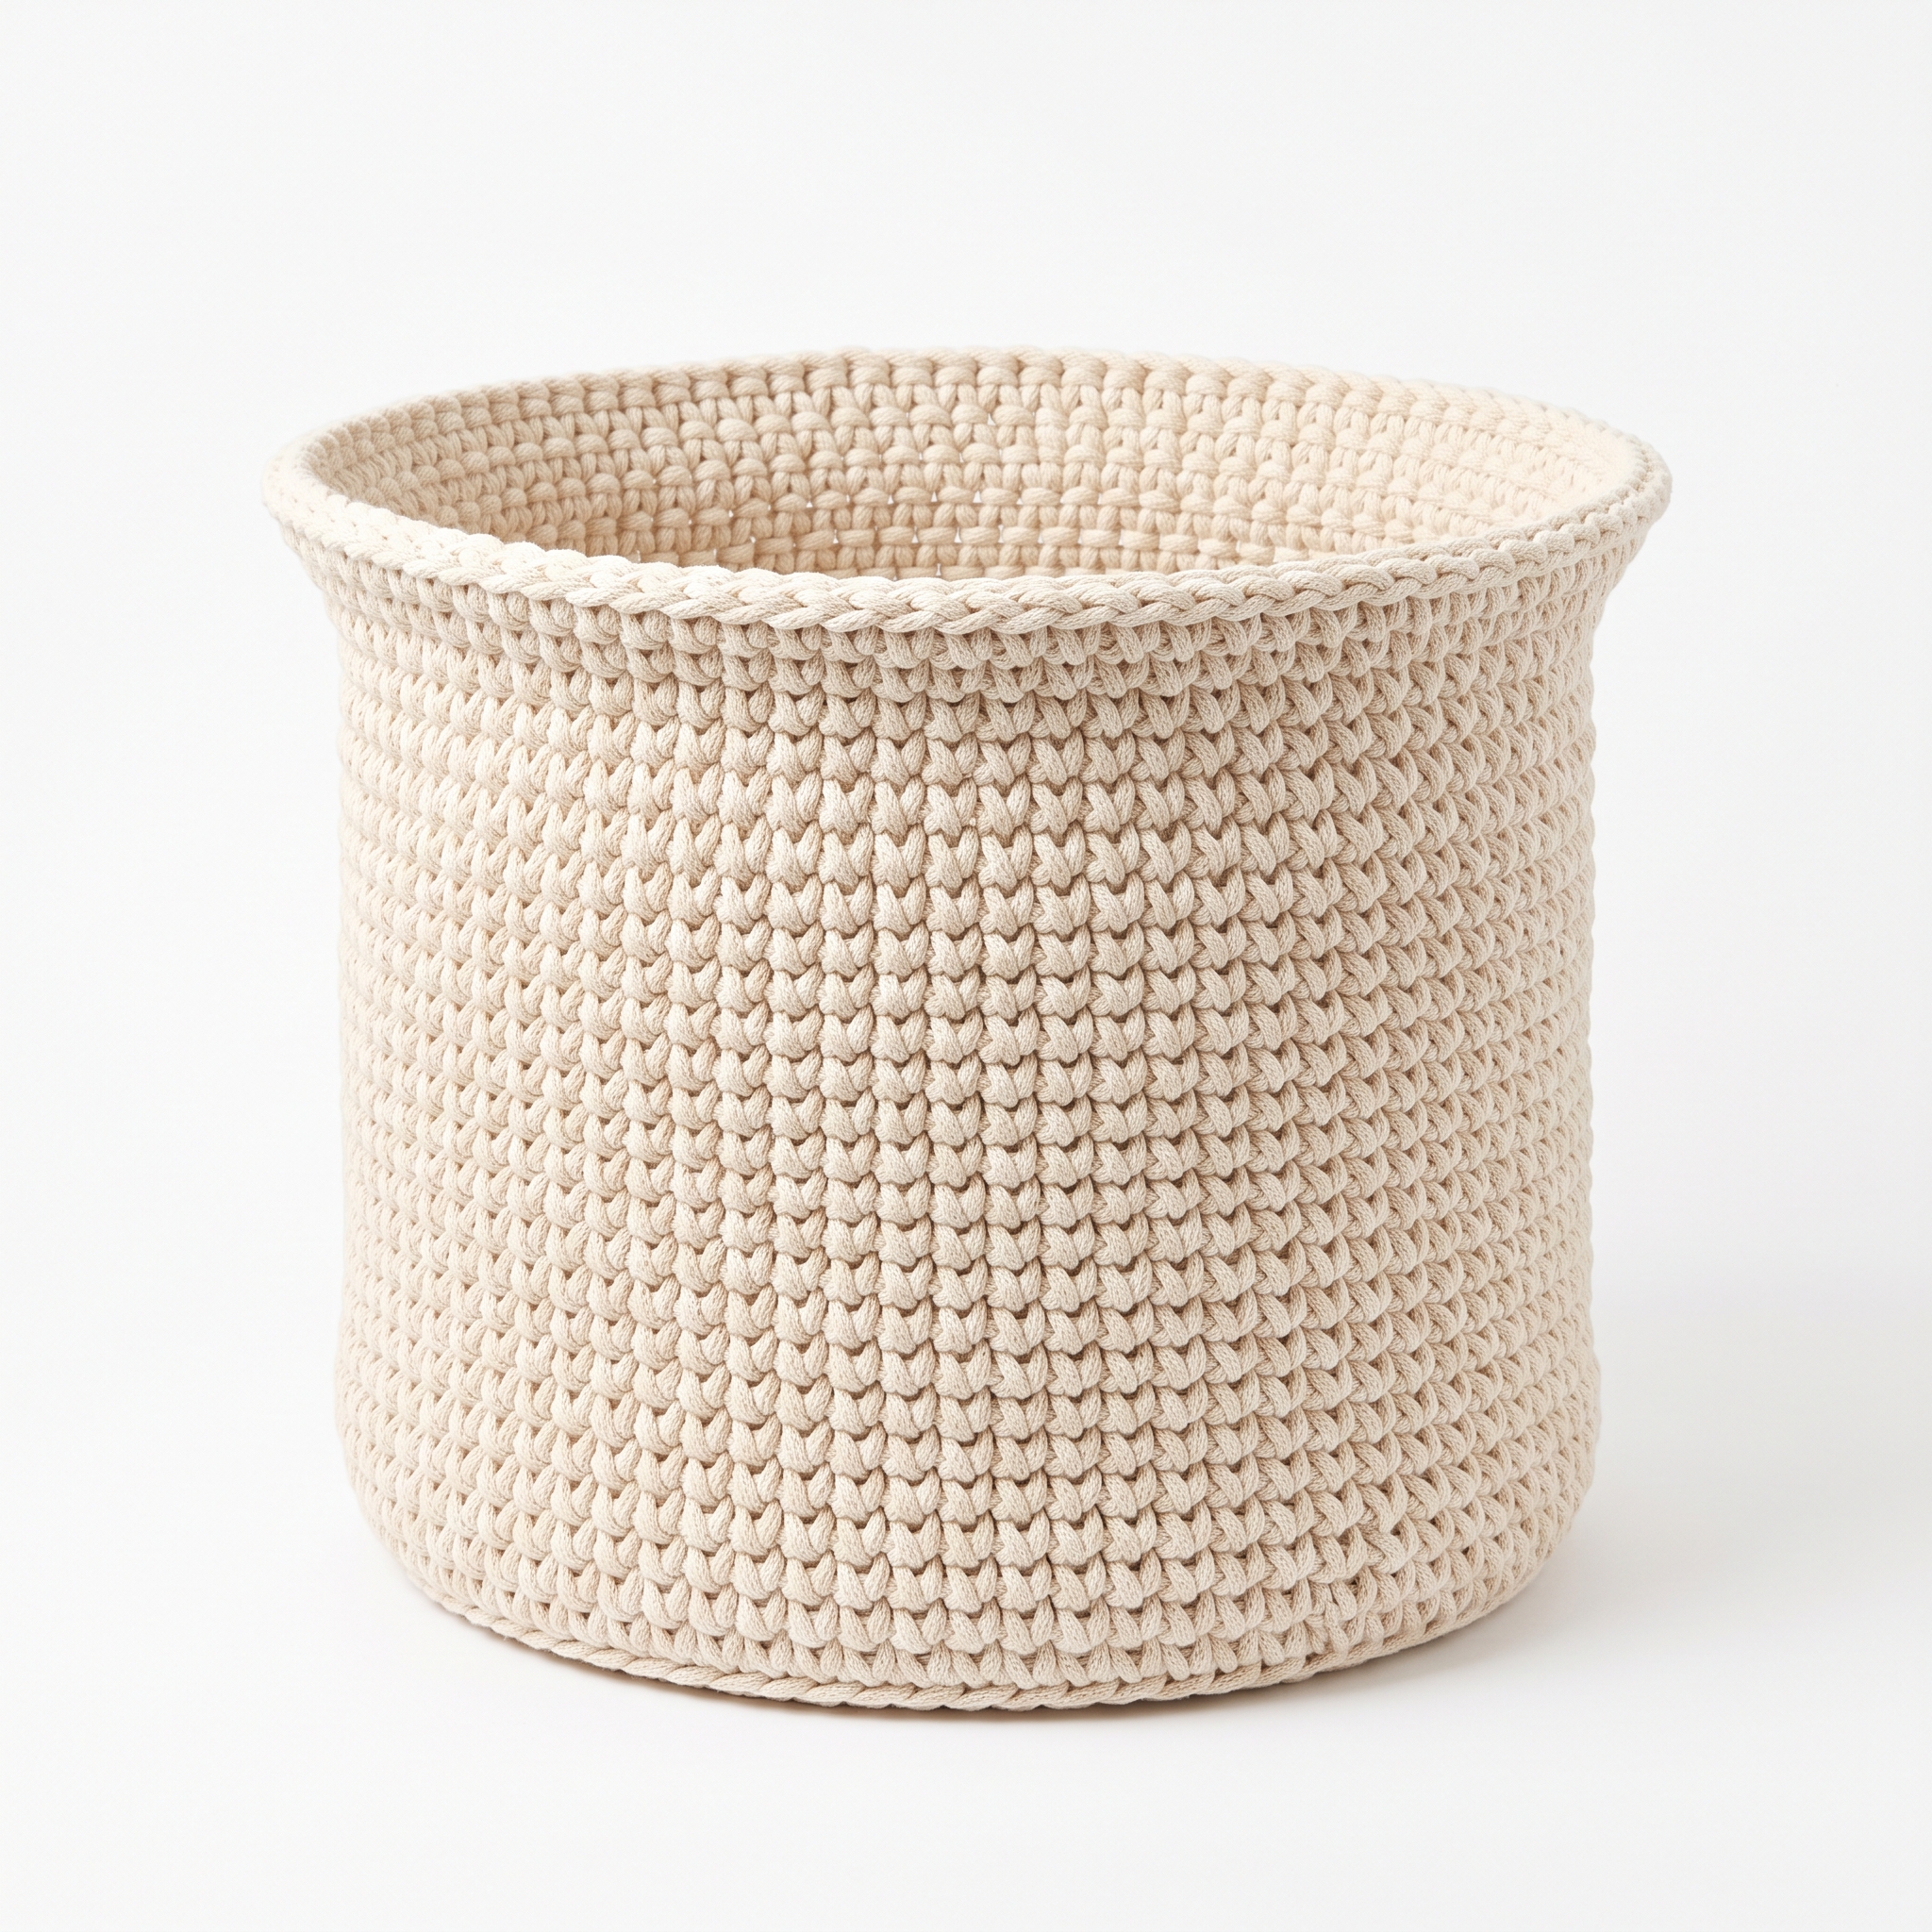
Welcome! Today, we’re going to make a beautiful Extra Large Crochet Blanket Storage Basket. This basket is not only functional for storing blankets or toys but also adds a lovely touch to your home decor. Don’t worry, this pattern is beginner-friendly, and I’ll guide you through every step!
Published October 5, 2026 · by Lina
- Skill level
- Beginner
- Yarn weight
- Bulky
- Hook size
- 10 mm (N/P-15)
- Time
- 5-6 hours
- Yardage
- 500 yards of main color (Natural) and 200 yards of accent color (Charcoal Grey).
- Sizes
- Approximately 16 inches (40 cm) tall and 20 inches (50 cm) wide at the top.
Welcome! Today, we’re going to make a beautiful Extra Large Crochet Blanket Storage Basket. This basket is not only functional for storing blankets or toys but also adds a lovely touch to your home decor. Don’t worry, this pattern is beginner-friendly, and I’ll guide you through every step!
HERO IMAGE PLACEHOLDER
WHY YOU'LL LOVE THIS PATTERN
This pattern is great for beginners because it uses simple stitches and straight forward rounds. Plus, you can make it in about 5-6 hours! The result is a useful and stylish storage solution that you can customize with your favorite colors. You’ve got this!
TABLE OF CONTENTS
- What You'll Need
- Stitches You'll Use in This Pattern
- Pattern Details
- Abbreviations
- Special Stitches
- Let's Get Started: Full Pattern Instructions
- Assembly / Putting It All Together
- Finishing
- FULL RECIPE-CARD-STYLE SUMMARY BOX
- What's Next?
What You'll Need
Here’s what you’ll need to get started:
Yarn:
- Bulky (Category 5) weight yarn is perfect for this project. It's thick and easy to see your stitches.
- You will need:
- Natural: 500 yards (457 m) for the main color.
- Charcoal Grey: 200 yards (183 m) for the accent.
Crochet Hook:
- 10 mm (N/P-15) hook is needed for creating the body of the basket. This size will work well with the bulky yarn.
Stitch Markers (optional but helpful):
- These little tools mark your stitches and help keep track of where you’re at, especially as you increase in the rounds.
Scissors:
- To cut your yarn when you finish.
Yarn/Tapestry Needle:
- This is used for weaving in ends once your basket is complete.
Stiff interfacing (optional):
- About 1 yard can be used if you want extra structure for your basket.
Pins (if using interfacing):
- These will hold the interfacing in place as you crochet.
Blocking mats or boards (optional):
- If you wish to shape your basket after finishing.
Stitches You'll Use in This Pattern
You will be using the following stitches, which I will explain in detail:
ch (chain):
- This creates little loops at the beginning of your work. To make it, hold your yarn and use the hook to pull a loop through the yarn, forming a chain.
sc (single crochet):
- This is a basic stitch. To make an sc, insert your hook into the stitch, yarn over (wrap yarn around your hook), pull through. You will have two loops on your hook. Yarn over again and pull through both loops.
st(s) (stitch(es)):
- This just refers to where you are working.
inc (increase):
- This means you will put two sc in the same stitch. This is how we will make our basket wider.
sl st (slip stitch):
- We use this to join rounds or stitch items together. Insert your hook into the stitch, yarn over, pull through and immediately pull through the loop on your hook.
Pattern Details
- Skill Level: Beginner
- Finished Size: Approximately 16 inches (40 cm) tall and 20 inches (50 cm) wide at the top.
- Time to Complete: 5-6 hours
- Yarn Amounts: 500 yards of main color (Natural) and 200 yards of accent color (Charcoal Grey).
- Terms: This pattern uses US crochet terms.
Abbreviations
- ch = chain
- sc = single crochet
- sl st = slip stitch
- st(s) = stitch(es)
- inc = increase (2 sc in the same stitch)
Special Stitches
There are no unusual stitches in this pattern; we will be using the basic stitches and techniques explained above.
Let's Get Started: Full Pattern Instructions
Base
- Ch 4, then join with a sl st to form a ring. (1 st)
- Round 1: Ch 1, then make 8 sc into the ring. After that, join with a sl st to the first sc. (8 sts)
- Round 2: Ch 1, then make 1 inc in each st around. Join with a sl st. (16 sts)
- Round 3: Ch 1, then make 1 sc in the next st, 1 inc in the next st; repeat around. Join with a sl st. (24 sts)
- Round 4: Ch 1, then make 1 sc in the next 2 sts, 1 inc in the next st; repeat around. Join with a sl st. (32 sts)
- Round 5: Ch 1, then make 1 sc in the next 3 sts, 1 inc in the next st; repeat around. Join with a sl st. (40 sts)
- Round 6: Ch 1, then make 1 sc in the next 4 sts, 1 inc in the next st; repeat around. Join with a sl st. (48 sts)
Sides
- Round 7-17: For these rounds, ch 1, then make 1 sc in each st around. Join with a sl st. (48 sts)
- You will repeat this for a total of 11 rounds to reach a height of about 16 inches (40 cm). The basket should be taking shape and looking sturdy.
Top Edge
- Round 18: Ch 1, then make 1 sc in the next 4 sts, 1 inc in the next st; repeat around. Join with a sl st. (60 sts)
- Round 19: Ch 1, then make 1 sc in each st around. Join with a sl st. (60 sts)
Assembly / Putting It All Together
Optional: If you decided to use the interfacing for structure, now is the time to cut it to size. You will need a piece for the base and a long piece for the height of the sides. Pin it in place as you crochet the sides so it stays securely placed.
Take your tapestry needle and weave in all the ends of your yarn. This is simply inserting your needle into the stitches to ‘hide’ the yarn ends so your project looks neat.
To finish your basket, lightly spray it with water to help reshape it. Gently mold it into the desired shape and let it dry. This will help it hold its structure better.
Finishing
Weave in Ends:
- Use your tapestry needle to thread the loose yarn ends back into the stitches of your basket. This keeps your work neat and tidy.
Blocking (optional):
- If desired, lay your finished basket on blocking mats or boards to help it keep its shape. Blocking is simply the process of shaping your crochet pieces and allowing them to dry in that shape.
FULL RECIPE-CARD-STYLE SUMMARY BOX
- Title: Extra Large Crochet Blanket Storage Basket
- Yield: 1
- One-line description: A stylish and functional storage solution for your home.
- Full materials list:
- Bulky yarn: 500 yards Natural, 200 yards Charcoal Grey
- 10 mm (N/P-15) crochet hook
- Tapestry needle, scissors, (optional) stiff interfacing
- Full tools list:
- Stitch markers, pins, blocking mats (optional)
- Full numbered instructions:
- Ch 4, sl st to form a ring. (1 st)
- R1: Ch 1, 8 sc in ring, sl st. (8 sts)
- R2: Ch 1, inc in each st, sl st. (16 sts)
- R3: Ch 1, sc, inc; repeat, sl st. (24 sts)
- R4: Ch 1, sc in 2, inc; repeat, sl st. (32 sts)
- R5: Ch 1, sc in 3, inc; repeat, sl st. (40 sts)
- R6: Ch 1, sc in 4, inc; repeat, sl st. (48 sts)
- Round 7-17: Ch 1, sc around, sl st. (48 sts)
- R18: Ch 1, sc in 4, inc; repeat, sl st. (60 sts)
- R19: Ch 1, sc around, sl st. (60 sts)
- Notes: Adjust the number of rounds or stitches for a smaller basket or use contrasting colors.
What's Next?
- Save this for later: Don’t forget to save this post on Pinterest so you can always find this lovely basket pattern!
- Leave a comment: If you have any questions or need help, please leave a comment. I’m here to help!
- Share your finished project: I'd love to see your basket when it's done! Share your project with me, I’m excited to see your creativity!
Enjoy crocheting your Extra Large Crochet Blanket Storage Basket, and remember: you can do this! Happy crocheting!
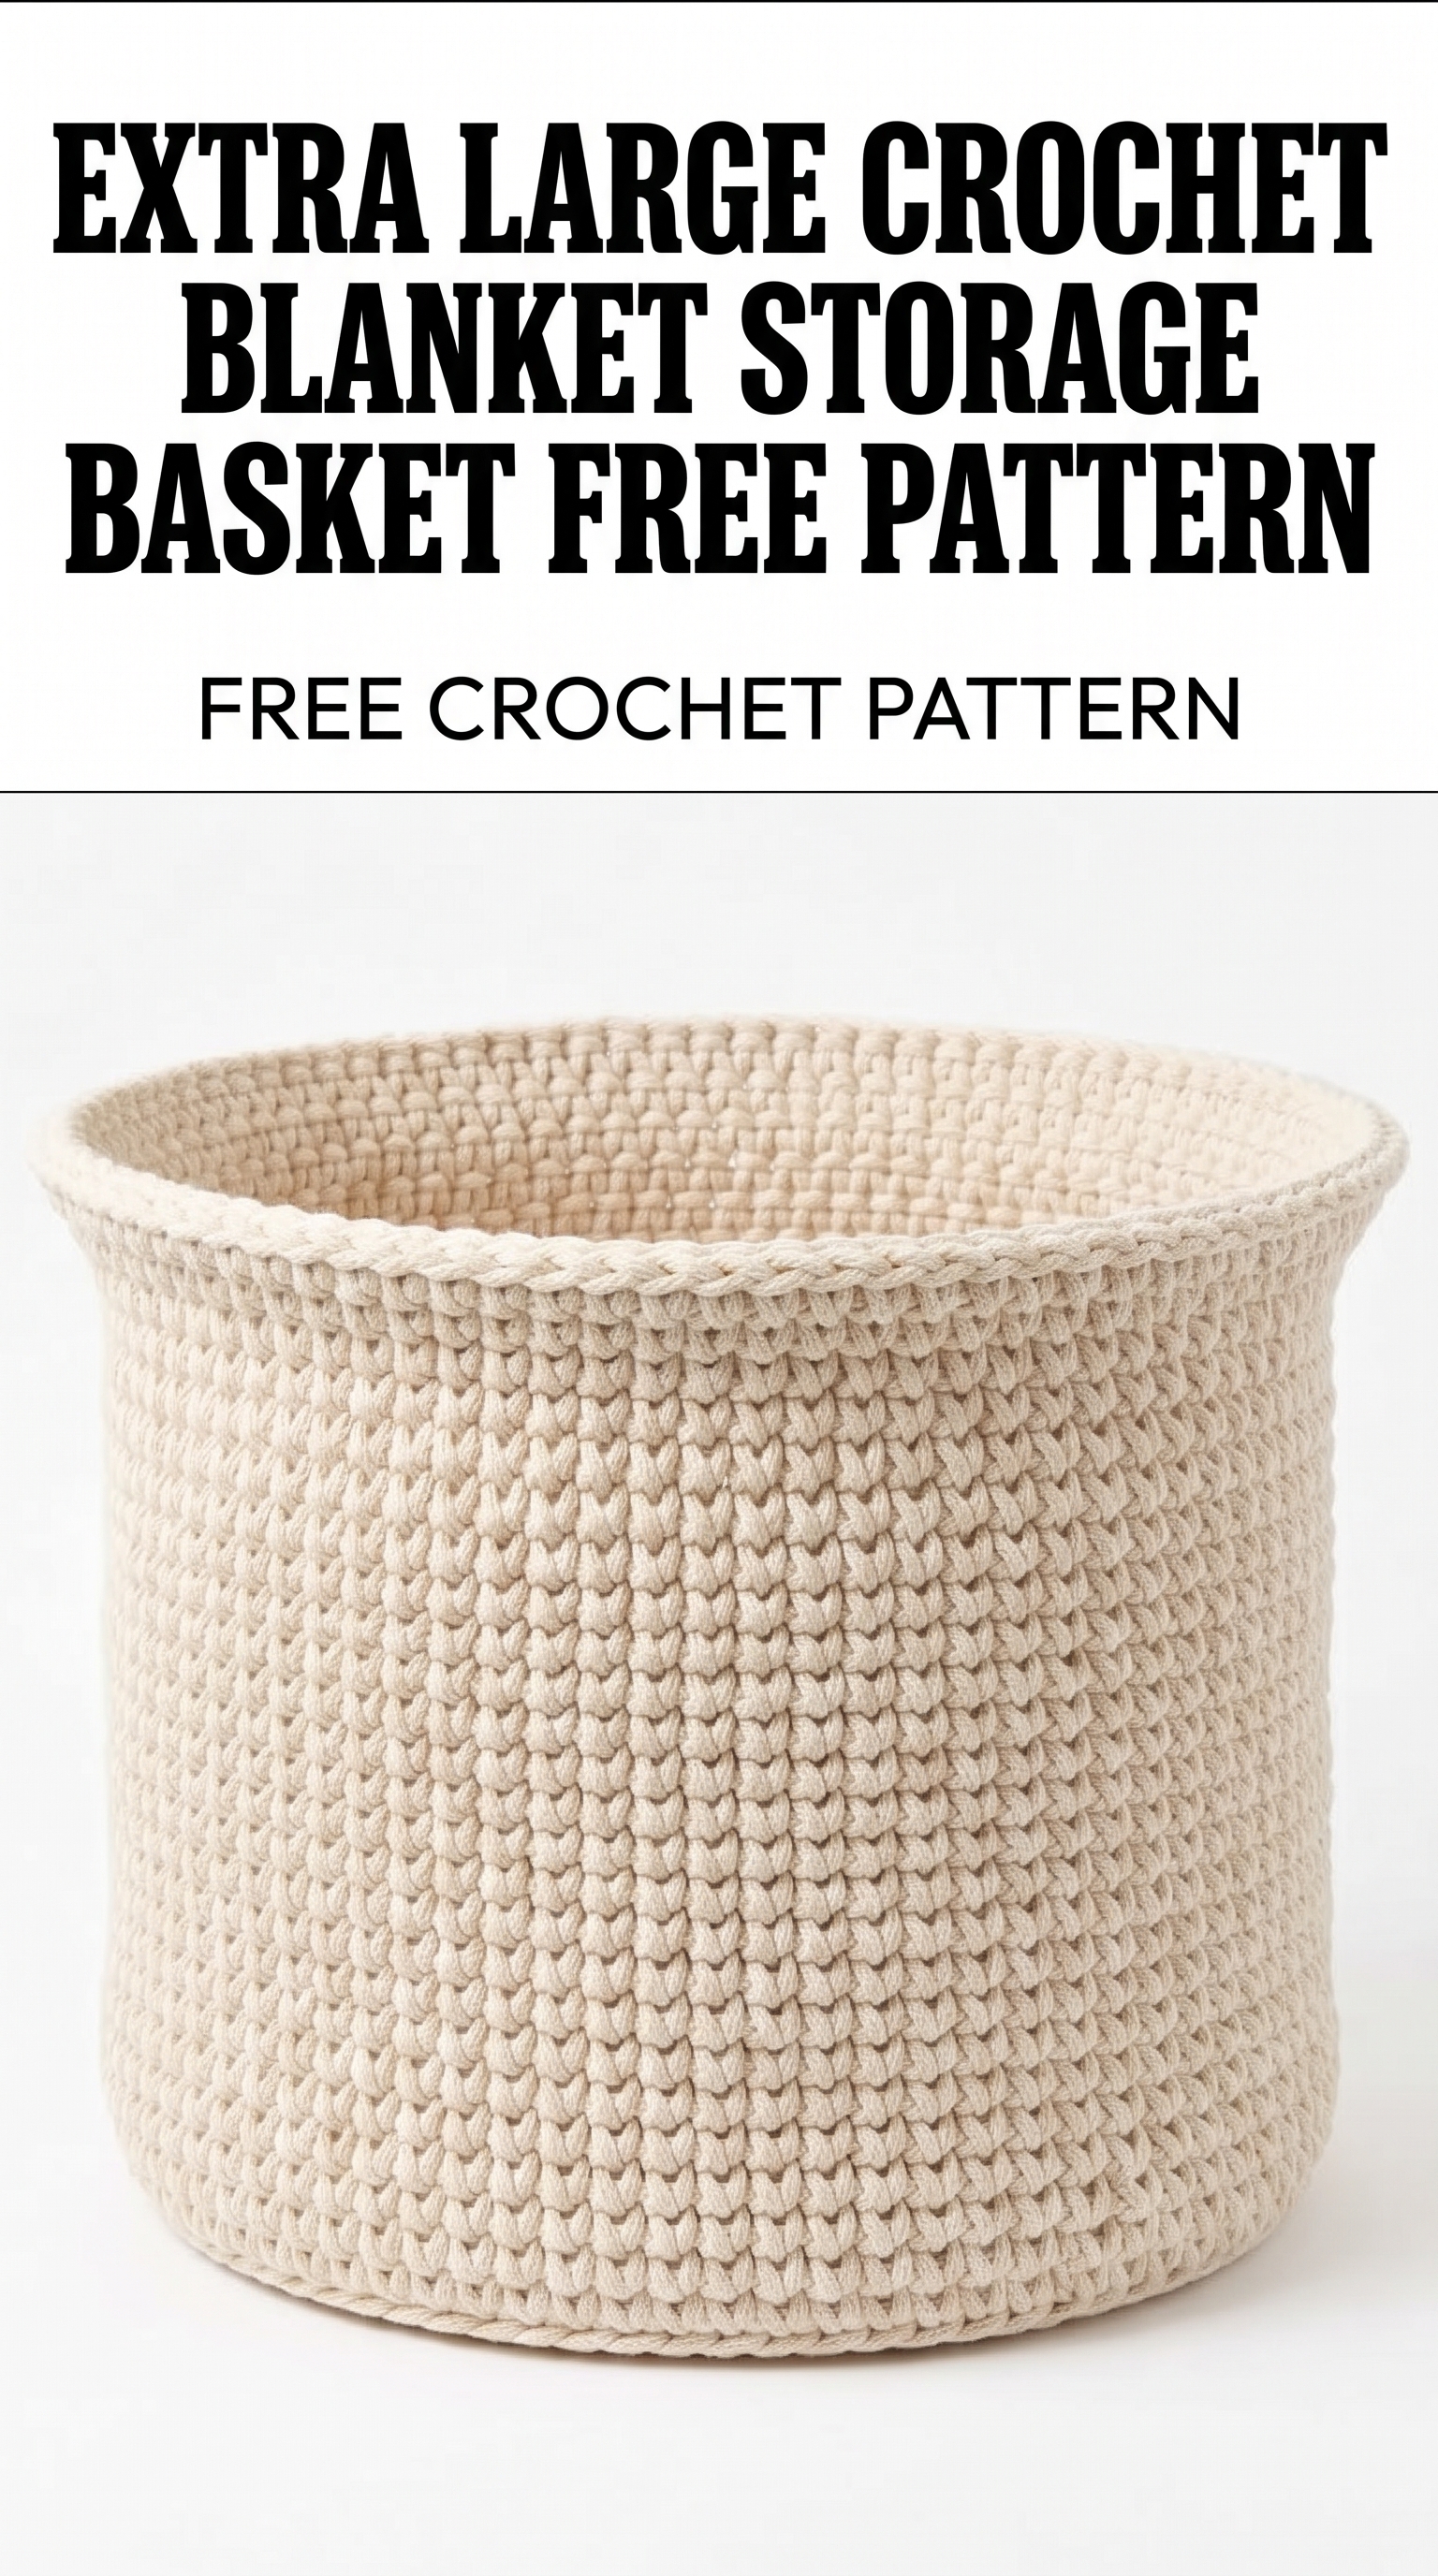
Image shown for inspiration — your finished result may vary slightly.