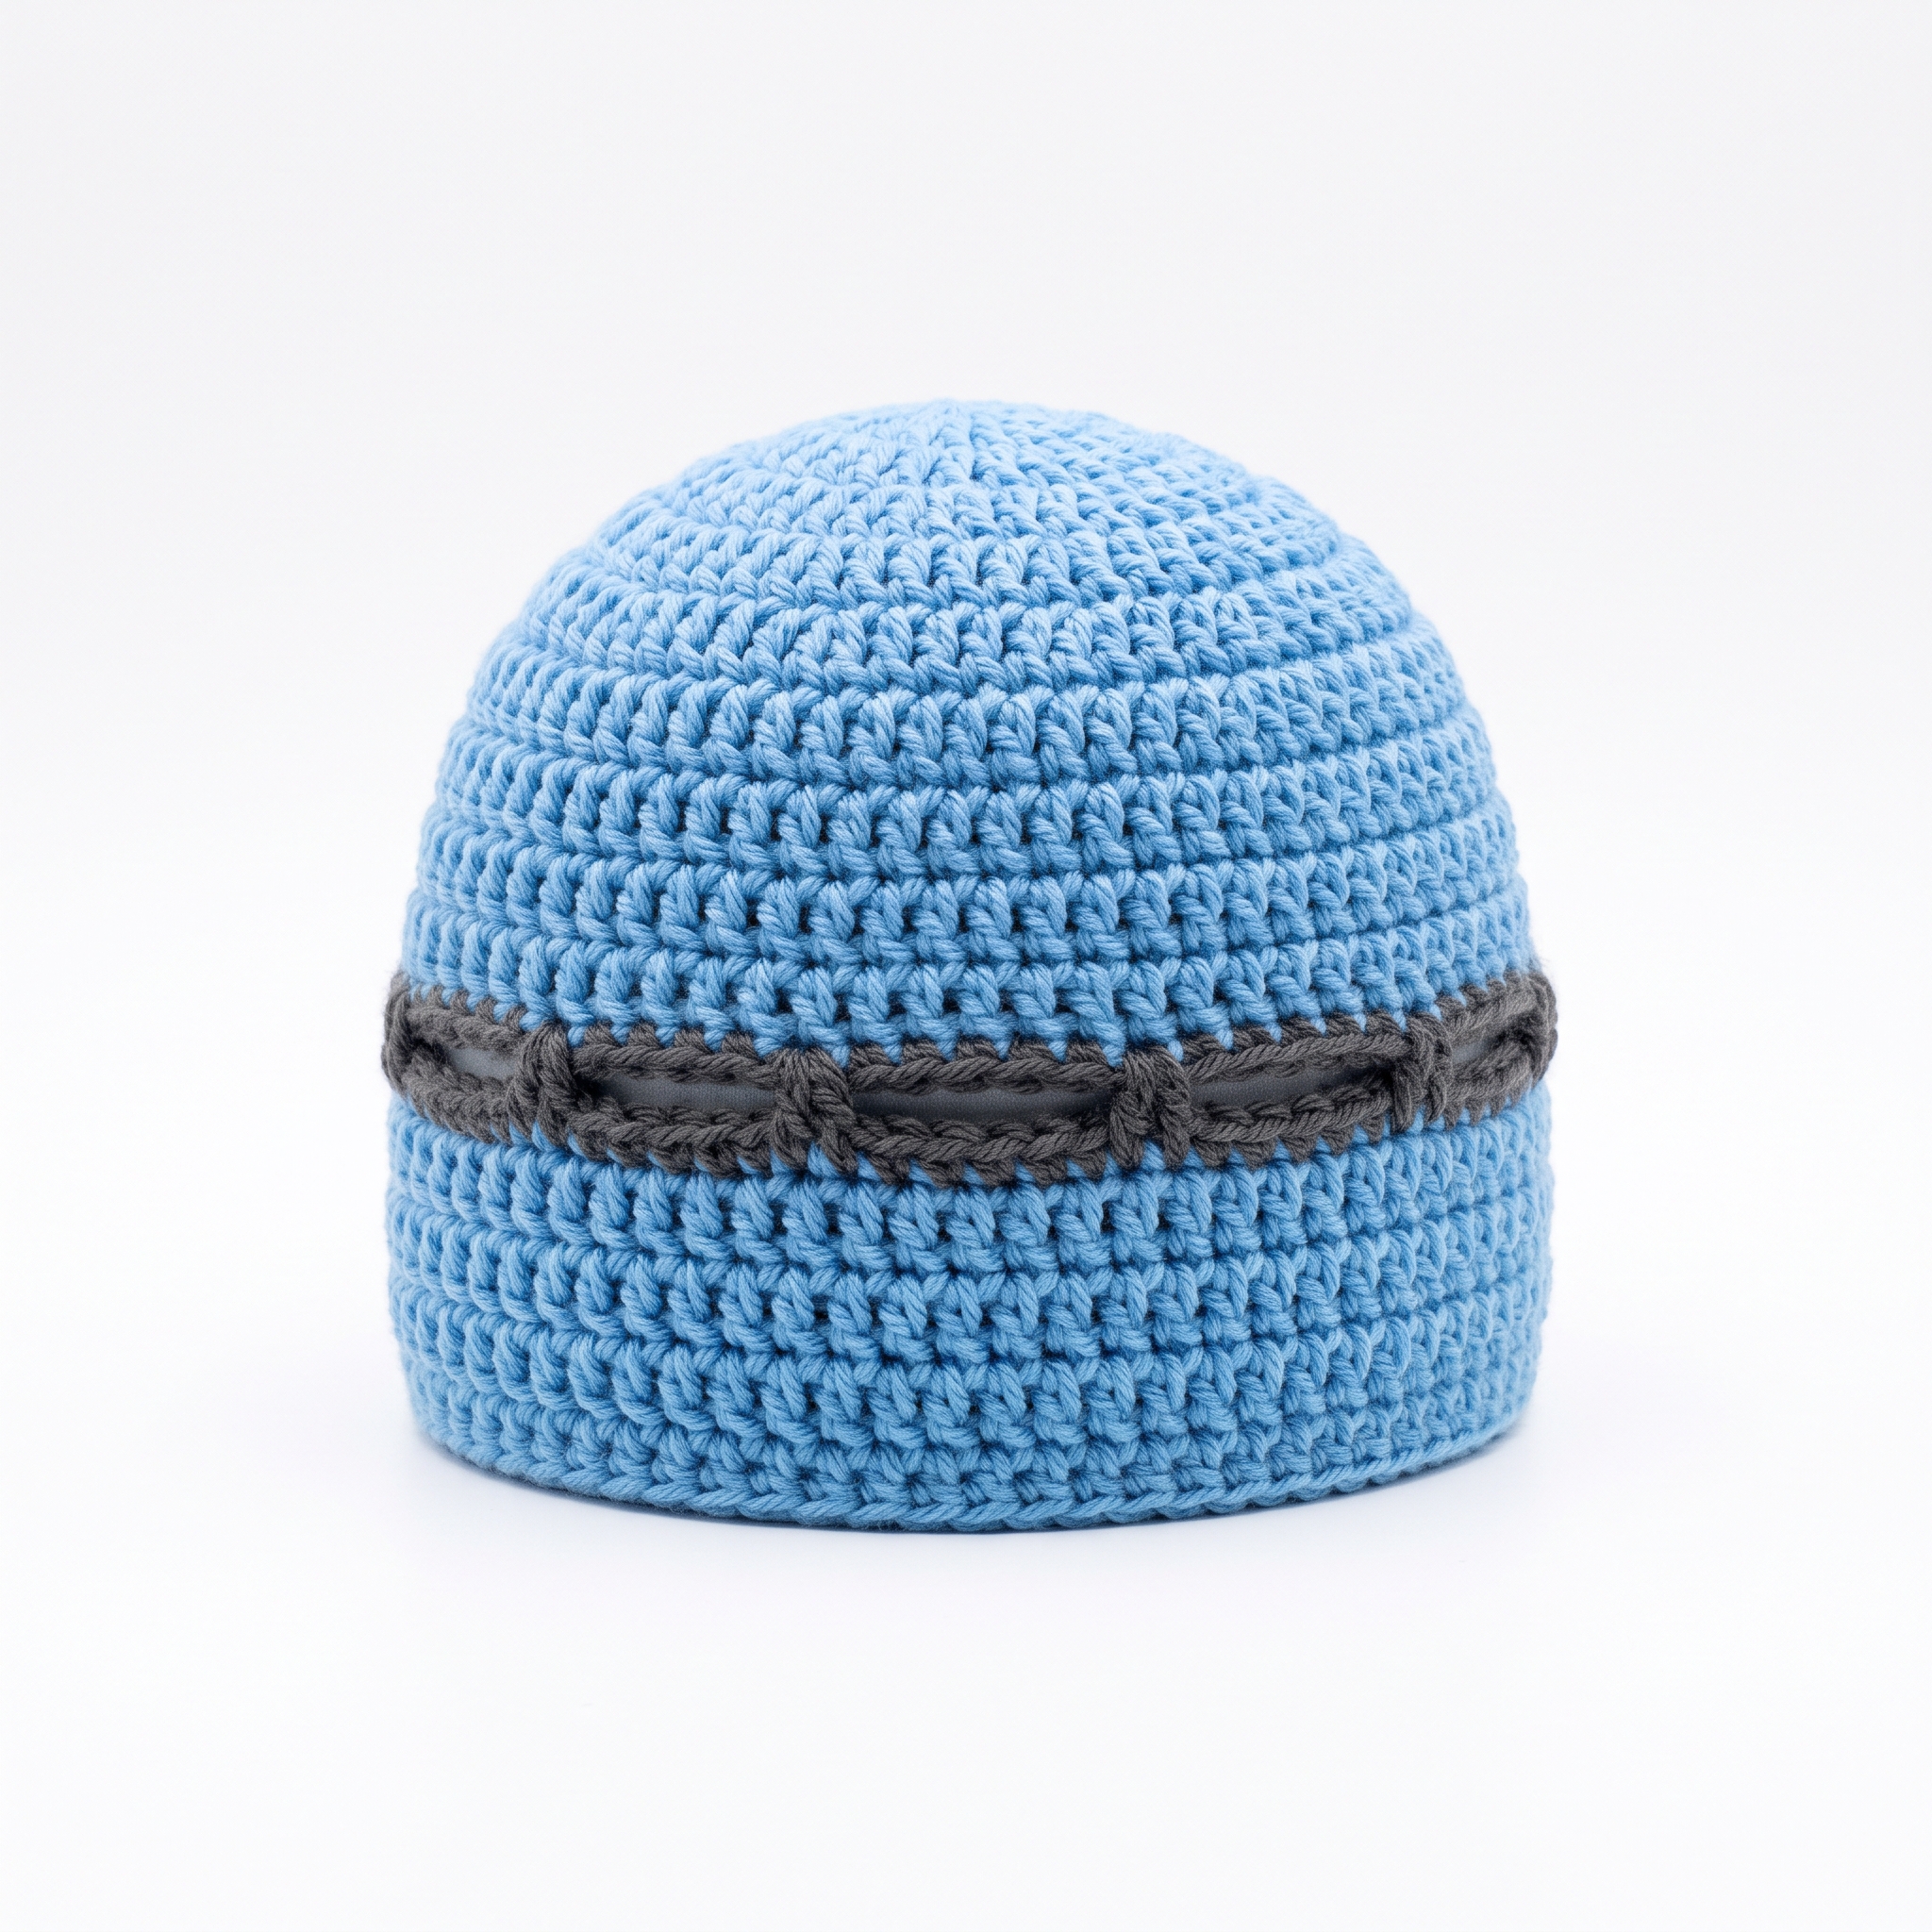
How to Crochet a Kids' Beanie With Glasses Slots (The Specs Beanie)
Welcome to your next crochet project! Today, we’re creating a charming and functional Specs Beanie that comes with special slots for glasses. This is perfect for little ones aged 4-10 who want to stay cozy while sporting their eyewear. Don't worry; this pattern is friendly for beginners!
Published October 5, 2026 · by Lina
- Skill level
- Beginner
- Yarn weight
- Worsted weight
- Hook size
- 5.5 mm (I-9, US size) crochet hook—this is the standard size for worsted weight yarn.
- Time
- About 2-3 hours.
- Sizes
- Approximately 18 inches in circumference and 8 inches in height.
Welcome to your next crochet project! Today, we’re creating a charming and functional Specs Beanie that comes with special slots for glasses. This is perfect for little ones aged 4-10 who want to stay cozy while sporting their eyewear. Don't worry; this pattern is friendly for beginners!
HERO IMAGE PLACEHOLDER
WHY YOU'LL LOVE THIS PATTERN
This beanie is a fantastic project for beginners, and it’s quick to make—taking about 2-3 hours total. Plus, it's a fun way to combine style with utility, helping kids rock their glasses comfortably. You've got this!
TABLE OF CONTENTS
- What You'll Need
- Stitches You'll Use in This Pattern
- Pattern Details
- Abbreviations
- Special Stitches
- Let's Get Started: Full Pattern Instructions
- Assembly / Putting It All Together
- Finishing
- Full Summary Box
- What's Next?
What You'll Need
Yarn:
- Worsted weight (category 4) yarn: This is a medium thickness yarn that is easy to see as you crochet.
- Choose the following colors:
- Main Color (MC): Sky Blue (approx. 150 yards)
- Contrast Color (CC): Dark Gray (approx. 50 yards)
Crochet Hook: 5.5 mm (I-9, US size) crochet hook—this is the standard size for worsted weight yarn.
Stitch Markers (optional but helpful): These help keep track of rounds as you crochet, making your work easier.
Scissors: To cut your yarn when you finish.
Yarn/Tapestry Needle: A large needle used to weave in any loose ends of yarn so your project looks neat.
Measuring Tape: For sizing the beanie and ensuring the correct fit.
Stitches You'll Use in This Pattern
Chain (ch): This creates the little loops that start your work. To make a chain, simply wrap the yarn around your hook and pull it through the loop already on the hook. Repeat for the number of chains needed.
Double Crochet (dc): This stitch creates height in your work. Here’s how to do it:
- Yarn over (wrap the yarn around your hook).
- Insert the hook into the stitch you’re working into.
- Yarn over again and pull the yarn back through the stitch (you’ll have three loops on your hook).
- Yarn over once more and pull through the first two loops (two loops remain).
- Yarn over again and pull through the last two loops (you’re left with one loop on the hook).
Slip Stitch (sl st): This is a joining stitch. To make a slip stitch:
- Insert your hook into the stitch.
- Yarn over and pull the yarn through the stitch and the loop on your hook at the same time.
Single Crochet (sc): This stitch is like a mini double crochet. Here’s how to do it:
- Insert your hook into the stitch.
- Yarn over and pull the yarn through (you’ll have two loops on your hook).
- Yarn over again and pull through both loops.
Pattern Details
- Skill Level: Beginner
- Finished Size: Approximately 18 inches in circumference and 8 inches in height.
- Time to Complete: About 2-3 hours.
- Yarn Amounts:
- Main Color: 150 yards
- Contrast Color: 50 yards
- Terms: This pattern uses US crochet terms.
Abbreviations
- ch = chain
- dc = double crochet
- sl st = slip stitch
- st(s) = stitch(es)
- sp = space
Special Stitches
- dc increase: To do this, you will work 2 double crochets in the same stitch. This helps build width in your beanie.
Let's Get Started: Full Pattern Instructions
Hat Body
Round 1
- Ch 4, sl st to the first ch to form a ring. (1 ring)
Round 2
- Ch 2 (this counts as the first dc), then 11 dc into the ring. Join with sl st to the top of the ch-2. (12 dc)
Round 3
- Ch 2, dc increase in the next st, dc in the next st, repeat from * to * around. Join with sl st. (18 dc)
Round 4
- Ch 2, dc increase in the next st, 2 dc in the next st, repeat from * to * around. Join with sl st. (24 dc)
Round 5
- Ch 2, dc increase in the next st, 3 dc in the next st, repeat from * to * around. Join with sl st. (30 dc)
Rounds 6-10
- Ch 2, dc in each st around. Join with sl st. (30 dc)
Round 11
- Ch 2, dc in the next 3 sts, ch 2 for glasses slot, skip the next 2 sts, repeat from * to * around. Join with sl st. (6 ch-2 spaces)
Rounds 12-15
- Ch 2, dc in each st and in each ch-2 space. Join with sl st. (30 dc)
Final Round
- Ch 1, sc in each st around. Join with sl st. (30 sc)
Beginner Tip: Remember, the chain-2 spaces in Round 11 are crucial for creating the slots for glasses. Keep your spacing consistent!
Assembly / Putting It All Together
- Weave in all loose ends using a tapestry needle. Pull the needle through yarn tails into the inside of the beanie to hide them.
- If needed, block the beanie by gently stretching it to shape or using a steam iron to make it look neat.
Finishing
Weave in Ends: Use your tapestry needle to tuck in any loose yarn ends neatly into the inside of the beanie, making sure they don’t show.
Blocking (optional): This is when you reshape your hat after making it. You can lightly dampen it and lay it flat to dry in the finished shape. This helps maintain a nice form.
FULL RECIPE-CARD-STYLE SUMMARY BOX
- Title: Kids' Crochet Beanie With Glasses Slots (The Specs Beanie)
- Yield: 1
- One-line description: A cozy and cute beanie for kids, complete with glasses slots.
- Materials:
- Worsted weight yarn, MC: 150 yards, CC: 50 yards
- Tools:
- 5.5 mm crochet hook, scissors, tapestry needle, stitch markers (optional), measuring tape
- Instructions:
- Ch 4, sl st to form a ring. (1 ring)
- Ch 2, 11 dc into ring, sl st to top of ch-2. (12 dc)
- Round 3: Ch 2, dc increase, dc, repeat around. (18 dc)
- Round 4: Ch 2, dc increase, 2 dc, repeat around. (24 dc)
- Round 5: Ch 2, dc increase, 3 dc, repeat around. (30 dc)
- Rounds 6-10: Ch 2, dc in each st. (30 dc)
- Round 11: Ch 2, dc in next 3, ch 2, skip 2, repeat around. (6 ch-2 spaces)
- Rounds 12-15: Ch 2, dc in each st and ch-2 space. (30 dc)
- Final Round: Ch 1, sc in each st. (30 sc)
- Notes: Adjust size by checking gauge, and remember to weave in ends for a neat finish.
What's Next?
Save this for later: Be sure to pin this post to your Pinterest so you can find it again!
Leave a comment: If you have any questions or if something is unclear, feel free to ask! I’m here to help, and all questions are welcome.
Share your finished project: I’d love to hear about your experience making the Specs Beanie! Share how your project turned out—no pressure, just encouragement!
Happy crocheting! You’re doing wonderfully!
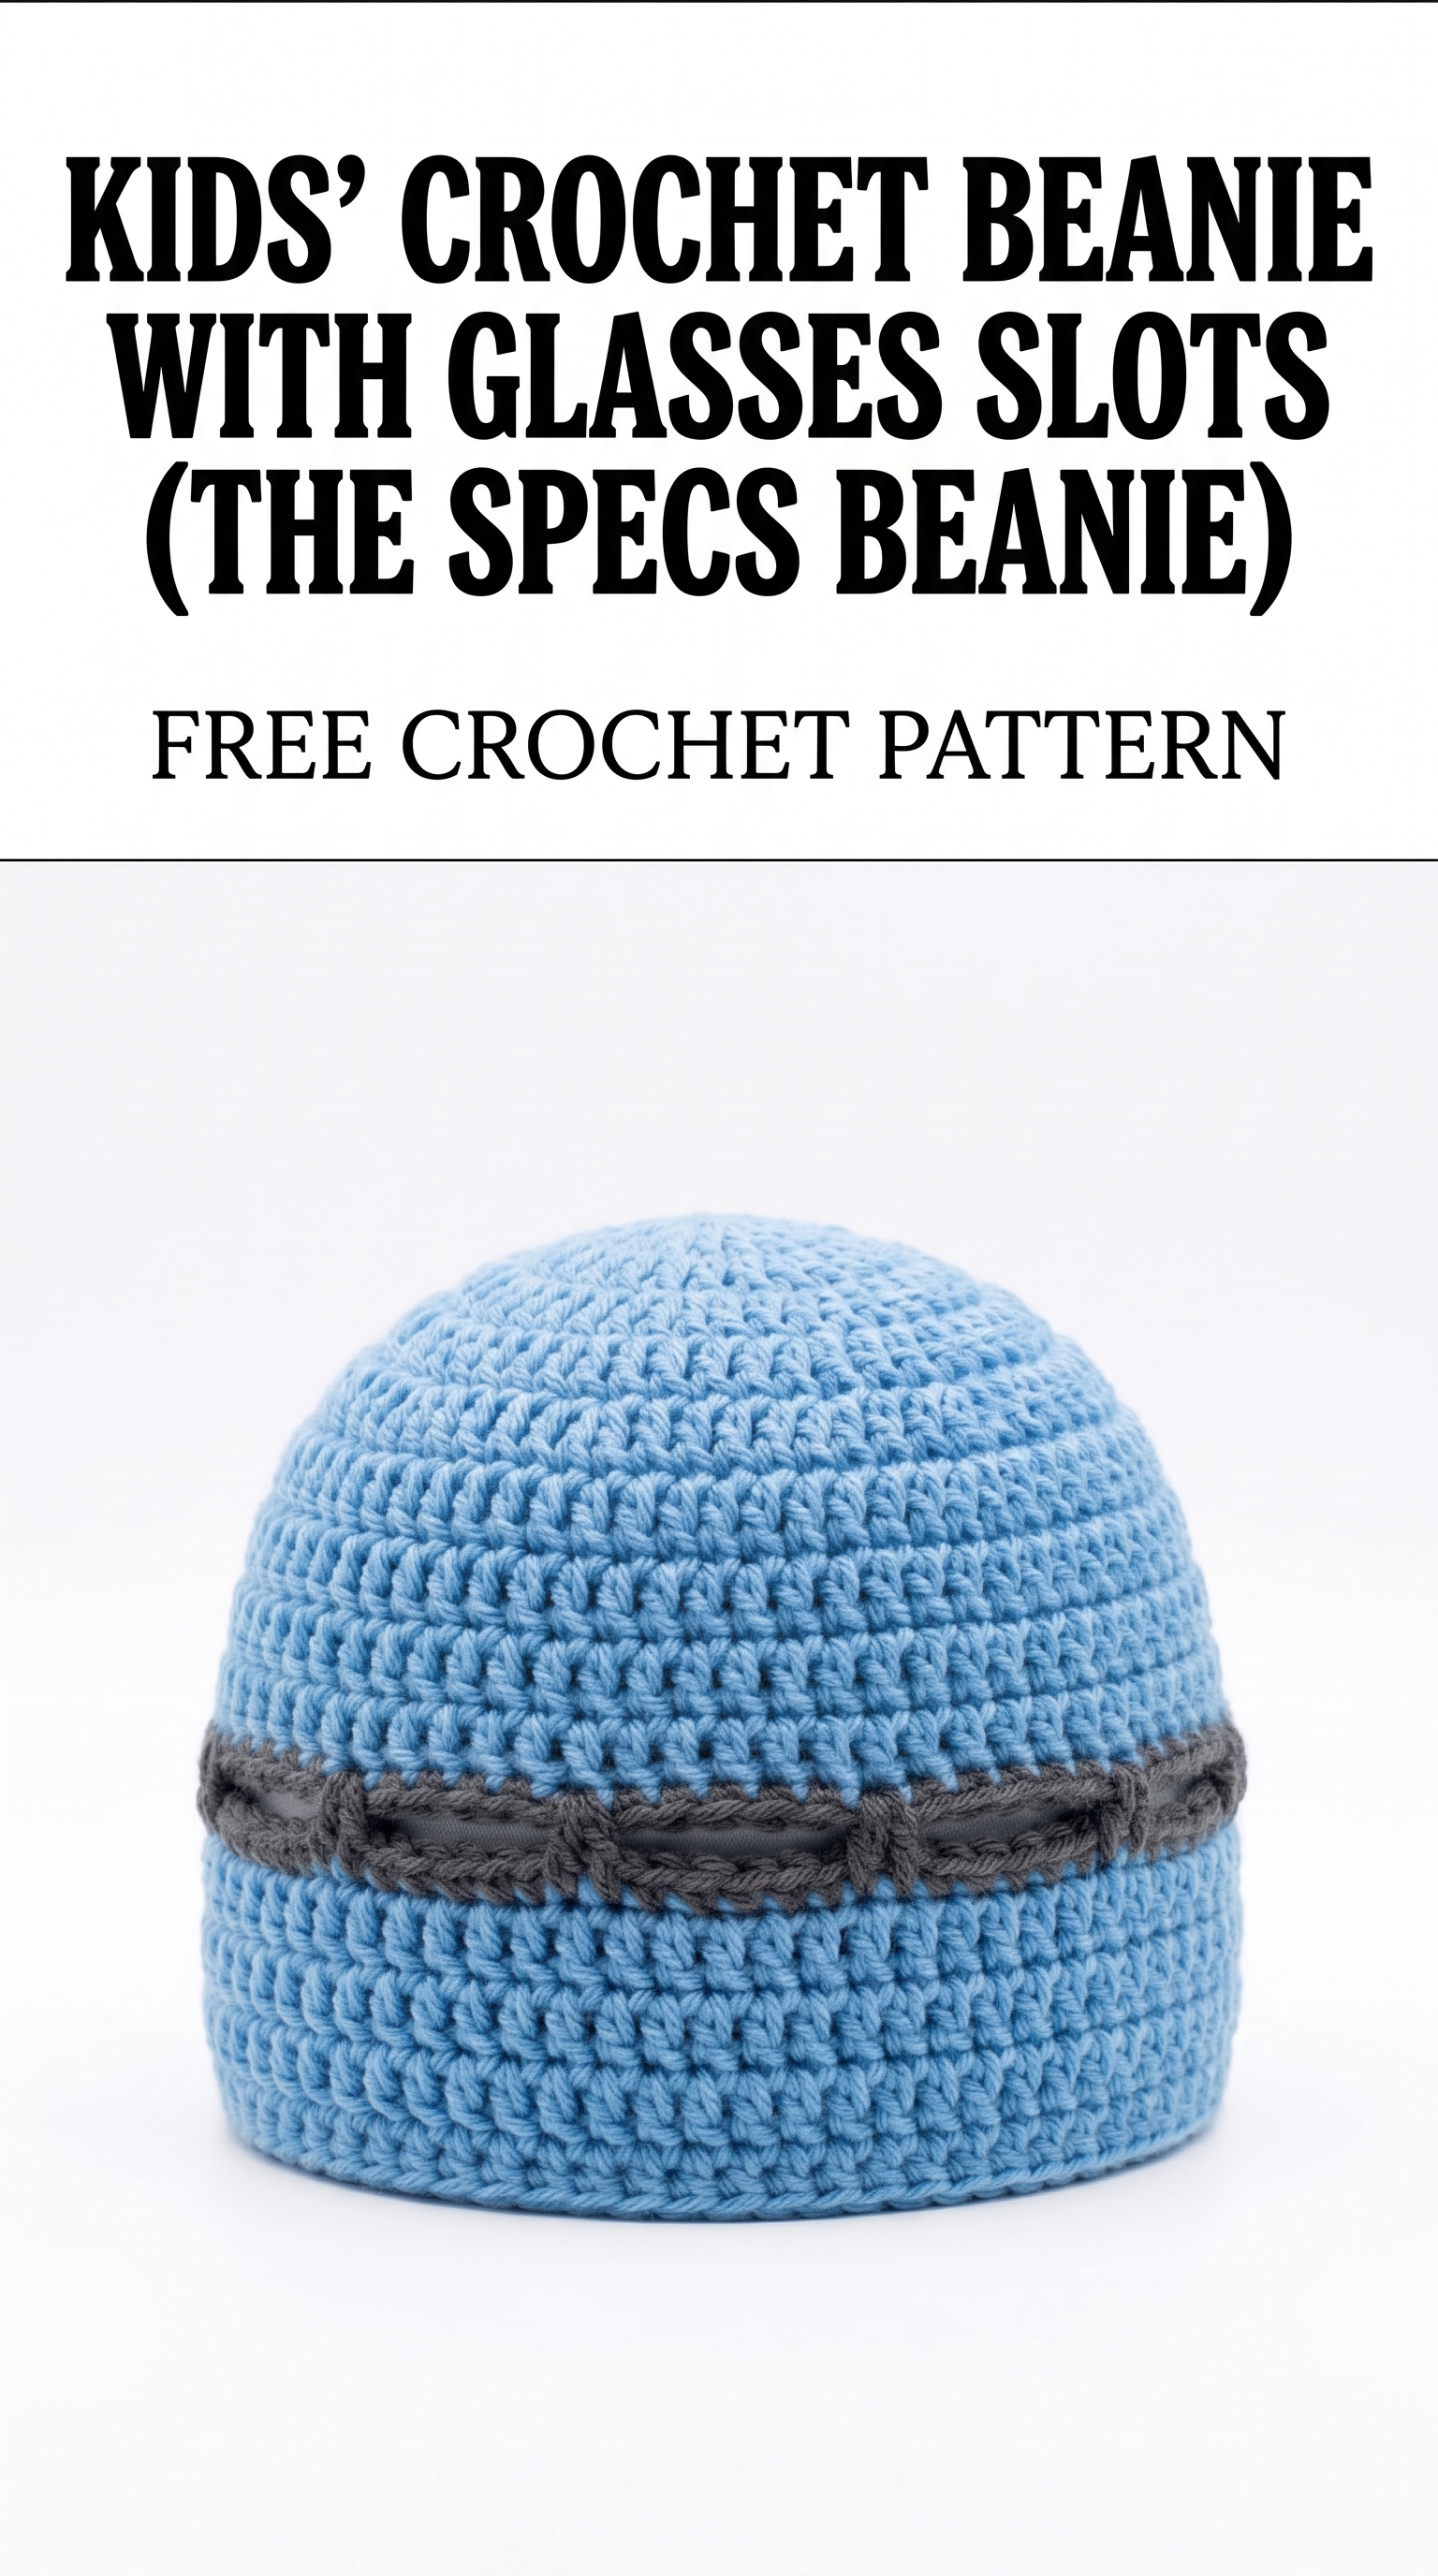
Image shown for inspiration — your finished result may vary slightly.