Kids' Chunky Crochet Cardigan Free Pattern, Sizes 2 to 10
This cozy, chunky cardigan is perfect for kids aged 2 to 10. With an oversized fit and button-down front, it’s wonderful for layering. I’m excited to guide you through this beginner-friendly pattern!
Published October 5, 2026 · by Lina
- Skill level
- Beginner
- Yarn weight
- Bulky
- Hook size
- 9 mm (M/N)
- Time
- Approximately 6-10 hours
- Yardage
- As listed above for each size.
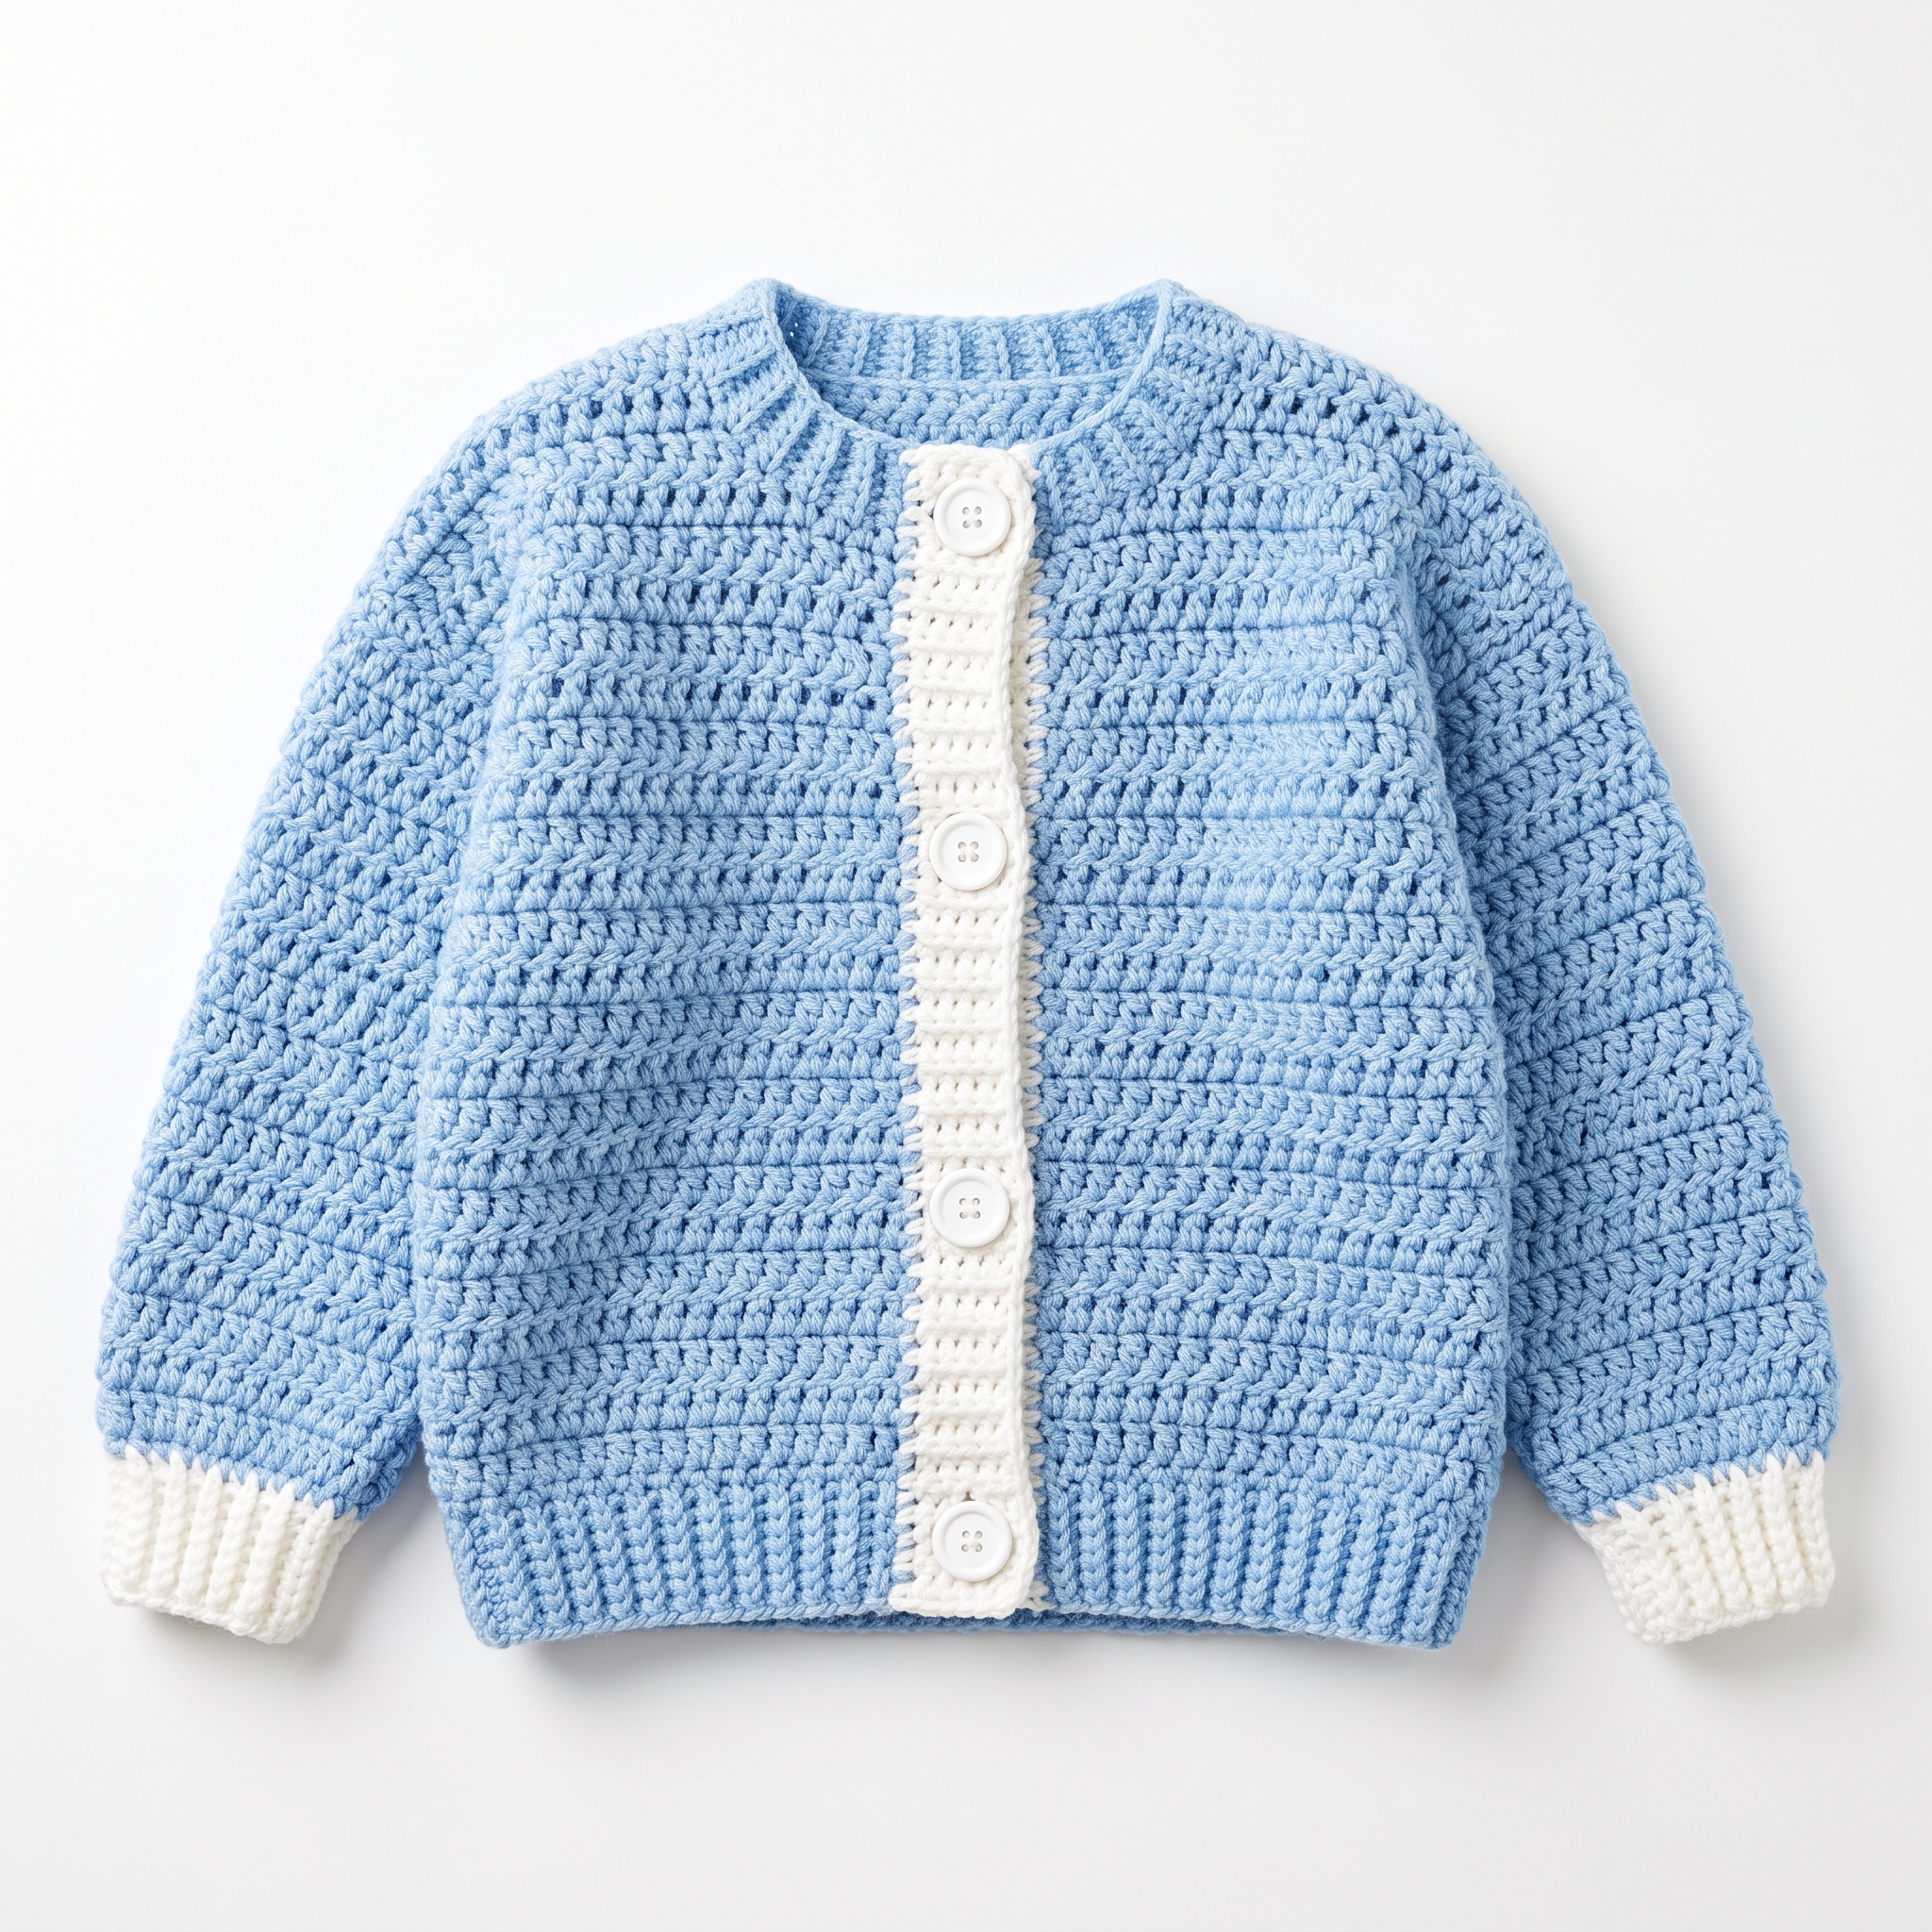
This cozy, chunky cardigan is perfect for kids aged 2 to 10. With an oversized fit and button-down front, it’s wonderful for layering. I’m excited to guide you through this beginner-friendly pattern!
HERO IMAGE PLACEHOLDER
WHY YOU'LL LOVE THIS PATTERN
This chunky cardigan is not only stylish but also easy to make. You can whip it up within a few hours, making it a fun project for new crocheters. Plus, your child will love wearing this comfy sweater!
TABLE OF CONTENTS
- What You'll Need
- Stitches You'll Use in This Pattern
- Pattern Details
- Abbreviations
- Special Stitches
- Let’s Get Started: Full Pattern Instructions
- Assembly / Putting It All Together
- Finishing
- Full Recipe-Card-Style Summary Box
- What's Next?
What You'll Need
- Yarn:
- Bulky (5) — This thick yarn is great for beginners and keeps your stitches visible. You will need approximately:
- Main Color: Light Blue (400, 450, 500, 550, 600 yards for sizes 2, 4, 6, 8, 10)
- Contrast Color: White for the button band (100 yards for all sizes)
- Bulky (5) — This thick yarn is great for beginners and keeps your stitches visible. You will need approximately:
- Crochet Hook:
- 9 mm (M/N) US — This large hook works well with bulky yarn for quick projects.
- Stitch Markers (optional but helpful):
- These can help you keep track of your rounds and stitches, especially when starting new sections.
- Scissors:
- For cutting your yarn.
- Yarn/Tapestry Needle:
- Used for weaving in ends after finishing your project.
- Measuring Tape:
- To ensure your pieces are the correct sizes.
- Pins (optional for assembly):
- Can help keep pieces in place while you sew them together.
- Buttons:
- 3 buttons, 1" (25 mm) in diameter for the button band.
Stitches You'll Use in This Pattern
- ch: (chain)
- To start your work, yarn over (wrap yarn over the hook) and pull through the loop on your hook.
- sc: (single crochet)
- Insert your hook into the stitch, yarn over, pull up a loop (2 loops on hook), yarn over again and pull through both loops.
- dc: (double crochet)
- Yarn over, insert your hook into the stitch, yarn over, pull up a loop (3 loops on hook), yarn over and pull through the first 2 loops (2 loops remaining), yarn over and pull through the remaining 2 loops.
- sl st: (slip stitch)
- Insert your hook into the stitch, yarn over, pull up a loop and then pull that loop through the loop on your hook.
- st(s): (stitch(es))
- A general term for stitches.
- sk: (skip)
- To leave a stitch unworked.
- inc: (increase)
- Work 2 stitches into 1 stitch to make an extra stitch.
Pattern Details
- Skill Level: Beginner
- Finished Size:
- Sizes Included: 2, 4, 6, 8, 10
- Approximate Finished Measurements:
- 2: Chest 24" (61 cm), Length 14" (36 cm)
- 4: Chest 26" (66 cm), Length 16" (41 cm)
- 6: Chest 28" (71 cm), Length 18" (46 cm)
- 8: Chest 30" (76 cm), Length 20" (51 cm)
- 10: Chest 32" (81 cm), Length 22" (56 cm)
- Time to Complete: Approximately 6-10 hours
- Yarn Amounts: As listed above for each size.
- Terms: This pattern uses US crochet terms.
Abbreviations
- ch = chain
- sc = single crochet
- dc = double crochet
- sl st = slip stitch
- st(s) = stitch(es)
- sk = skip
- inc = increase (2 stitches in 1 stitch)
Special Stitches
There are no special stitches in this pattern that require extra explanation!
Let’s Get Started: Full Pattern Instructions
Body (Make 1 Piece)
Foundation Row:
- Ch 58 (for size 2; adjust accordingly for other sizes by adding or subtracting multiples of 2).
Row 1:
- Sc in 2nd ch from hook and across (57 sts).
- Ch 1, turn.
Row 2:
- Sc in each st across (57 sts).
- Ch 1, turn.
Rows 3-18:
- Repeat Row 2 for 16 more rows (57 sts).
Divide for Armholes:
- Row 19:
- Sc in 24 (for size 2) (26 for size 4, 28 for size 6, 30 for size 8, 32 for size 10) sts,
- Ch 2,
- Sk next 9 (for size 2 and 4) (11 for size 6 and 8),
- Sc in remaining sts.
- Ch 1, turn.
- Row 19:
Rows 20-22:
- Sc in each st across (57 sts).
- Ch 1, turn.
Row 23:
- Sc in 24 (for size 2) (26 for size 4, 28 for size 6, 30 for size 8, 32 for size 10) sts.
- Ch 2 and turn.
Join Body at the Top:
- Row 24:
- With right side (RS) facing, sl st across to join armholes.
- Row 24:
Sleeves (Make 2)
Foundation Row:
- Ch 22 (for size 2; adjust accordingly for other sizes).
Row 1:
- Sc in 2nd ch from hook and across (21 sts).
- Ch 1, turn.
Row 2:
- Sc in each st across (21 sts).
- Ch 1, turn.
Rows 3-12:
- Repeat Row 2 for 10 more rows (21 sts).
Shaping Sleeve:
- Row 13:
- Sc in 6 (for size 2) (7 for size 4, 8 for size 6, 9 for size 8, 10 for size 10) sts,
- Inc (2 sc in next st),
- Sc in remaining 5 (for size 2) (6 for size 4, 7 for size 6, 8 for size 8, 9 for size 10) sts.
- Ch 1, turn.
- Row 13:
Rows 14-20:
- Repeat Row 2 for 7 more rows.
Make Second Sleeve:
- Repeat all steps to create a second sleeve.
Assembly / Putting It All Together
Attach Sleeves:
- Align sleeves to armholes. Sew using slip stitch or whip stitch.
Sew Sides Together:
- Attach front and back sides at the sides using single crochet.
Button Band:
- Using contrast color yarn, pick up and sc evenly along the front edge.
- Ch 1, turn.
Create Buttonholes:
- Row 1:
- Sc to 3 sts before edge,
- Ch 1,
- Sk 1 st,
- Sc in next.
- Repeat until you have enough buttonholes evenly spaced for your buttons.
- Row 1:
Seam Up Open Edges:
- Weave in all ends and tidy up any open edges.
Wash and Block:
- Gently wash and block the cardigan to shape it nicely.
Finishing
Weave in Ends:
- Using your yarn needle, thread the yarn tail and push it through several stitches on the inside of your project to secure it. Trim any excess yarn.
Blocking (optional):
- This is a method of dampening and shaping your finished piece. Gently stretch and pin it to the desired size and shape to make it look nice.
FULL RECIPE-CARD-STYLE SUMMARY BOX
Title: Kids' Chunky Crochet Cardigan
Yield: 1
One-line description: A cozy, chunky cardigan for kids, perfect for layering!
Full materials list:
- Bulky (5) yarn, 100% acrylic, Light Blue: 400-600 yards.
- Contrast color yarn (White): 100 yards.
- 3 buttons (1" / 25 mm in diameter).
- Stitch markers, scissors, tapestry needle, measuring tape, pins (optional).
Full tools list:
- 9 mm (M/N) crochet hook.
Full numbered instructions:
Body:
- Ch 58, Row 1: Sc across (57 sts), turn. Rows 2-18: Repeat Row 2.
- Row 19: Sc 24, ch 2, sk 9, sc across; turn.
- Rows 20-22: Sc across.
- Row 23: Sc 24, ch 2; turn.
- Row 24: Sl st across to join armholes.
Sleeves:
- Ch 22, Row 1: Sc across (21 sts), turn. Rows 2-12: Repeat Row 2.
- Row 13: Sc 6, inc, sc remaining; turn.
- Rows 14-20: Repeat Row 2.
- Make second sleeve.
Assembly:
- Attach sleeves.
- Sew sides.
- Create button band.
- Make buttonholes.
- Seam open edges, weave in ends, wash and block.
Notes: Machine wash cold, tumble dry low or lay flat to dry.
What's Next?
- Save this for later: Be sure to save/pin this post to Pinterest so you can find it again!
- Leave a comment: If you have any questions or get stuck, feel free to ask! All questions are welcome.
- Share your finished project: I’d love to see your cardigan, so don’t hesitate to share your work! You’ve got this!
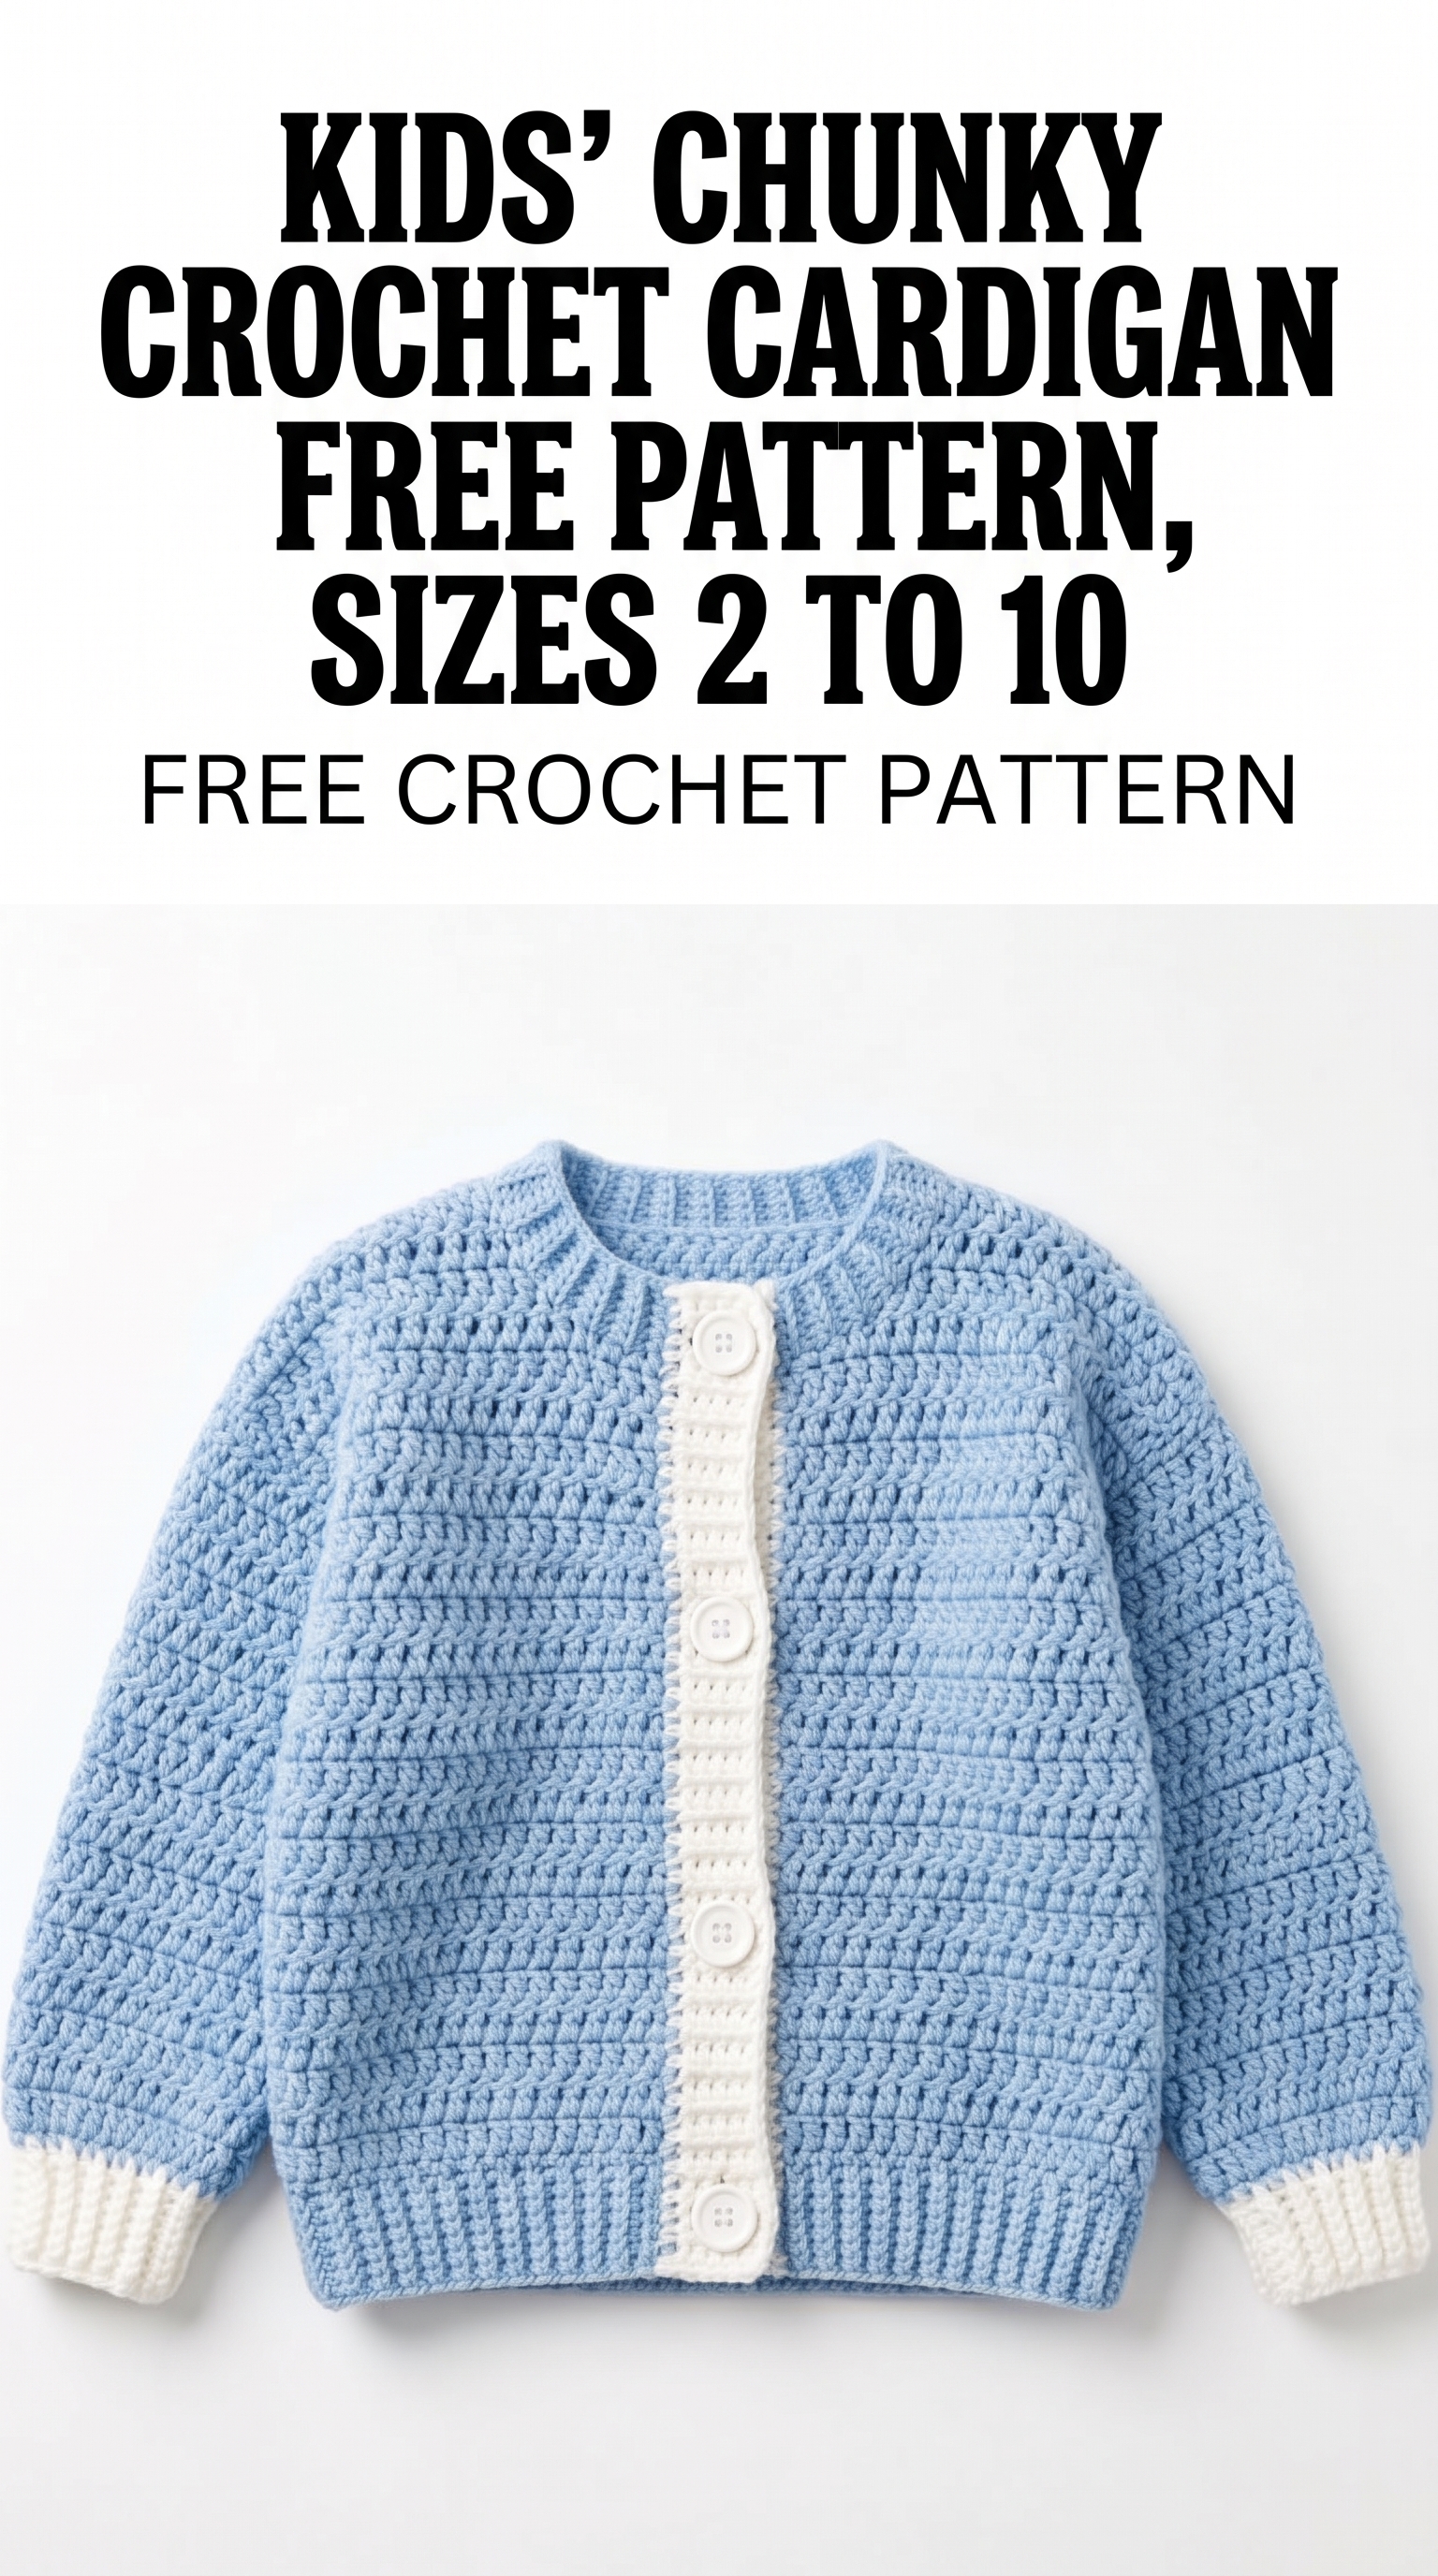
Image shown for inspiration — your finished result may vary slightly.