How to Crochet a Lunch Bag That Opens Into a Placemat (The Table Tote)
Welcome! Today, I’ll walk you through creating a versatile crochet lunch bag that opens into a placemat. This project is perfect for those lunch breaks at work or delightful picnics in the park. Don't worry if you're a beginner; this pattern is easy to follow!
Published October 5, 2026 · by Lina
- Skill level
- Beginner
- Yarn weight
- Worsted weight
- Hook size
- 5.5 mm (I/9) – this size works well for the yarn to create a firm bag.
- Time
- 6-9 hours (depending on your speed).
- Yardage
- Main Color - 300 yards, Contrast Color - 50 yards.
- Sizes
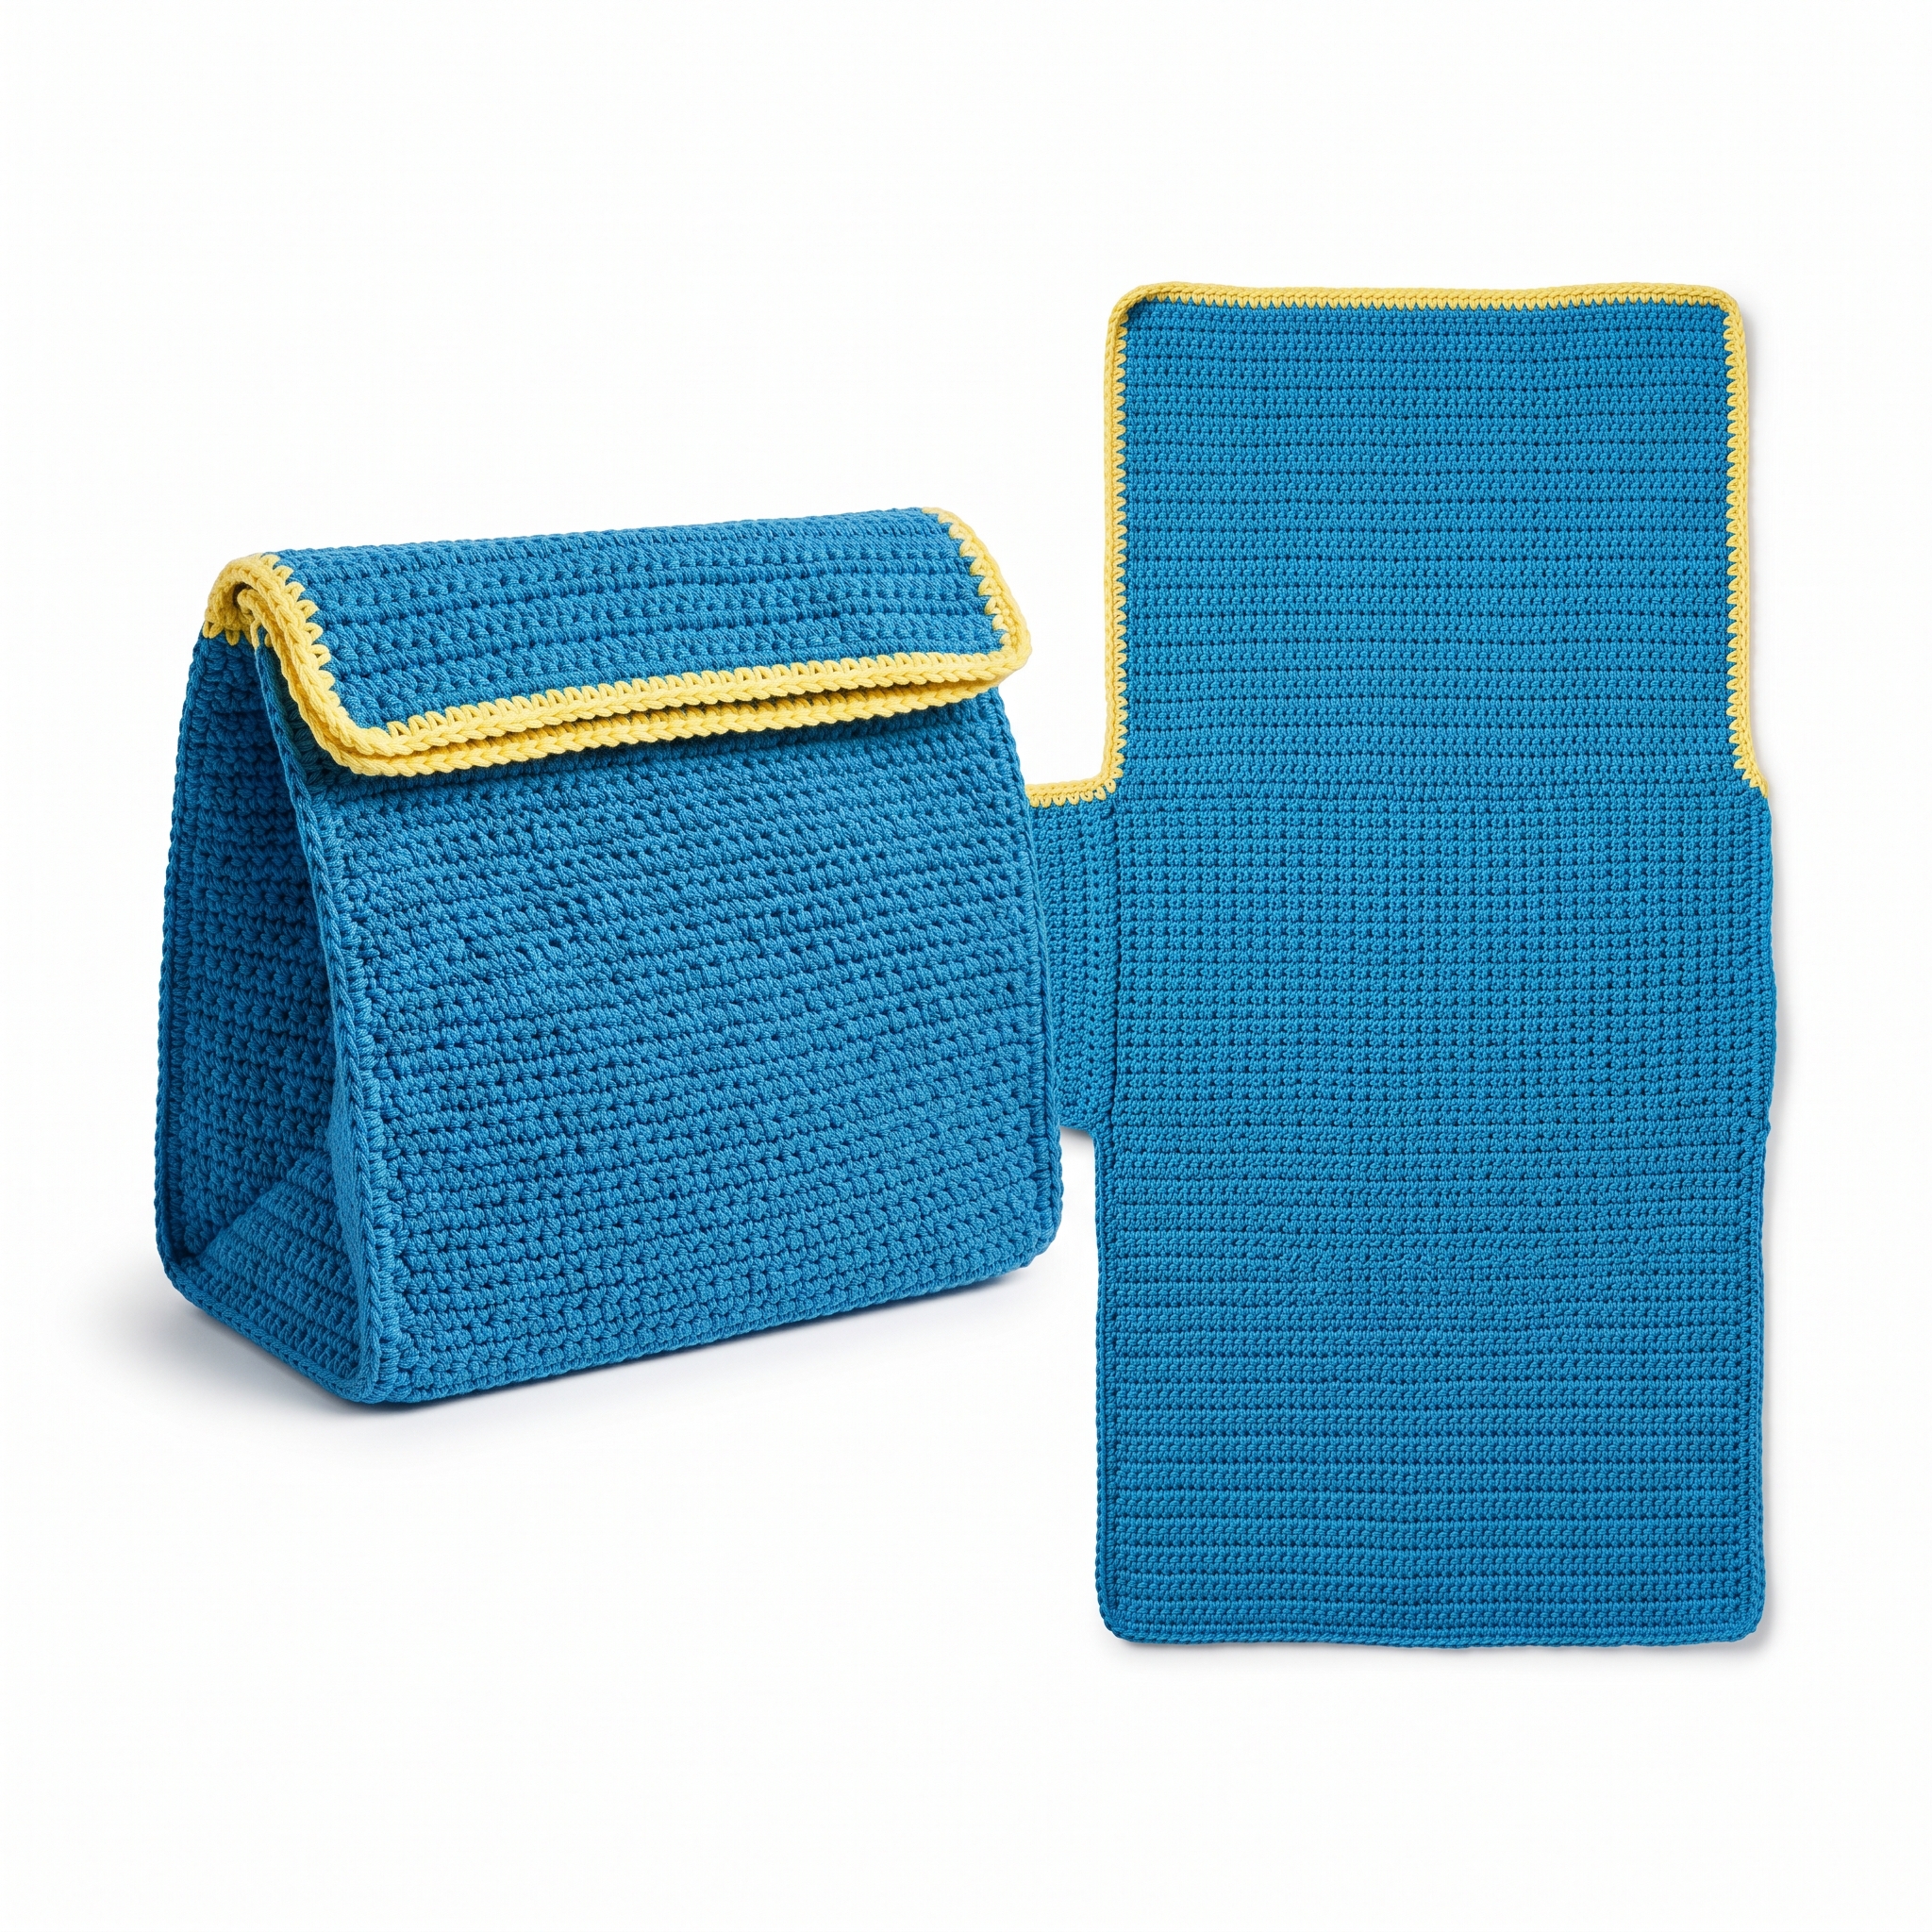
- Approximately 12 inches (30.5 cm) wide by 10 inches (25.5 cm) tall when folded, and 12 inches (30.5 cm) wide by 23 inches (58.5 cm) long when opened as a placemat.
Welcome! Today, I’ll walk you through creating a versatile crochet lunch bag that opens into a placemat. This project is perfect for those lunch breaks at work or delightful picnics in the park. Don't worry if you're a beginner; this pattern is easy to follow!
HERO IMAGE PLACEHOLDER
WHY YOU’LL LOVE THIS PATTERN
This crochet lunch bag is not only functional but also stylish. It’s a great project for beginners, and you can complete it in just a few hours. Plus, the idea of it transforming into a placemat adds a fun twist that makes mealtime special!
IN THIS POST
- What You'll Need
- Stitches You'll Use in This Pattern
- Pattern Details
- Abbreviations
- Step-by-Step Instructions
- Assembly / Putting It All Together
- Finishing
- Full Summary Box
- What's Next?
What You'll Need
- Yarn:
- Weight Category: Worsted weight (Medium, #4) — this yarn is a medium thickness, which makes it easy to see your stitches.
- Fiber Content: 100% Cotton — cotton is durable and machine washable, perfect for a lunch bag!
- Colors:
- Main Color: Ocean Blue (Approx. 300 yards)
- Contrast Color: Lemon Yellow for the placemat edge (Approx. 50 yards)
- Crochet Hook: 5.5 mm (I/9) – this size works well for the yarn to create a firm bag.
- Stitch Markers (optional but helpful): These help you keep track of your rows and stitches.
- Scissors: For cutting your yarn.
- Yarn/Tapestry Needle: Used for weaving in the ends of your yarn.
- Bottom Insert (optional for sturdiness): A cardboard or plastic piece measuring 12 inches x 9 inches.
- Fabric for Lining (optional): A piece of cotton fabric measuring 12 inches x 30 inches if you want a lined bag.
- Sewing Thread (if adding lining)
Stitches You'll Use in This Pattern
- Ch (Chain): This creates the little loops that start your work.
- Sc (Single Crochet): Insert your hook into the desired stitch, yarn over (wrap the yarn around the hook), pull through, yarn over again, and pull through both loops on your hook.
- St (Stitch): This is just a way to refer to your crochet stitches.
- Sl St (Slip Stitch): Insert your hook into the stitch, yarn over, and pull through both the stitch and the loop on your hook.
- Dc (Double Crochet): Yarn over, insert your hook into the stitch, yarn over again, pull through, yarn over again, pull through the first two loops, yarn over once more, and pull through the last two loops.
- Inc (Increase): This means you will make 2 stitches in the same stitch.
- Dec (Decrease): You will crochet 2 stitches together as one.
- Fsc (Foundation Single Crochet): This technique starts a row without a chain. To do this, make a loop on your hook, yarn over, pull through to form the first stitch. Then, yarn over, pull through the first loop for the foundation stitch and repeat for each additional stitch you want.
Pattern Details
- Skill Level: Beginner
- Finished Size: Approximately 12 inches (30.5 cm) wide by 10 inches (25.5 cm) tall when folded, and 12 inches (30.5 cm) wide by 23 inches (58.5 cm) long when opened as a placemat.
- Time to Complete: 6-9 hours (depending on your speed).
- Yarn Amounts: Main Color - 300 yards, Contrast Color - 50 yards.
- Terms: This pattern uses US crochet terms.
Abbreviations
- ch = chain
- sc = single crochet
- sl st = slip stitch
- st(s) = stitch(es)
- inc = increase (2 stitches in the same stitch)
- dec = decrease (2 stitches worked together as one)
- fsc = foundation single crochet
Let's Get Started: Full Pattern Instructions
Part 1: Body of the Bag
- Start with Main Color.
- Row 1: Fsc 38 (38 sts)
- Row 2: Ch 1, sc across (38 sts)
- Repeat Row 2 for 20 more rows (21 rows total).
Part 2: Sides
Creating the Sides.
- Row 22: Ch 1, sc in first 38 sts, turn (38 sts)
- Row 23: Ch 1, sc in first 18 sts, inc, sc in next 17 sts, inc, sc in last st (40 sts)
- Row 24: Ch 1, sc in first 40 sts (40 sts)
- Row 25: Ch 1, sc in first 19 sts, inc, sc in next 18 sts, inc, sc in last st (42 sts)
- Row 26: Ch 1, sc in all 42 sts (42 sts)
- Repeat Row 26 until you have a total of 36 rows from the start of the sides (a total of 54 rows).
Add Bottom.
- Row 55: Ch 1, sc across the bottom edge (42 sts), creating the base.
- Note: Insert the cardboard/plastic bottom if using.
Part 3: Placemat Edging
- Switch to Contrast Color: Lemon Yellow.
- Row 1: Ch 1, sc around the entire top edge including sides and bottom, join with sl st to the first st, fasten off.
Assembly / Putting It All Together
- Weave in all ends by threading the yarn through a tapestry needle and stitching it back into the crochet fabric.
- To line the bag (optional), cut the fabric to 12 inches x 30 inches. Fold the edges in to prevent fraying, sew the sides to create the bag shape, and then attach it softly inside the crochet bag.
- If desired, block the finished bag and placemat to shape. Blocking means gently wetting and laying your project flat to help it hold its shape.
Finishing
- Weave in Ends: Use your tapestry needle to go in and out of stitches on the inside of the bag. This hides any yarn ends and keeps your bag neat.
- Blocking (optional): Gently wet your bag and lay it flat to dry. This helps it maintain its shape and can improve the overall look.
FULL RECIPE-CARD-STYLE SUMMARY BOX
- Title: Crochet Lunch Bag That Opens Into a Placemat (The Table Tote)
- Yield: 1
- One-line description: A stylish crochet bag that seamlessly transforms into a placemat.
- Materials:
- Worsted weight yarn (Ocean Blue and Lemon Yellow).
- 5.5 mm (I/9) crochet hook.
- Stitch markers (optional).
- Scissors, tapestry needle, and optional fabric and thread for lining.
- Instructions:
- Fsc 38 for Row 1.
- Ch 1, sc across for Row 2; repeat for 20 rows.
- Create sides from Row 22 to Row 55 following instructions.
- Switch to Lemon Yellow; sc edging, join with sl st.
- Notes: Ensure a snug fit for the bottom insert and consider adding lining for extra sturdiness.
What's Next?
Save this for later: I hope you enjoyed making this pattern! Remember to pin this post on Pinterest so you can find it again easily.
Leave a comment: If you have any questions, feel free to ask! I’m here to help.
Share your finished project: I would love to see your creations, so feel free to share them! Happy Crocheting!
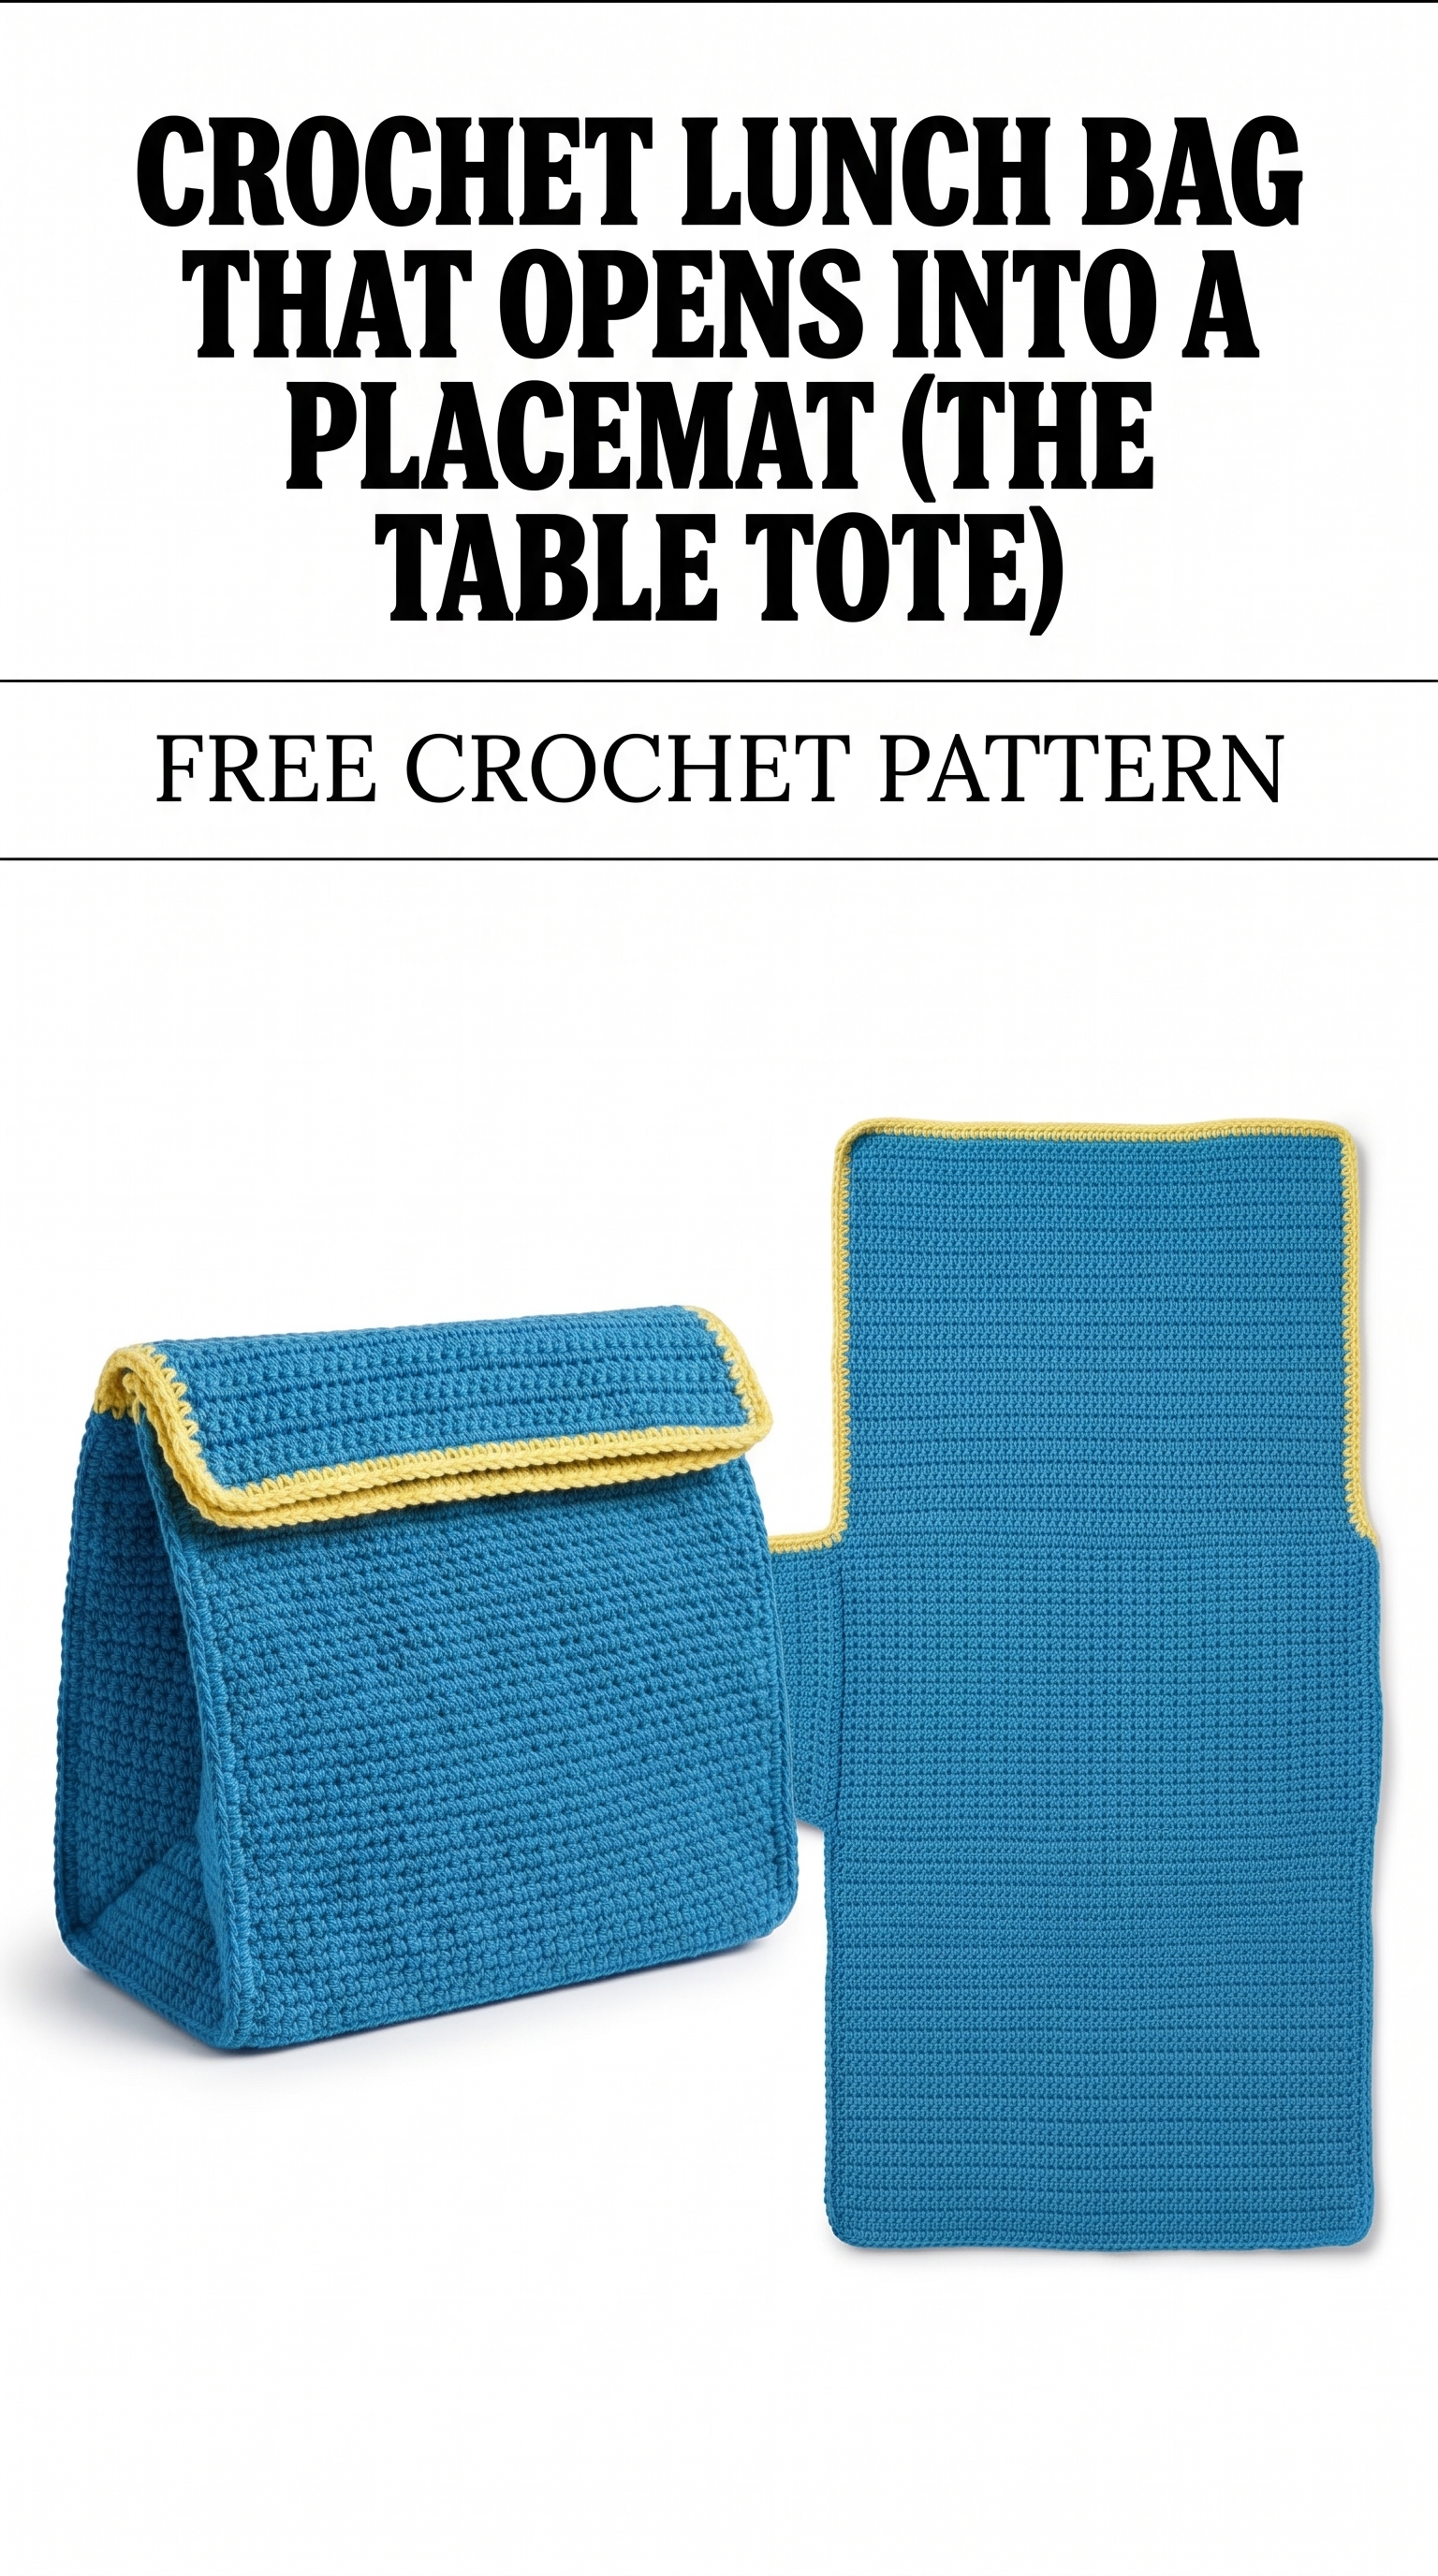
Image shown for inspiration — your finished result may vary slightly.