How to Crochet a Storage Basket With Label Window (The Name Bin)
In this tutorial, I'll walk you through making a beautiful crochet storage basket with a handy label window. It's perfect for keeping your toys, craft supplies, or miscellaneous household items organized. Don’t worry if you're new to crochet—I’ll guide you step by step.
Published October 5, 2026 · by Lina
- Skill level
- Beginner
- Yarn weight
- Worsted weight
- Hook size
- 5.0 mm (H-8)
- Time
- 4-5 hours
- Sizes
- Approximately 10 inches tall and 12 inches wide (25 cm x 30 cm)
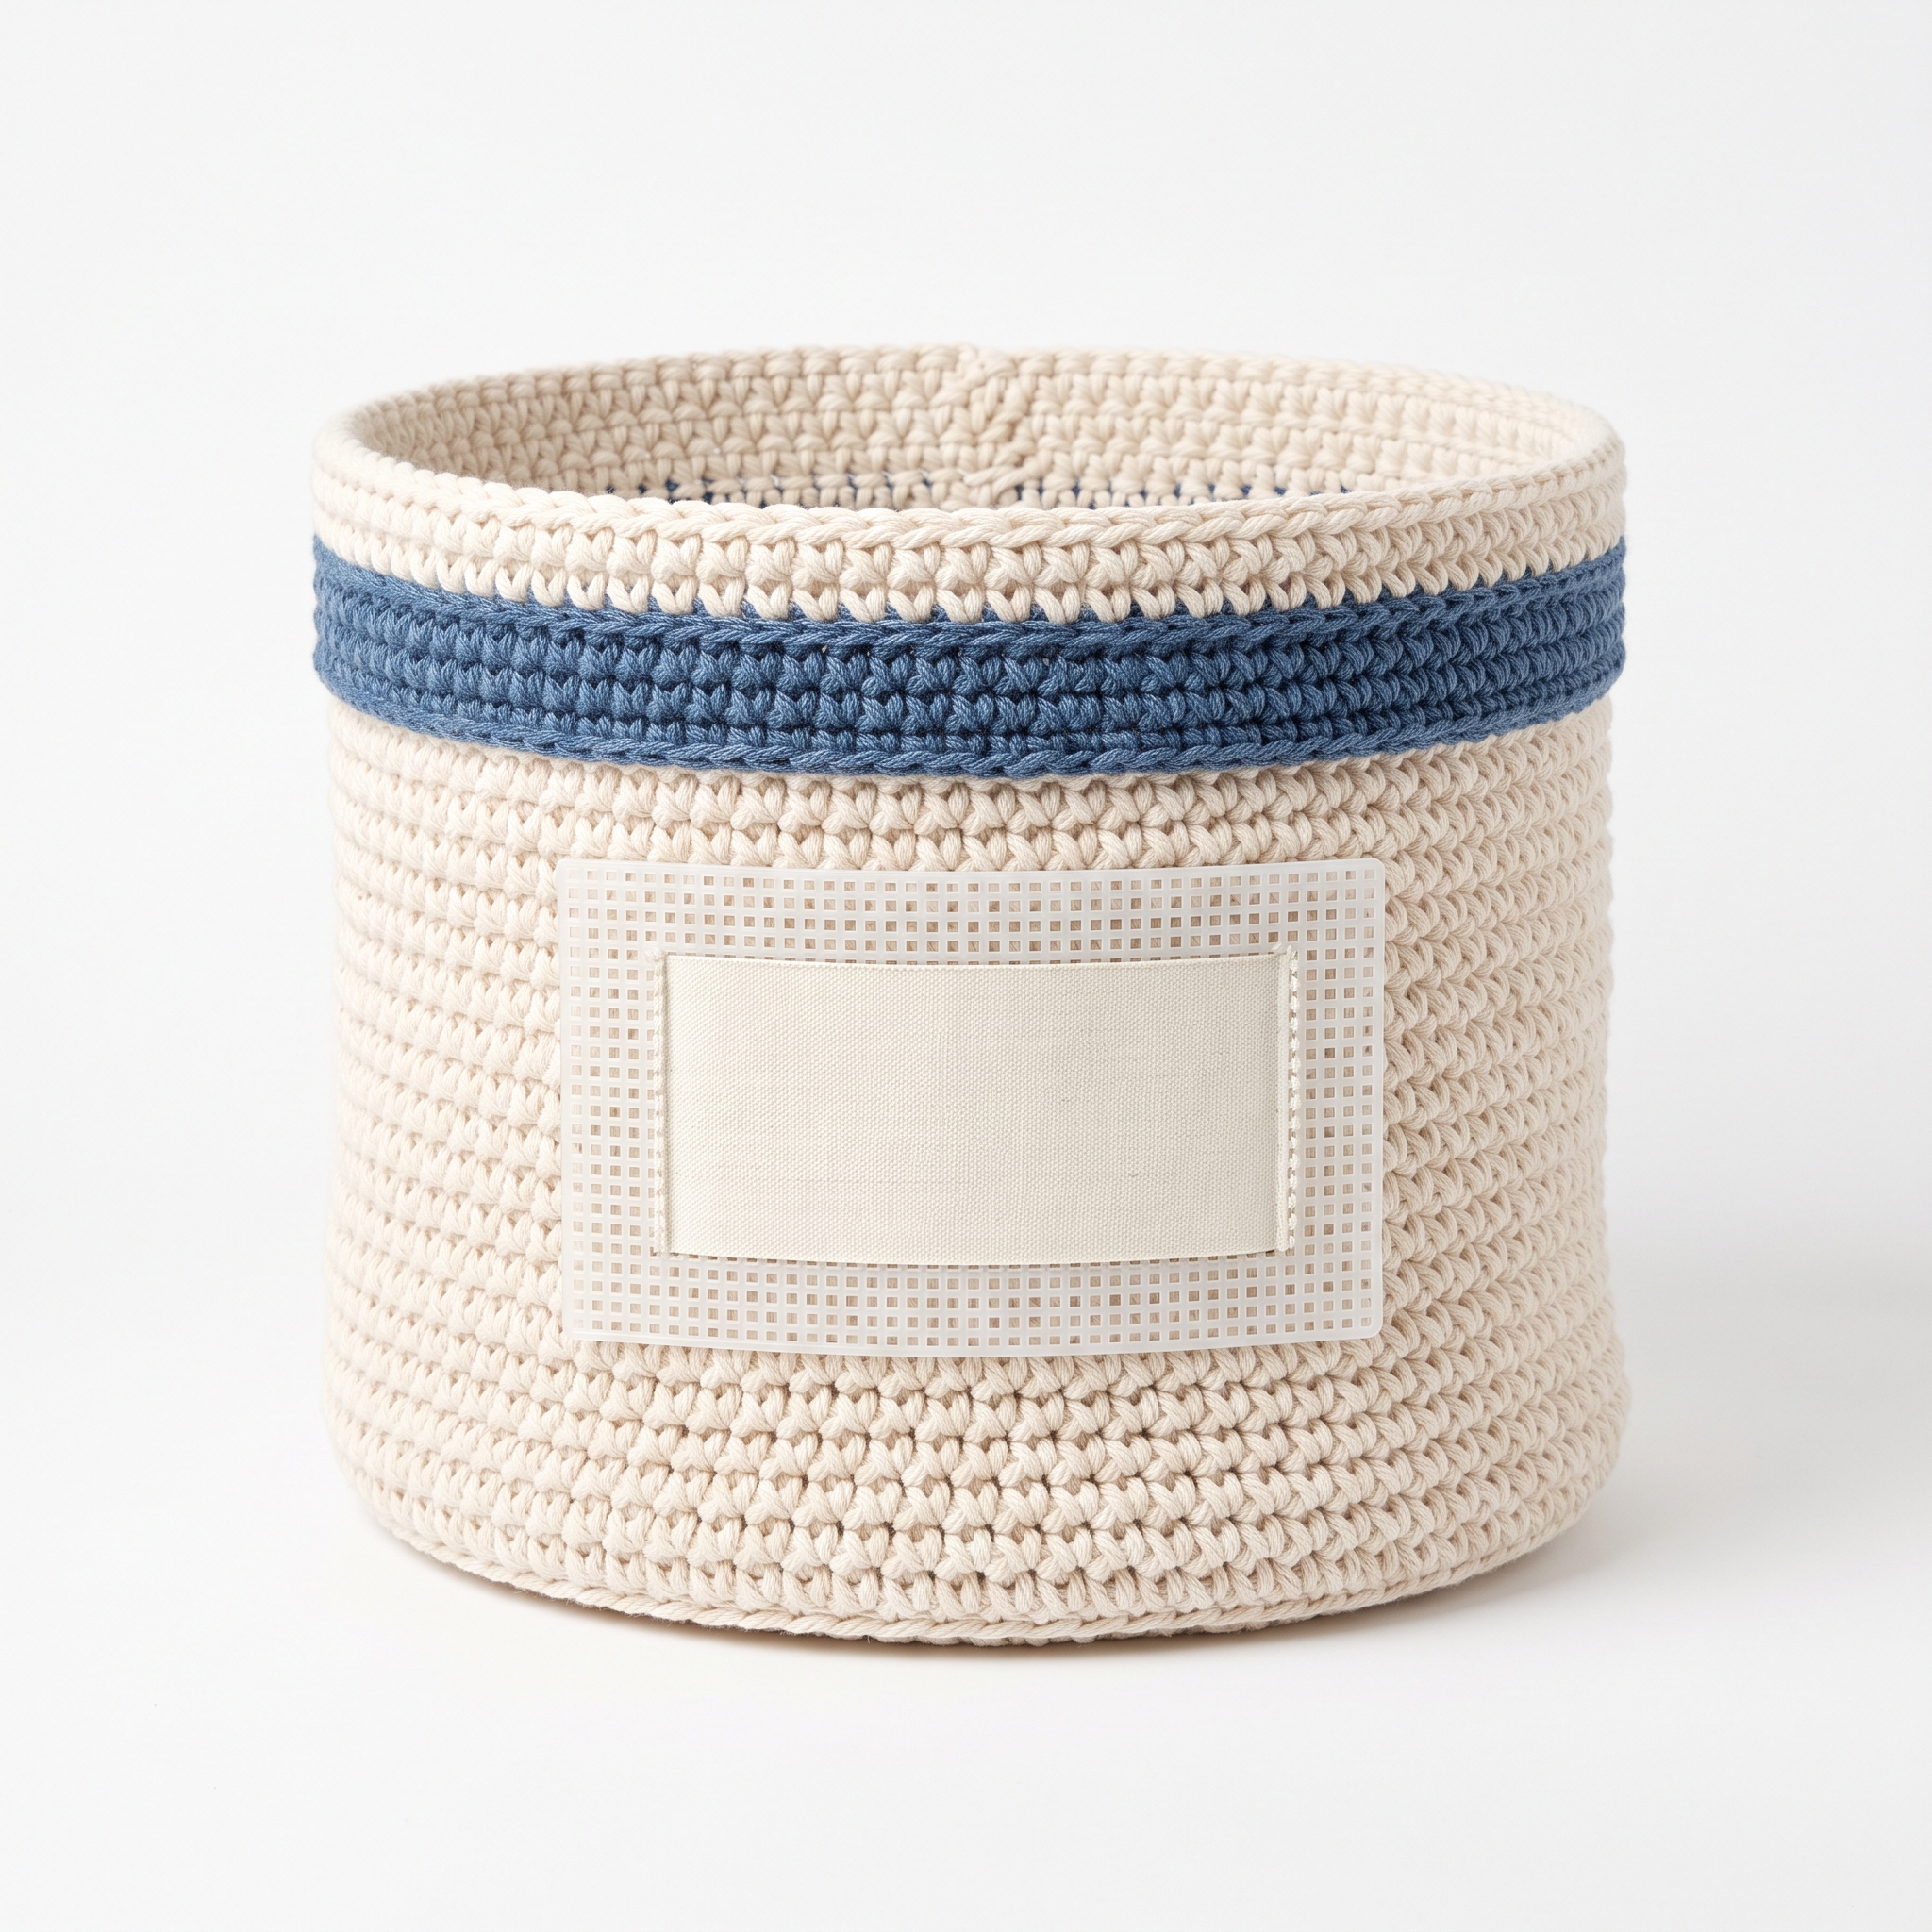
In this tutorial, I'll walk you through making a beautiful crochet storage basket with a handy label window. It's perfect for keeping your toys, craft supplies, or miscellaneous household items organized. Don’t worry if you're new to crochet—I’ll guide you step by step.
[Descriptive image caption of the finished piece]
Why You’ll Love This Pattern
This pattern is a great way to practice your crochet skills while creating something functional and stylish. It’s perfect for beginners who want to tackle a fun project that’s practical around the house. Plus, it only takes about 4 to 5 hours to complete!
In This Post
- What You'll Need
- Stitches You'll Use in This Pattern
- Pattern Details
- Abbreviations
- Special Stitches
- Let's Get Started: Full Pattern Instructions
- Assembly / Putting It All Together
- Finishing
- FULL RECIPE-CARD-STYLE SUMMARY BOX
- What’s Next?
What You'll Need
- Yarn:
- Worsted weight (Category 4) — This is a medium-thickness yarn, easy to see your stitches with.
- Main Color: Natural (approx. 300 yards)
- Accent Color: Denim Blue (approx. 50 yards)
- Worsted weight (Category 4) — This is a medium-thickness yarn, easy to see your stitches with.
- Crochet Hook:
- 5.0 mm (H-8) hook — This size is perfect for working with worsted weight yarn.
- Tapestry Needle:
- Useful for weaving in ends once you've finished your project.
- Scissors:
- For cutting your yarn.
- Stitch Markers (optional but helpful):
- These help keep track of your rounds as you crochet.
- Plastic Canvas or Felt for Label Window:
- 1 piece, 8 inches x 4 inches — This creates a sturdy area for your labels.
- Yarn/Fabric for the Label:
- 1 piece, 8 inches x 2 inches — This is where you can write or attach a name or item label.
Stitches You'll Use in This Pattern
- Ch (chain):
- This creates the little loops that start your work. To make a chain stitch, yarn over (wrap the yarn over your hook) and pull it through the loop on your hook.
- Sc (single crochet):
- A basic stitch. Insert your hook into the stitch, yarn over, pull through so you have two loops on your hook, yarn over again and pull through both loops.
- Sl st (slip stitch):
- Used for joining rounds. Insert your hook, yarn over and pull through both loops on your hook.
- St(s) (stitch(es)):
- Refers to single stitches.
- Inc (increase):
- To increase, simply put two single crochet stitches in the same stitch.
- Dec (decrease):
- To decrease, crochet two stitches together by inserting your hook into the next two stitches and pulling through to finish with one stitch.
Pattern Details
- Skill Level: Beginner
- Finished Size: Approximately 10 inches tall and 12 inches wide (25 cm x 30 cm)
- Time to Complete: 4-5 hours
- Yarn Amounts:
- Main Color: 300 yards Natural
- Accent Color: 50 yards Denim Blue
- Terms: This pattern uses US crochet terms.
Abbreviations
- ch = chain
- sc = single crochet
- sl st = slip stitch
- st(s) = stitch(es)
- inc = increase (2 sc in the same stitch)
- dec = decrease (sc next two stitches together as one)
Special Stitches
No special stitches outside of the basic ones listed above will be used in this pattern.
Let's Get Started: Full Pattern Instructions
Part 1: Base of the Basket
- Ch 5, then join with a sl st to form a ring.
- Round 1 (R1): Ch 1, make 10 sc into the ring. Join with a sl st to the first sc. (10 sts)
- Round 2 (R2): Ch 1, make 2 sc in each of the next stitches around. Join with a sl st. (20 sts)
- Round 3 (R3): Ch 1, *make 1 sc in the next st, then make 2 sc in the next st; repeat from * around. Join with a sl st. (30 sts)
- Round 4 (R4): Ch 1, *make 1 sc in the next 2 sts, then make 2 sc in the next st; repeat from * around. Join with a sl st. (40 sts)
- Round 5 (R5): Ch 1, *make 1 sc in the next 3 sts, then make 2 sc in the next st; repeat from * around. Join with a sl st. (50 sts)
- Rounds 6-R8: Ch 1, sc in each st around. Join with a sl st. (50 sts)
Part 2: Sides of the Basket
- Round 9 (R9): Ch 1, sc in each st around. Join with a sl st. (50 sts)
- Round 10 (R10): Change to Accent Color. Ch 1, sc in each st around. Join with a sl st. (50 sts)
- Rounds 11-20: Ch 1, sc in each st around. Join with a sl st. (50 sts)
Part 3: Label Window
- Cut plastic canvas or felt into an 8-inch by 4-inch rectangle.
- Attach it to the front side of the basket before closing the top edge. You can pin it for extra security.
Part 4: Finishing Edge
- Round 21 (R21): Ch 1, *sc in each of the next 4 sts, then do a dec; repeat from * around. Join with a sl st. (40 sts)
- Round 22 (R22): Ch 1, *sc in each of the next 3 sts, then do a dec; repeat from * around. Join with a sl st. (30 sts)
- Round 23 (R23): Ch 1, *sc in each of the next 2 sts, then do a dec; repeat from * around. Join with a sl st. (20 sts)
- Round 24 (R24): Ch 1, *sc in the next st, then do a dec; repeat from * around. Join with a sl st. (10 sts)
Fasten off and weave in ends. Beginner Tip: It’s okay if your stitches aren’t perfect! Just take your time.
Assembly / Putting It All Together
- Use a ladder stitch—a method of sewing—to attach the label piece onto the plastic canvas window if desired.
- Ensure that the label area is open for inserting a name card or label.
- Secure the plastic canvas to the inside of the basket, pinning it securely before you sew.
Finishing
- Weave in Ends: Use the tapestry needle to tuck in any loose ends of yarn. Insert your needle under the stitches on the inside of the basket and pull it through for a neat finish.
- Blocking (optional): This is when you shape and set your crochet piece by lightly steaming it and laying it flat to dry. It helps hold the form of the finished basket.
FULL RECIPE-CARD-STYLE SUMMARY BOX
- Title: Crochet Storage Basket With Label Window (The Name Bin)
- Yield: 1
- Description: An easy-pattern crochet basket with a label window, perfect for organizing your space!
- Materials:
- Worsted weight yarn (Main Color: Natural, Accent Color: Denim Blue)
- Plastic canvas or felt for the label window
- Yarn or fabric for the label
- Tools:
- 5.0 mm (H-8) crochet hook
- Tapestry needle
- Scissors
- Stitch markers
- Instructions:
- Base: Ch 5. R1: Ch 1, 10 sc in ring. R2: Ch 1, 2 sc in each st. R3: Ch 1, *sc, inc; repeat. R4: Ch 1, *sc 2, inc; repeat. R5: Ch 1, *sc 3, inc; repeat. R6-8: Ch 1, sc in each.
- Sides: R9: Ch 1, sc in each. R10: Change color; sc in each. R11-20: Ch 1, sc in each.
- Label Window: Cut and attach to front of basket.
- Finishing: R21: Ch 1, *sc 4, dec; repeat. R22: Ch 1, *sc 3, dec; repeat. R23: Ch 1, *sc 2, dec; repeat. R24: Ch 1, *sc, dec; repeat.
- Notes: For a sturdier basket, use thicker yarn. Hand wash in cold water and lay flat to dry.
What’s Next?
- Save this for later: If you enjoyed this tutorial, consider saving it on Pinterest for your next crochet project!
- Leave a comment: If you have questions or need help, please leave a comment! I’m here to support you.
- Share your finished project: I would love to see your creations! Share your finished basket, and remember, there’s no pressure, just enjoy your crochet journey!
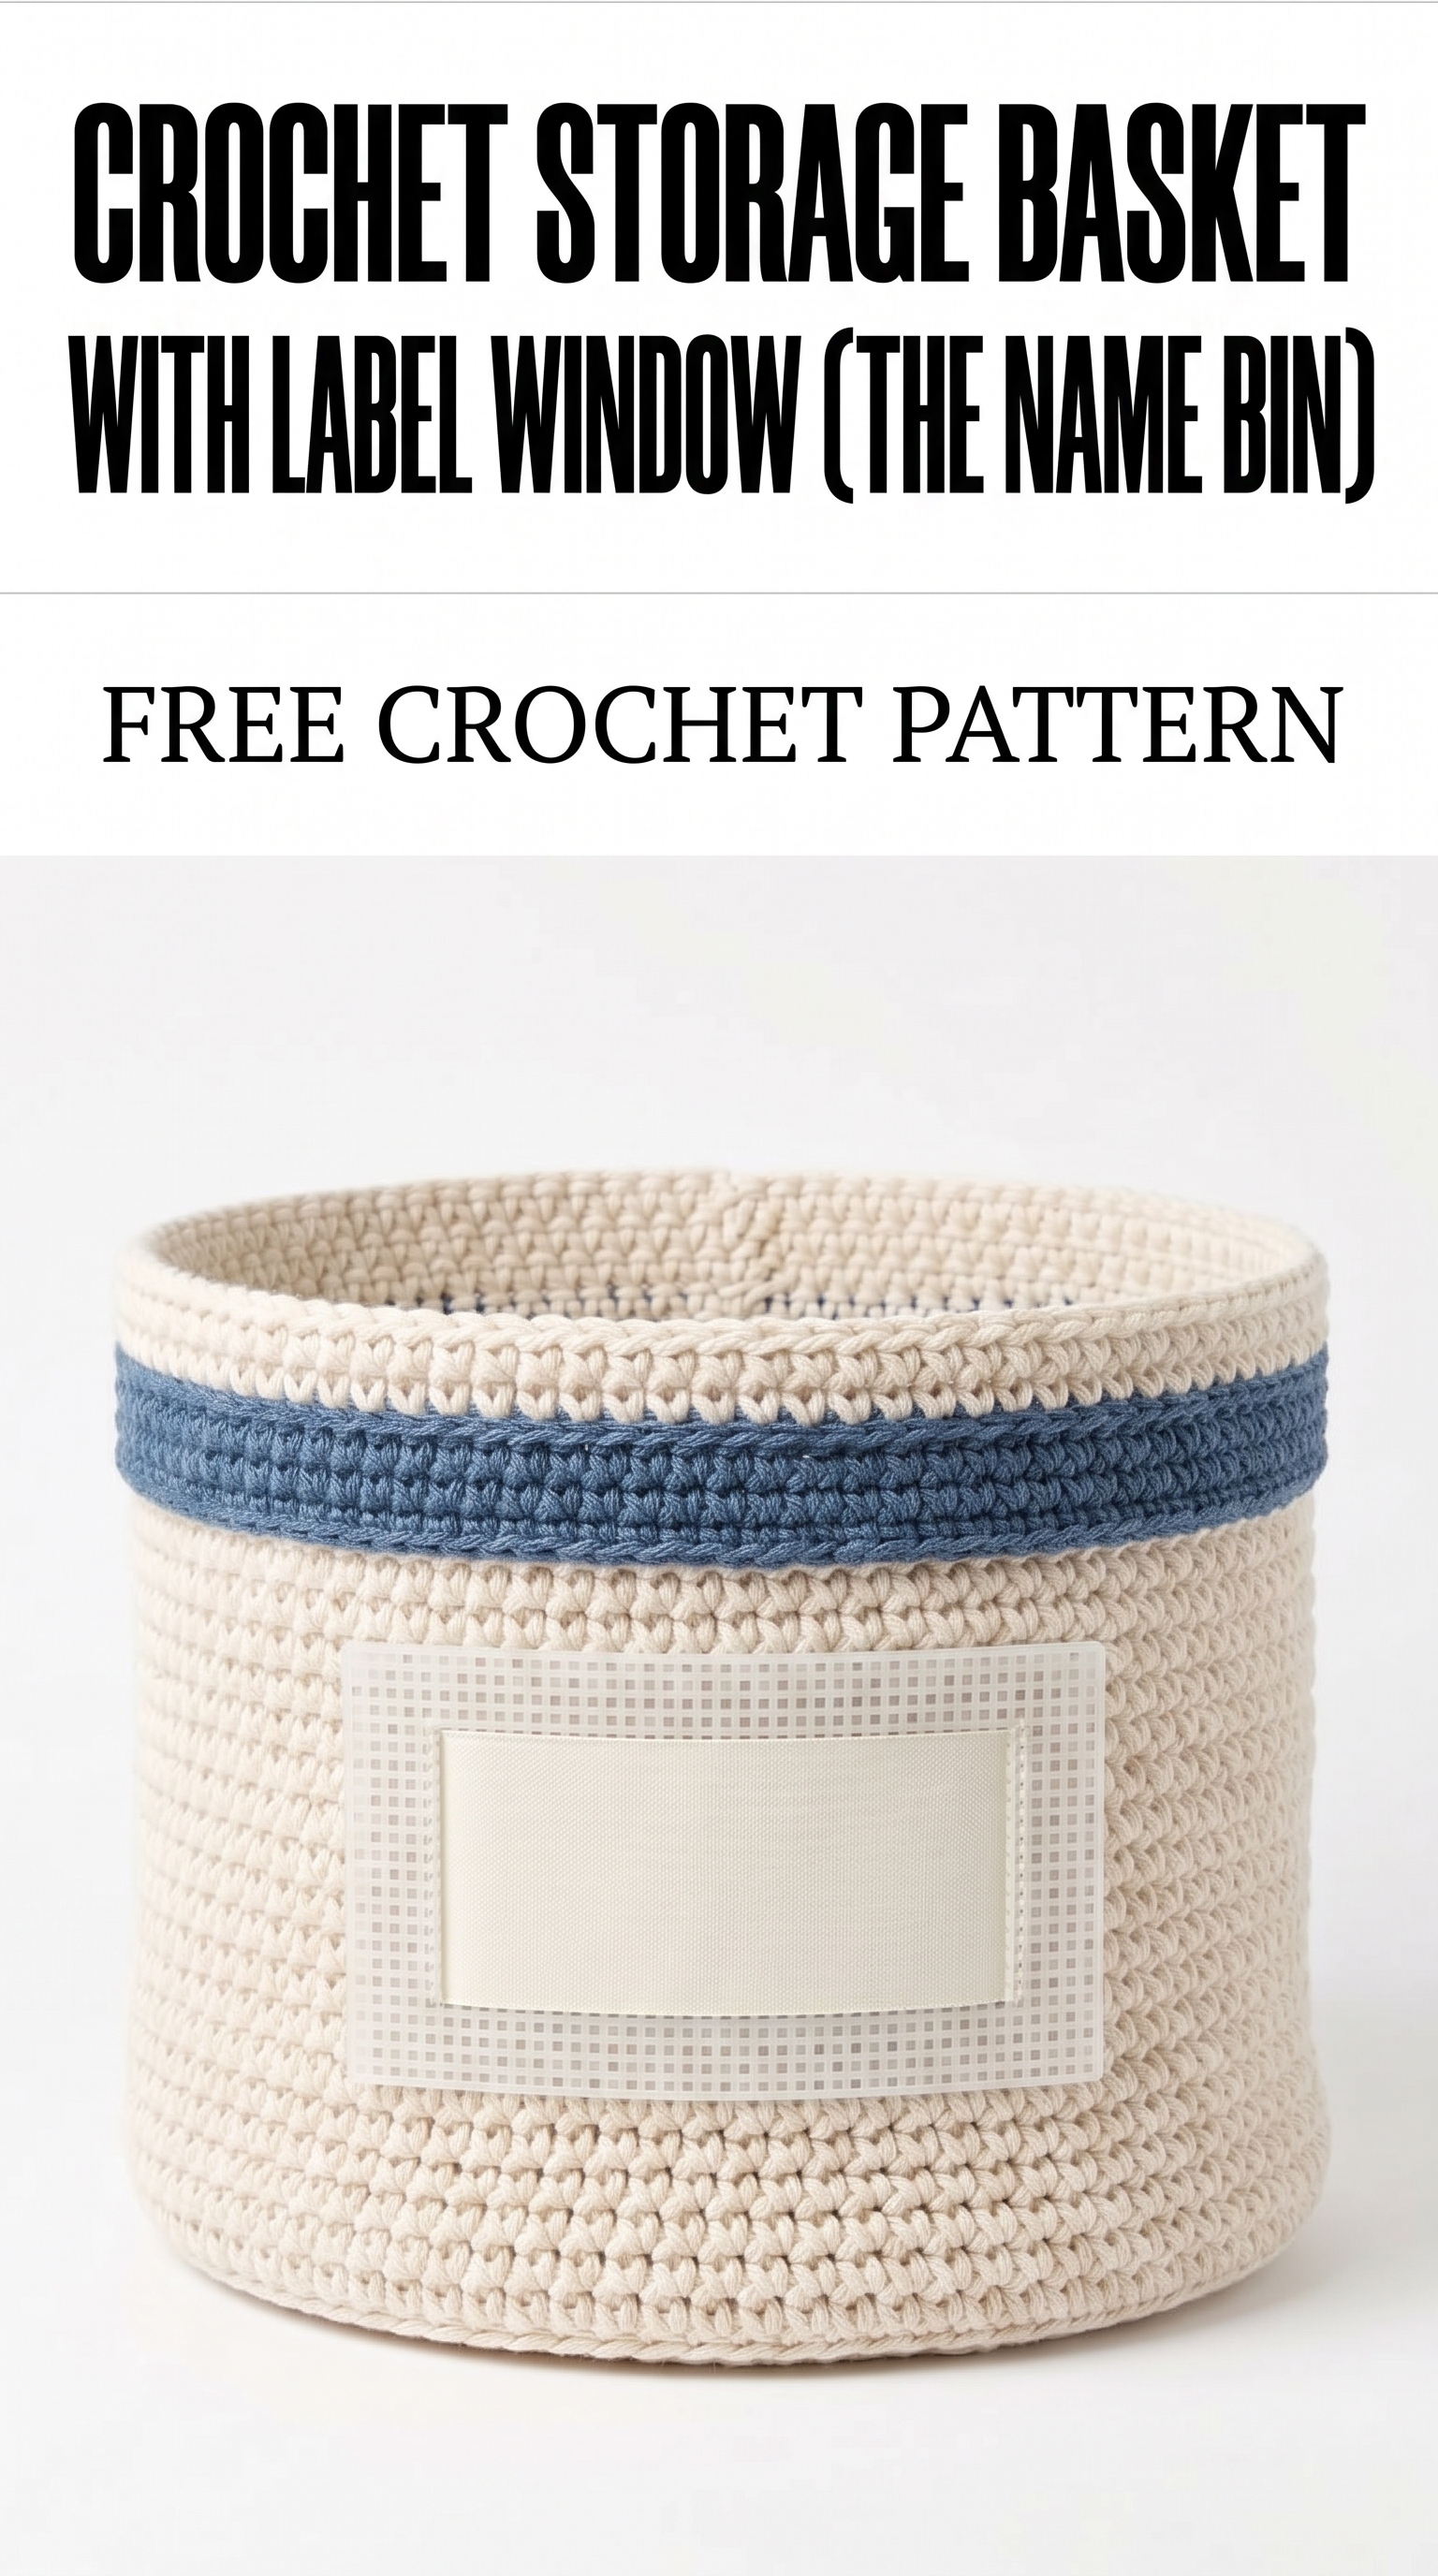
Image shown for inspiration — your finished result may vary slightly.