Waffle Stitch Crochet Bath Mat Tutorial (Free & Easy)
A free, beginner-friendly pattern with clear steps for making a textured waffle stitch bath mat.
Published October 5, 2026 · by Lina
- Skill level
- Intermediate
- Yarn weight
- Medium (4)
- Hook size
- 5 mm (H-8)
- Time
- 5–6 hours
- Gauge
- 14 stitches and 10 rows = 10 cm
- Yardage
- about 1,000 m
- Sizes
- 61 × 91.5 cm (24 × 36 in)
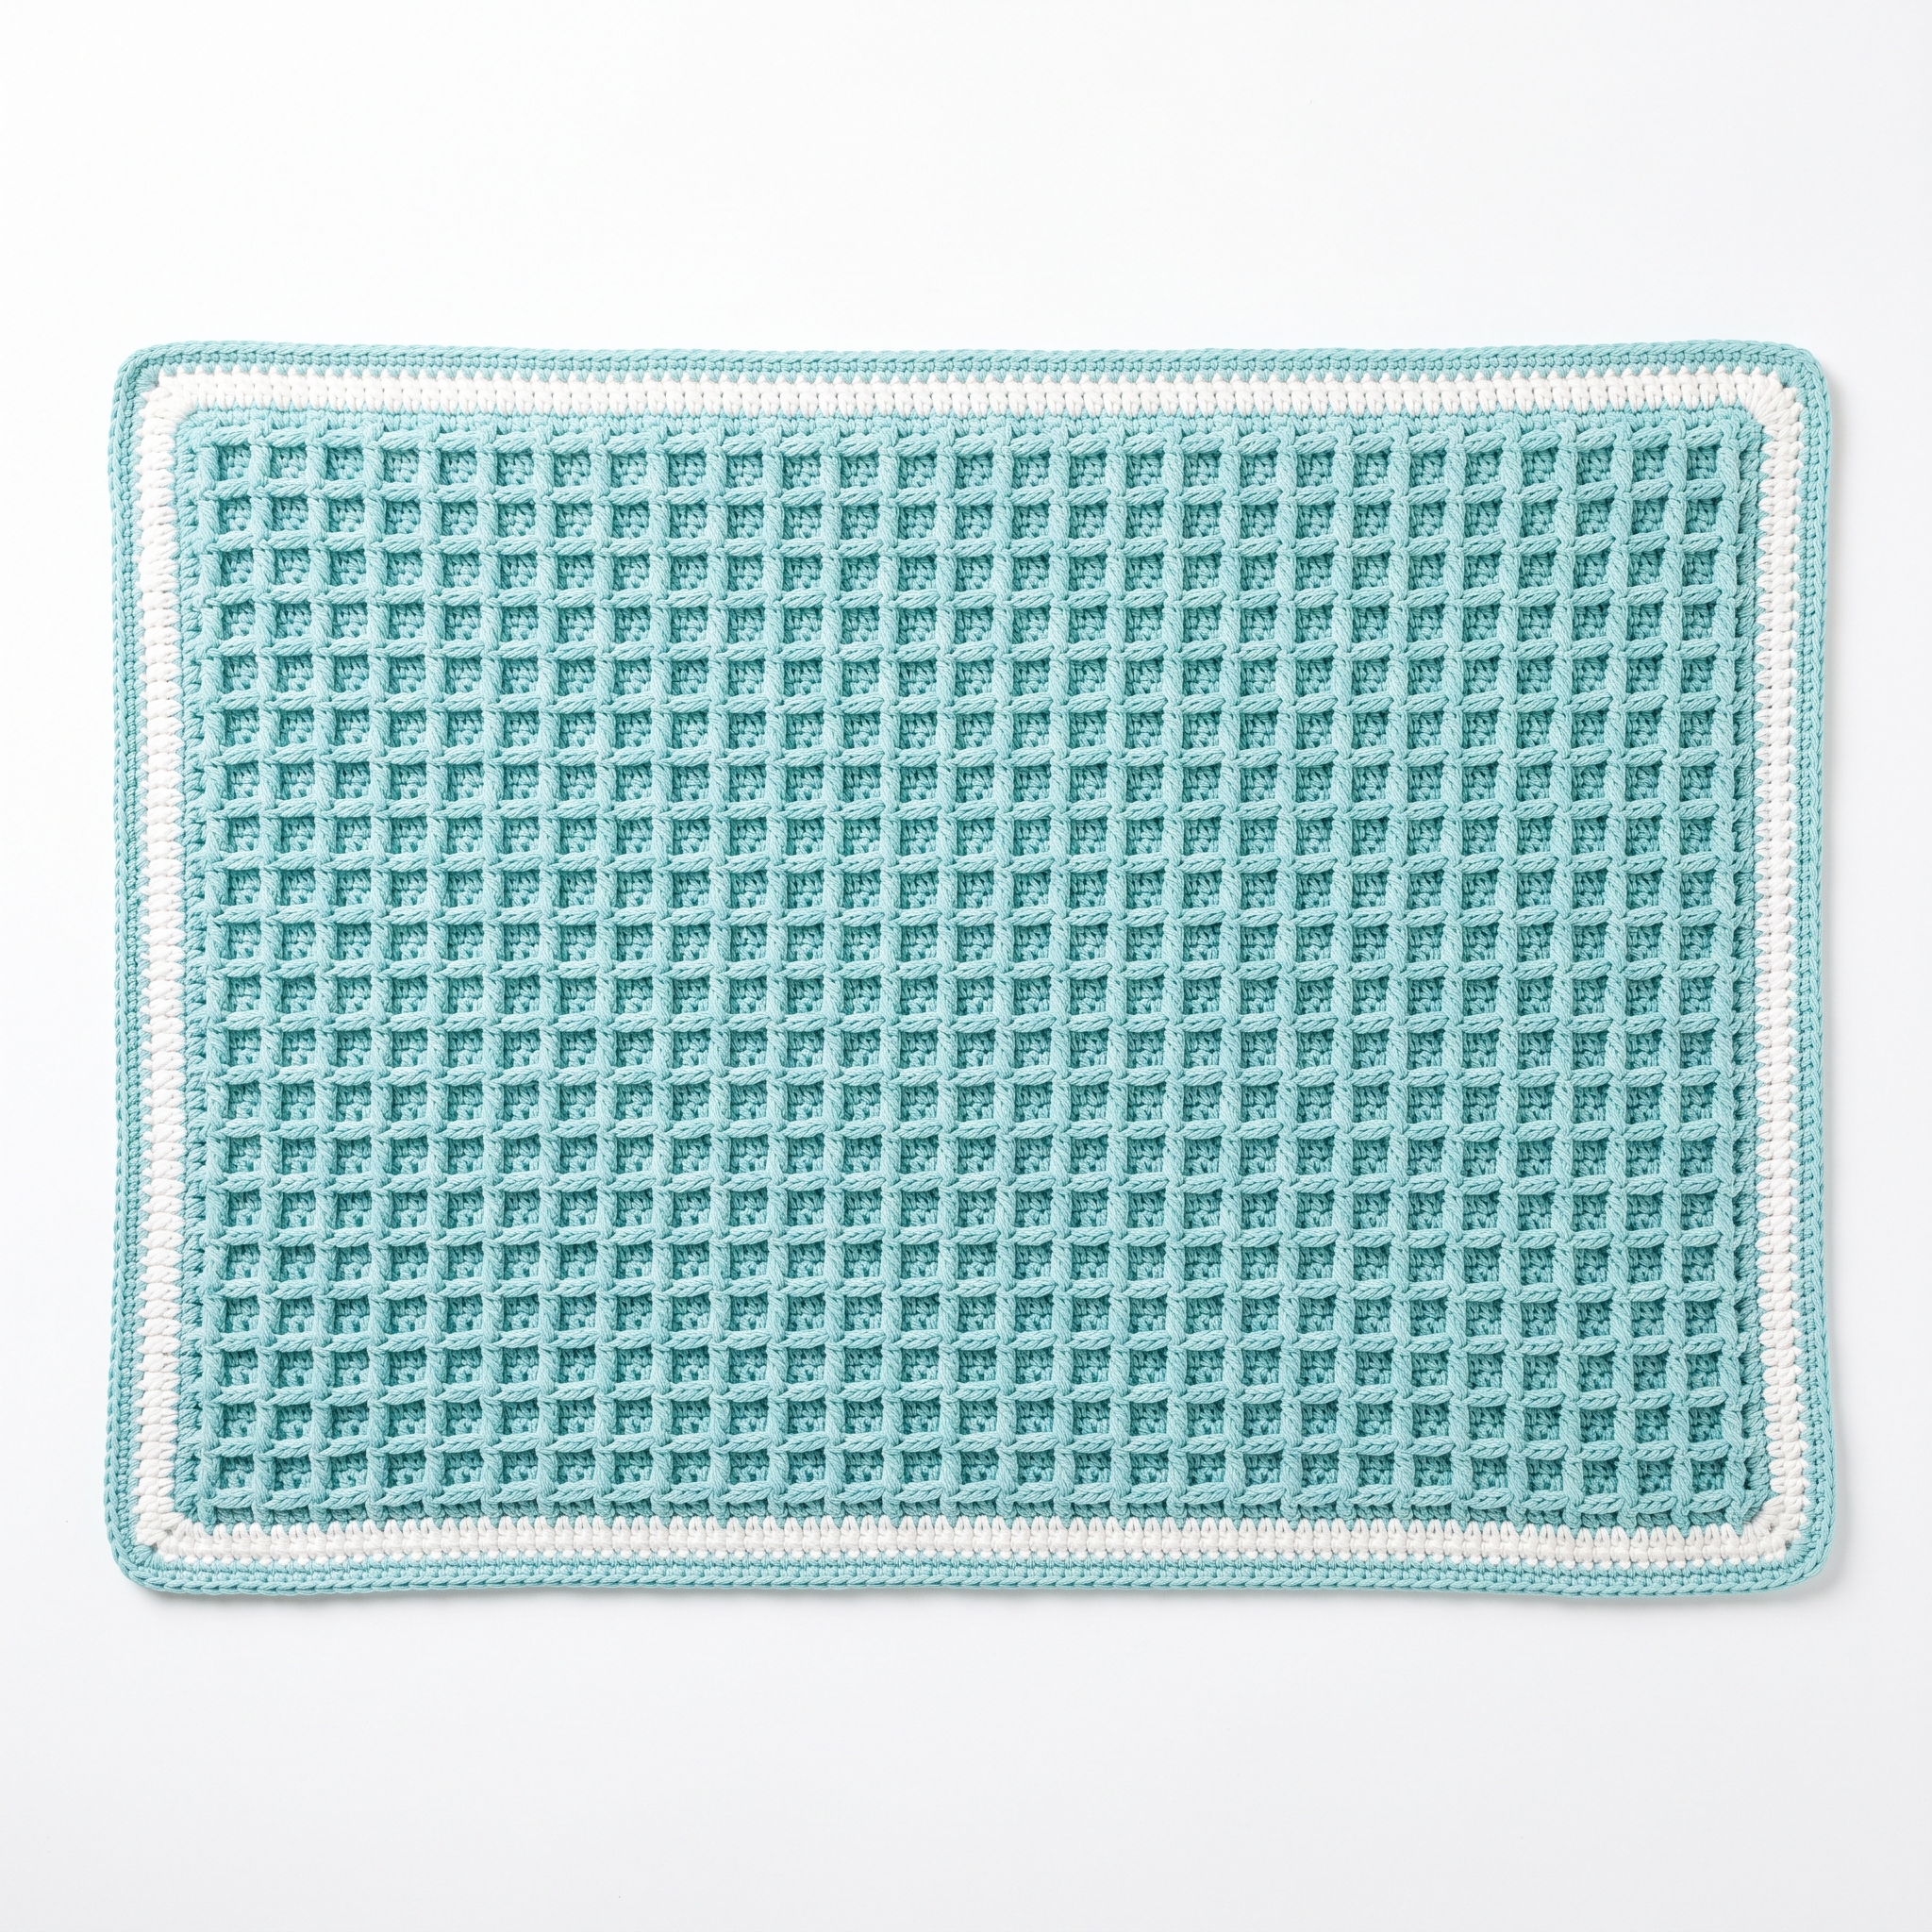
This waffle stitch crochet bath mat makes a cozy addition to your bathroom decor. Its textured pattern is not only visually appealing, but also adds absorbency and comfort underfoot. The project uses basic stitches like double crochet (dc) along with front post and back post double crochet for a unique texture.
This pattern is perfect for those who want to learn about color changing and the waffle stitch technique. With some patience and practice, you'll create a functional and decorative piece for your home.
Why You'll Love This Bath Mat
- Cozy texture – the waffle stitch adds a rustic feel to your bathroom.
- Versatile color options – use your favorite hues for a custom look.
- Practical size – measuring 61 × 91.5 cm (24 × 36 in), it fits perfectly in any bathroom setting.
- Quick to make – the project can be completed in about 5–6 hours.
Is This Pattern Good for Beginners?
Yes! While the waffle stitch uses a few more techniques, the pattern is broken down step-by-step. If you are comfortable with basic stitches and ready to try something new, this project is a great choice.
Crochet Abbreviations (US Terms)
- ch – chain
- dc – double crochet
- fpdc – front post double crochet: yarn over, insert hook around the front of the stitch below, yarn over again, pull up a loop, yarn over, and finish as a double crochet.
- bpdc – back post double crochet: yarn over, insert hook around the back of the stitch below, yarn over again, pull up a loop, yarn over, and finish as a double crochet.
- st(s) – stitch(es)
Size and Gauge
- Finished Size: 61 × 91.5 cm (24 × 36 in)
- Gauge: 14 stitches and 10 rows in waffle stitch = 10 cm (4 in).
To measure gauge, make a small swatch in waffle stitch. If it's off, try a different hook size until you get the right gauge.
Step 1: Foundation Row
The foundation row creates the base for your bath mat.
- Ch 64 (to create a foundation of 24 inches).
- Row 1: dc in 4th ch from hook, dc in each ch across (62 dc).
- Row 2: Ch 3, turn. *Fpdc in next st, bpdc in next st; repeat from * across (62 sts).
- Repeat Row 2 until the mat measures approximately 91.5 cm (about 40 rows), ending with a Row 2.
Step 2: Color Change and Finishing
We’ll change colors here for a neat finish.
Last row should be in "Cloud White". Change colors with the last yarn over in the last stitch of the previous row.
Continue for 5 more rows using "Cloud White":
- Row 1: Ch 3, turn. *Fpdc in next st, bpdc in next st; repeat from * across (62 sts).
- Repeat until you've completed a total of 5 rows with "Cloud White".
Finish off, cut yarn, and weave in all ends.
Assembly & Finishing
If you choose to use a backing, cut the fabric to match your mat size. Stitch it securely around the edges with a sewing machine. To block the mat, soak it in cold water, gently press to remove excess, reshape, and pin it flat to dry.
Beginner Tips for a Neat Bath Mat
- Use a stitch marker to keep track of your rows and avoid missing any stitches.
- Count your stitches at the end of each row to ensure the mat stays even.
- Check your hook tension frequently to maintain consistent stitch sizes.
Common Mistakes (and How to Fix Them)
- "My edges are uneven." – This usually happens from skipping stitches. Count your stitches to keep track.
- "The mat is curling." – Curling can occur if the tension is too tight. Try a looser tension on your next rows.
- "My color change looks messy." – To improve your color changes, ensure you switch yarn correctly by completing the last yarn over of the previous stitch in the new color.
How to Care for Your Bath Mat
Machine wash in cold water and air dry. You can tumble dry on low, but be careful to maintain the shape and color of your yarn.
FAQ
How can I customize the size of the bath mat?
To make a smaller mat, reduce the initial chain in multiples of 4. For example, use 60 chains for a 20-inch mat.
Can I use any yarn for this project?
It’s best to use a medium weight (Category 4) cotton yarn for durability and moisture absorption, but you can experiment with other fibers if you prefer.
How long will it take to complete this bath mat?
Most people complete this project in about 5–6 hours, depending on their crochet speed.
Want a matching set? Pair it with our crochet towel holder or see all our free crochet bath patterns.
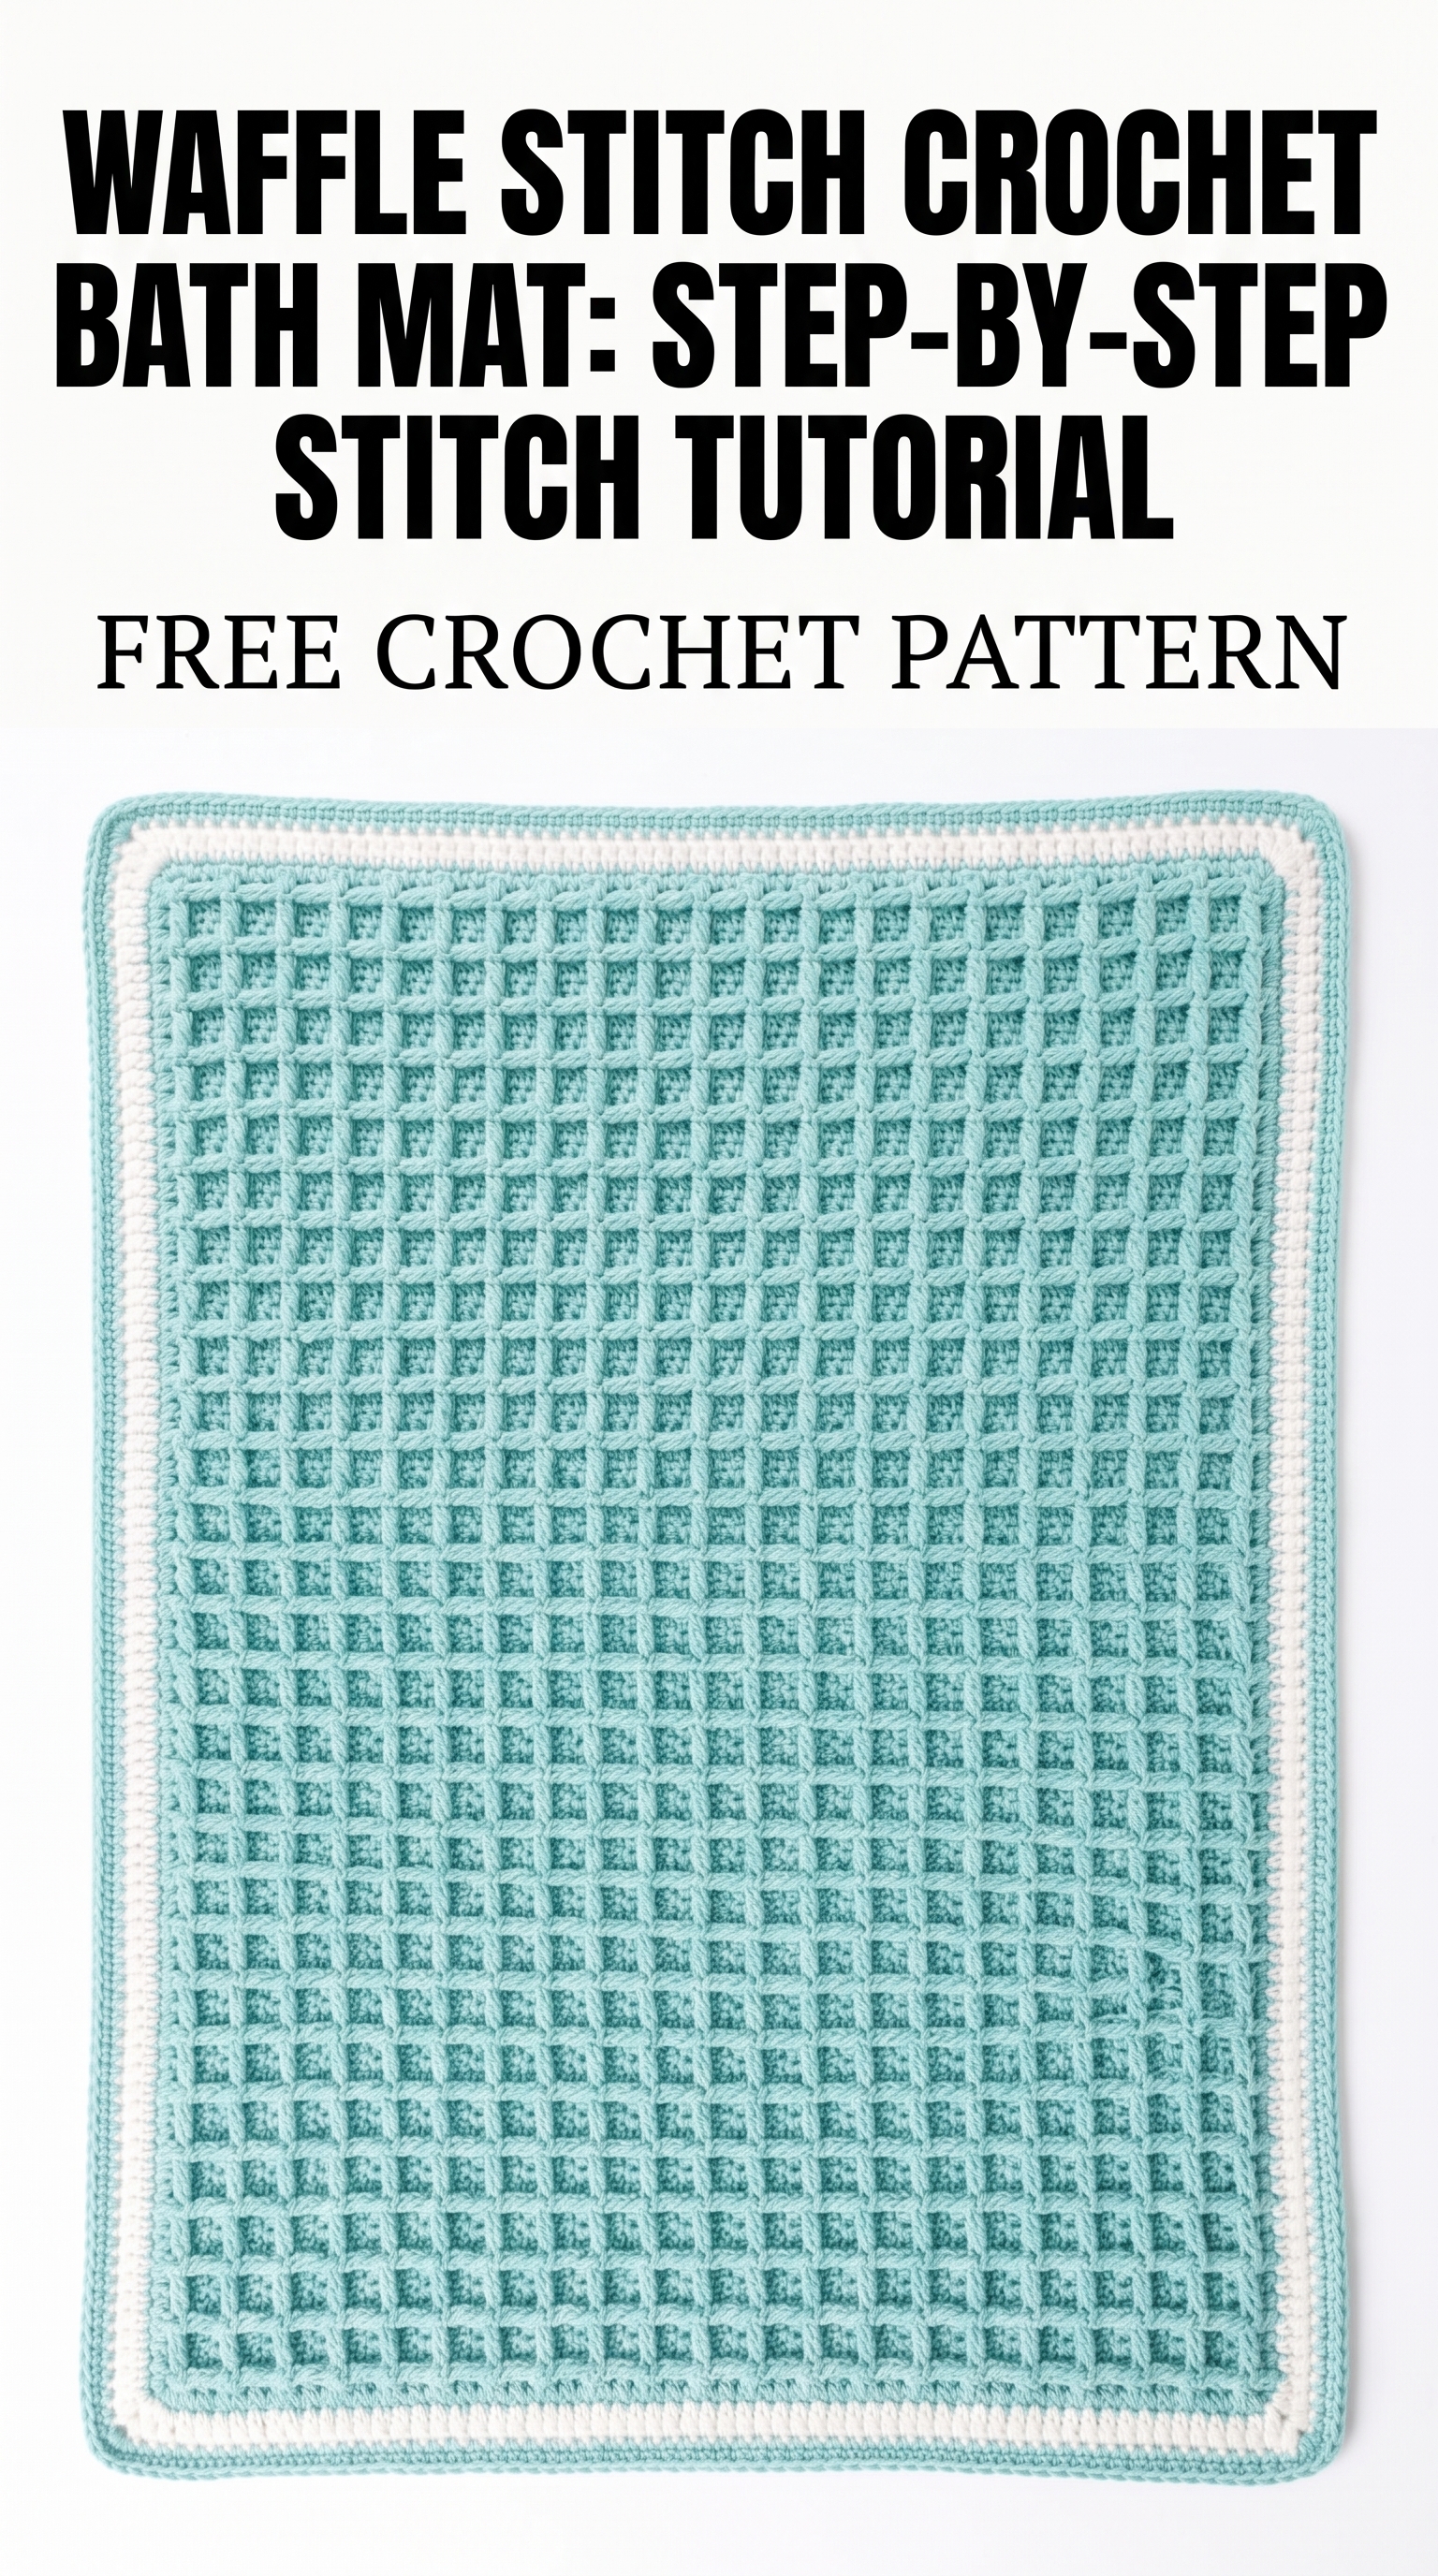
Image shown for inspiration — your finished result may vary slightly.