How to Crochet a Hanging Scarf Organizer With Loops (The Scarf Ladder)
Creating your very own hanging scarf organizer is easier than you might think! This project is beginner-friendly and will help you keep your scarves neat and accessible while also adding a stylish touch to your room or closet. Let’s get started on making your own Scarf Ladder!
Published October 5, 2026 · by Lina
- Skill level
- Beginner
- Yarn weight
- Worsted
- Hook size
- 5.00 mm (H-8 US)
- Time
- Approximately 6 - 8 hours
- Sizes
- Approximately 12 inches wide by 36 inches long (30.5 cm x 91.5 cm)
Creating your very own hanging scarf organizer is easier than you might think! This project is beginner-friendly and will help you keep your scarves neat and accessible while also adding a stylish touch to your room or closet. Let’s get started on making your own Scarf Ladder!
[IMAGE PLACEHOLDER]
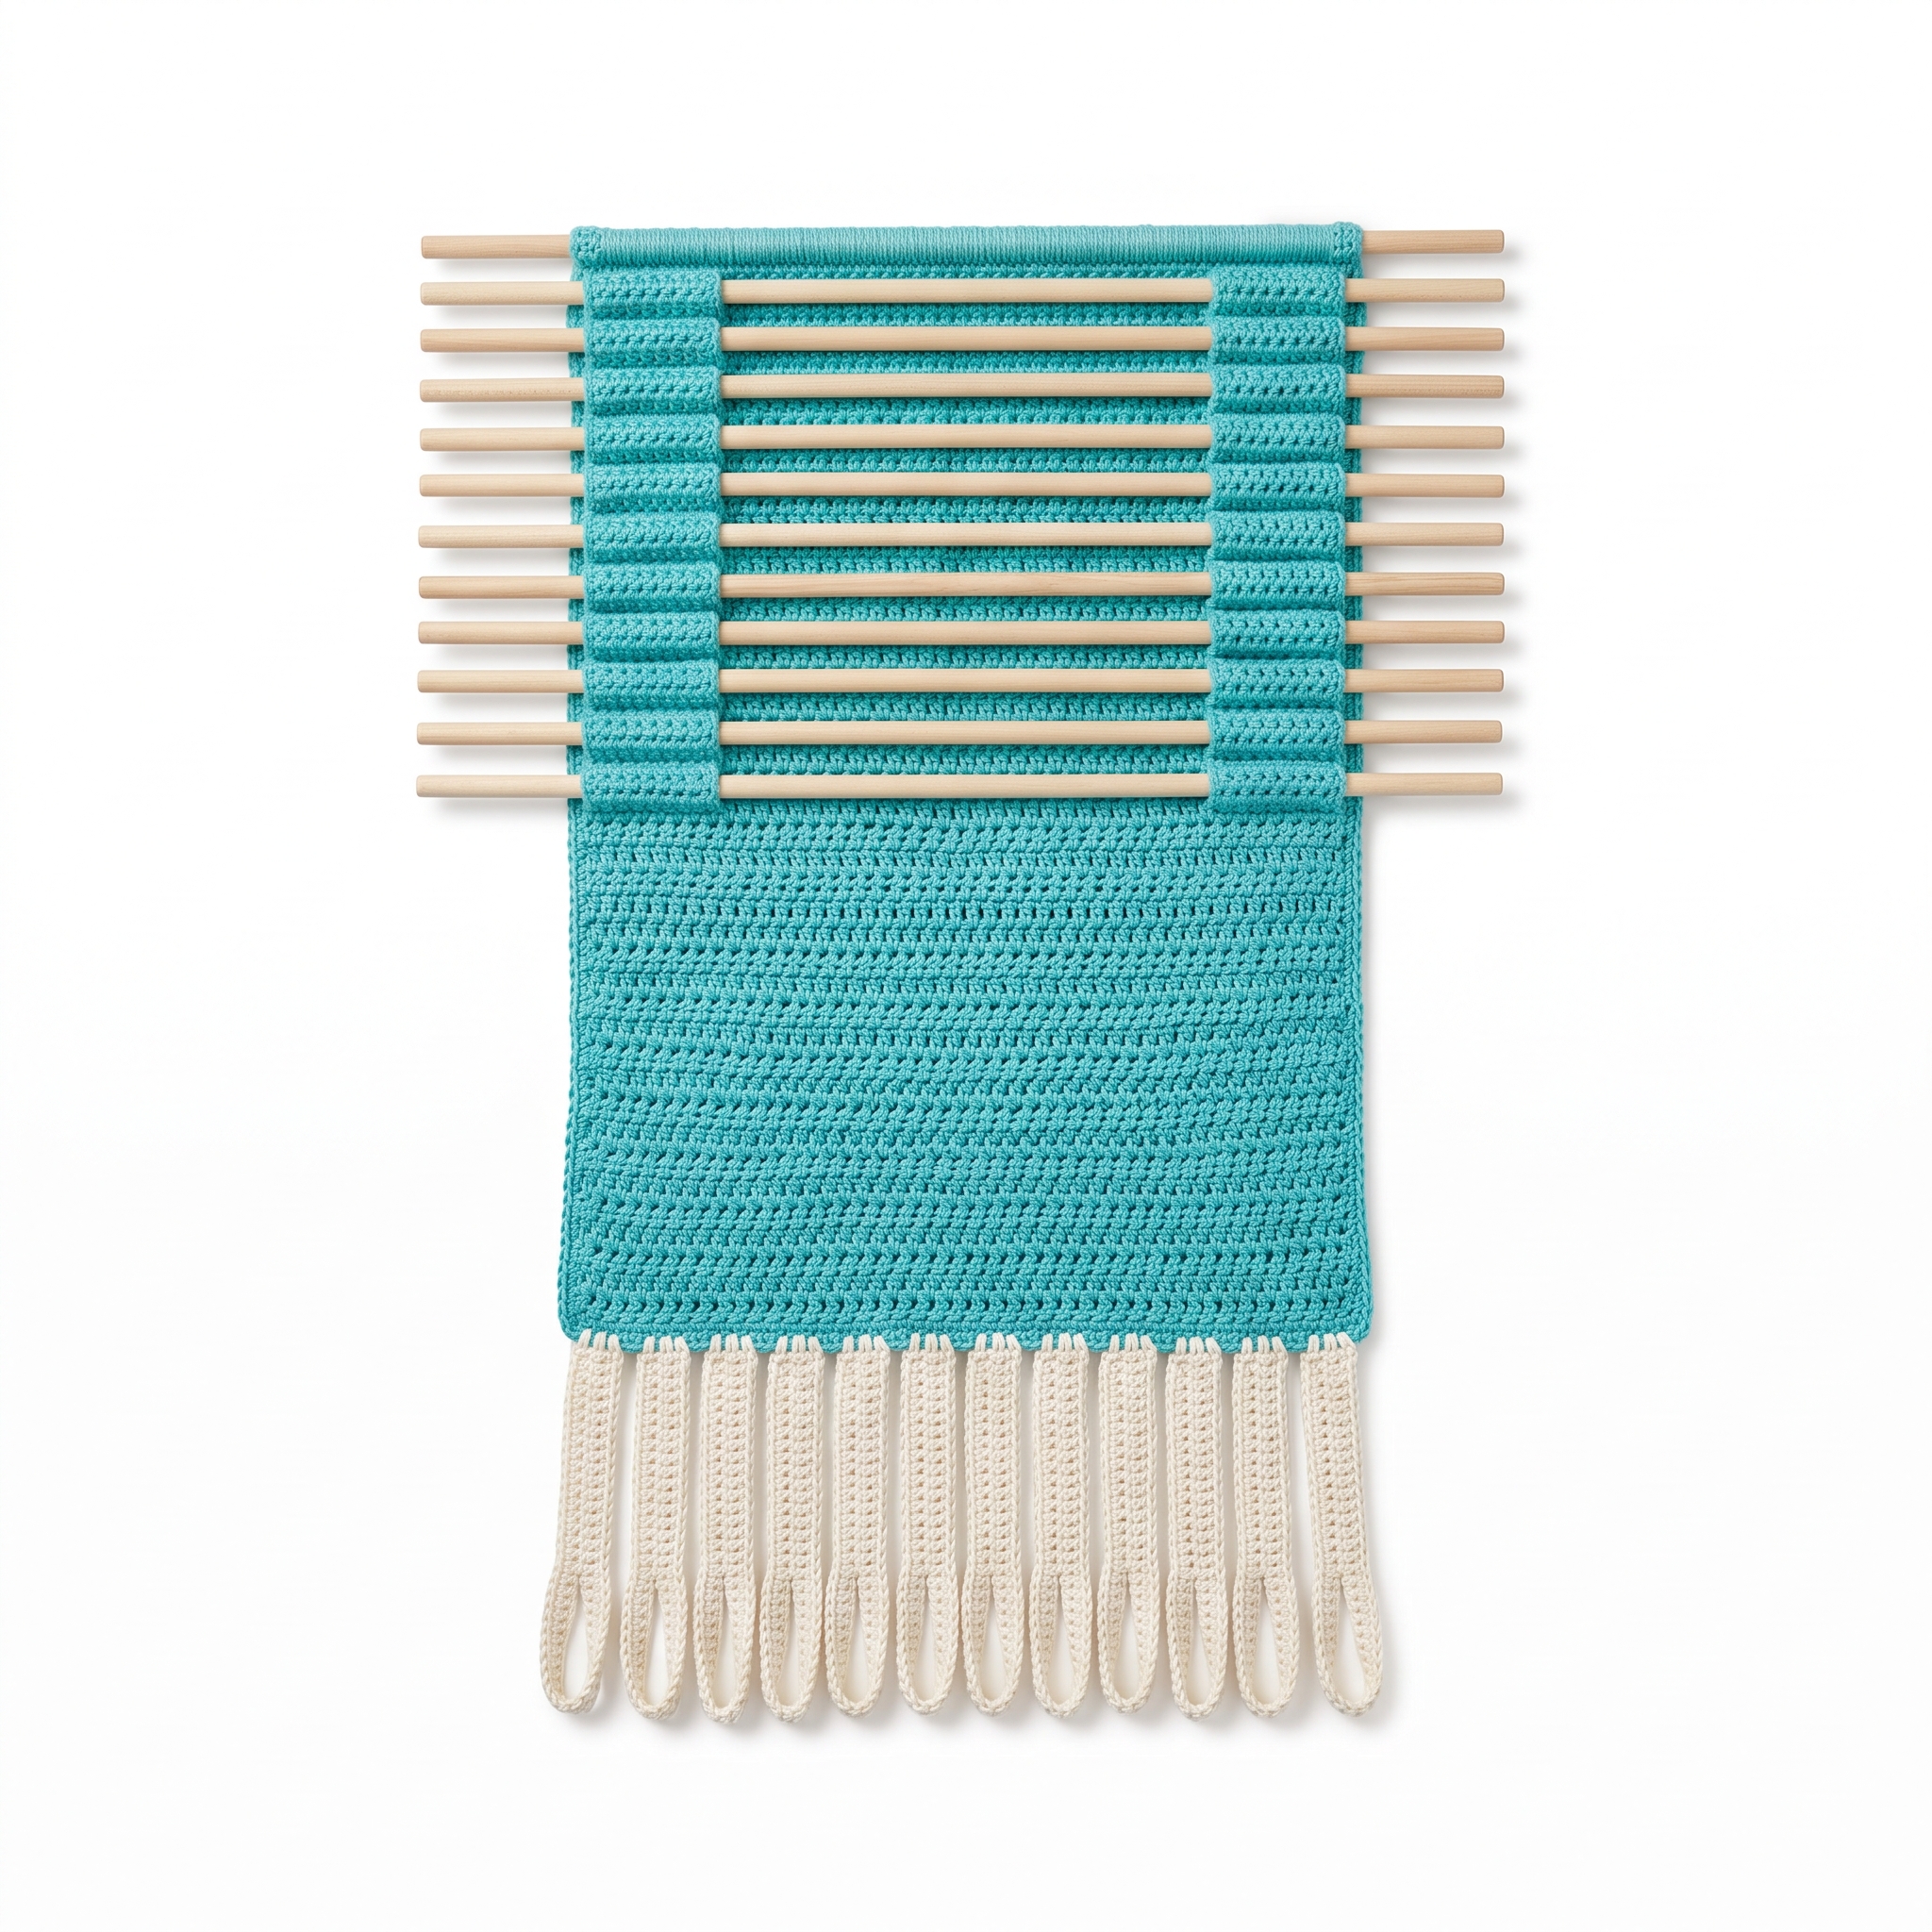
Finished Scarf Ladder Organizer hanging beautifully with colorful scarves.
Why You’ll Love This Pattern
This crochet hanging scarf organizer is perfect for beginners. It combines simple crochet techniques with beautiful results. In just a few hours, you’ll create a functional organizer that brings order to your wardrobe. Plus, it’s a fun way to practice your crochet skills while getting a fabulous finished piece!
In This Post
- What You'll Need
- Stitches You'll Use in This Pattern
- Pattern Details
- Abbreviations
- Special Stitches
- Let's Get Started: Full Pattern Instructions
- Assembly / Putting It All Together
- Finishing
- Full Recipe-Card-Style Summary Box
- What’s Next?
What You'll Need
Yarn:
- Weight Category: Worsted (Medium) — This is a medium-thickness yarn that is easy to work with and helps you see your stitches clearly.
- Fiber Content: 100% cotton — This gives your scarf organizer a nice texture and durability.
- Main Color (MC): Turquoise (approximately 250 yards)
- Contrast Color (CC): Off-white (approximately 150 yards)
Other Materials:
- 12 wooden dowels, each 12 inches long (30.5 cm) — These will hold your scarf loops.
- 1 wooden or metal hook for hanging (optional) — Use this to hang your organizer up.
Crochet Hook:
- Size: 5.00 mm (H-8 US) — This is the hook size you'll use for the project.
Other Tools:
- Tapestry needle — This is for weaving in the ends.
- Scissors — To cut your yarn.
- Measuring tape — To check measurements as you work.
- Stitch markers (optional) — These can help you keep track of your rows.
Stitches You'll Use in This Pattern
- Chain (CH): To create the starting base, yarn over (yarn going over your hook) and pull through the loop on your hook.
- Double Crochet (DC): Yarn over, insert your hook into a stitch, yarn over again and pull back through. You’ll have three loops on your hook. Yarn over again, pull through the first two loops, then yarn over and pull through the last two loops.
- Slip Stitch (SL ST): Insert your hook into a stitch, yarn over, and pull the yarn through both the stitch and the loop on your hook. This is used mainly for joining pieces.
- Single Crochet (SC): Insert your hook into a stitch, yarn over, pull up a loop, yarn over again, and pull through both loops on your hook.
Don't worry if these stitches feel tricky at first! With practice, you'll get the hang of them.
Pattern Details
- Skill Level: Beginner
- Finished Size: Approximately 12 inches wide by 36 inches long (30.5 cm x 91.5 cm)
- Time to Complete: Approximately 6 - 8 hours
- Yarn Amounts:
- Approximately 250 yards in main color and 150 yards in contrast color.
- Terms: This pattern uses US crochet terms.
Abbreviations
- CH = chain
- DC = double crochet
- SL ST = slip stitch
- SC = single crochet
- STS = stitches
Let's Get Started: Full Pattern Instructions
Body
Foundation Row
- CH 50 (50 sts)
- This means you will create 50 chain stitches to start.
Row 1
- DC in 4th CH from hook, DC in each CH across (48 sts)
- To do this, count 1, 2, 3, 4 in your chain and work a double crochet in the 4th chain. Then continue doing a double crochet in each chain until you reach the end.
Row 2
- CH 3 (counts as first DC), turn. DC in each DC across (48 sts)
- Here, chain 3 to count as your first double crochet, then turn your work. Perform a double crochet in each double crochet across the row.
Repeat Row 2
- Continue to repeat Row 2 until your piece measures approximately 36 inches (91.5 cm) long. You should end with a total of 48 double crochets after your last row.
Edging
- CH 1, SC in each ST across (48 sts)
- Chain 1, then make a single crochet in each stitch across to create a neat edge.
- Fasten off your work and use your tapestry needle to weave in any ends.
Loops
Make 12 Loops
CH 30 (30 sts)
- Create a chain of 30 for each loop.
SC in 2nd CH from hook, SC in each CH across (29 sts)
- Skip the first chain, then do a single crochet in each chain until the end of your 30 chains.
- Fasten off, leaving a long tail for sewing.
Repeat for a total of 12 loops.
Attach Loops to Body
Evenly space the loops along the bottom edge of the body.
- You will want to place them about 3 inches (7.5 cm) apart.
Using the tapestry needle and the long tail, sew the bottom ends of each loop securely onto the body.
- Make sure they are attached tightly.
Assembly / Putting It All Together
Final Assembly
Attach the wooden dowels at intervals along the top edge.
- This adds stability to your scarf organizer.
Fold the top edge of the body over each dowel.
- This creates a pocket where the dowels will sit. Sew or slip stitch this pocket closed securely.
Hanging
Use one of the dowels to attach your hanging hook or securely fasten the top dowel directly to the wall or closet.
- This way, your scarf ladder will hang safely.
Weave in any loose ends from the loops and body.
- Use your tapestry needle for this, ensuring everything looks neat.
Finishing
Weave in Ends: To weave in ends, thread the end of your yarn onto your tapestry needle and weave it through several stitches on the back of your project. This hides the yarn so it doesn’t unravel.
Blocking (optional): Blocking is when you shape your crochet piece and allow it to dry to keep a nice form. If you want your scarf ladder to look extra polished, you can lightly stretch it into shape and pin it down on a flat surface until it dries.
Full Recipe-Card-Style Summary Box
- Title: Crochet Hanging Scarf Organizer With Loops (The Scarf Ladder)
- Yield: 1
- Description: A stylish and functional organizer that holds multiple scarves.
- Materials:
- Yarn: 250 yards turquoise, 150 yards off-white
- Wooden dowels: 12 pieces, 12 inches each
- Wooden or metal hook (optional)
- Tools:
- Crochet hook: 5.00 mm (H-8 US)
- Tapestry needle, scissors, measuring tape, stitch markers (optional)
- Instructions:
- Foundation Row: CH 50 (50 sts)
- Row 1: DC in 4th CH from hook, DC in each CH across (48 sts)
- Row 2: CH 3, turn. DC in each DC across (48 sts)
- Repeat Row 2 until piece measures 36 inches (91.5 cm) long.
- Edging: CH 1, SC in each ST across (48 sts). Fasten off.
- Make 12 loops: CH 30, SC in 2nd CH from hook, SC across (29 sts), fasten off.
- Attach loops evenly spaced on body.
- Attach dowels, fold and sew pocket closed, hang.
- Notes: Consistent tension is key; hand wash and lay flat to dry.
What’s Next?
- Save this for later: Make sure to save or pin this post, so you'll be able to come back to it whenever you want to create your scarf ladder.
- Leave a comment: If you have any questions or if something is unclear, don't hesitate to ask! I’m here to help you every step of the way.
- Share your finished project: I’d love to see your creations! Share your finished scarf ladder, no pressure but feel free to show off your work!
You've got this! Enjoy the process of creating a beautiful and practical piece for your home. Happy crocheting!
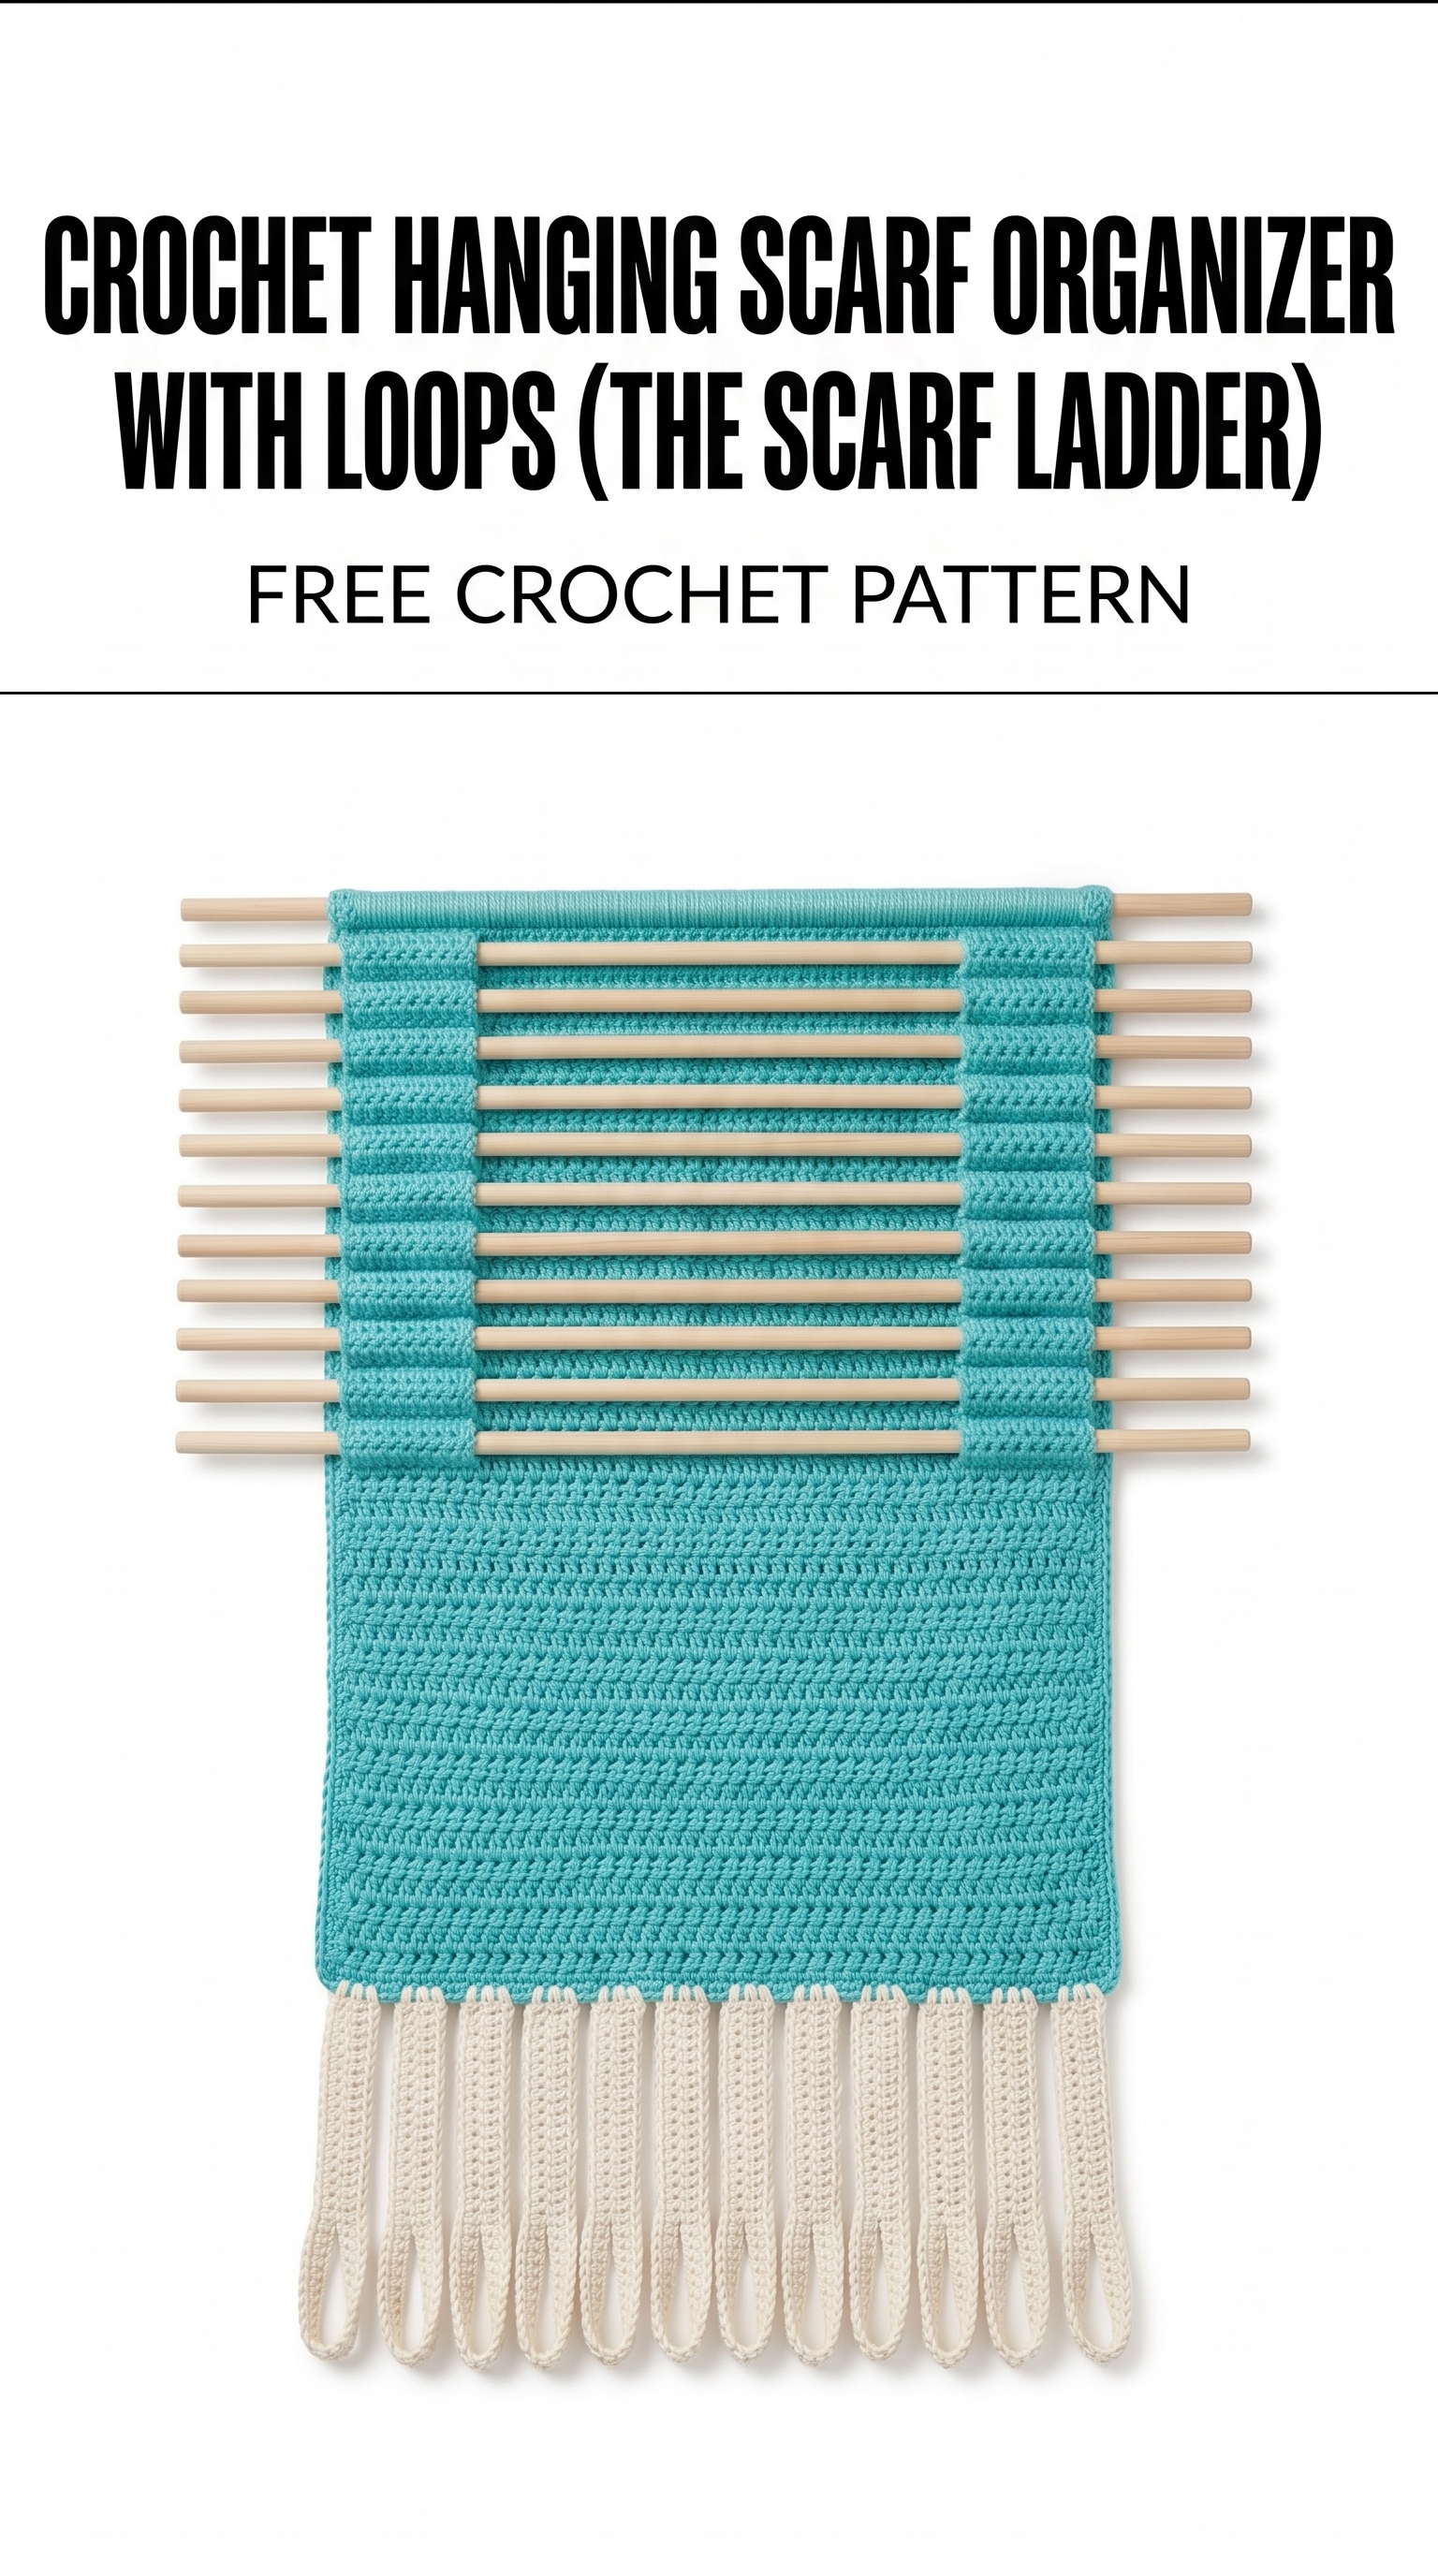
Image shown for inspiration — your finished result may vary slightly.