How to Crochet a Pouf Ottoman Cover – Easy Pattern for Beginners
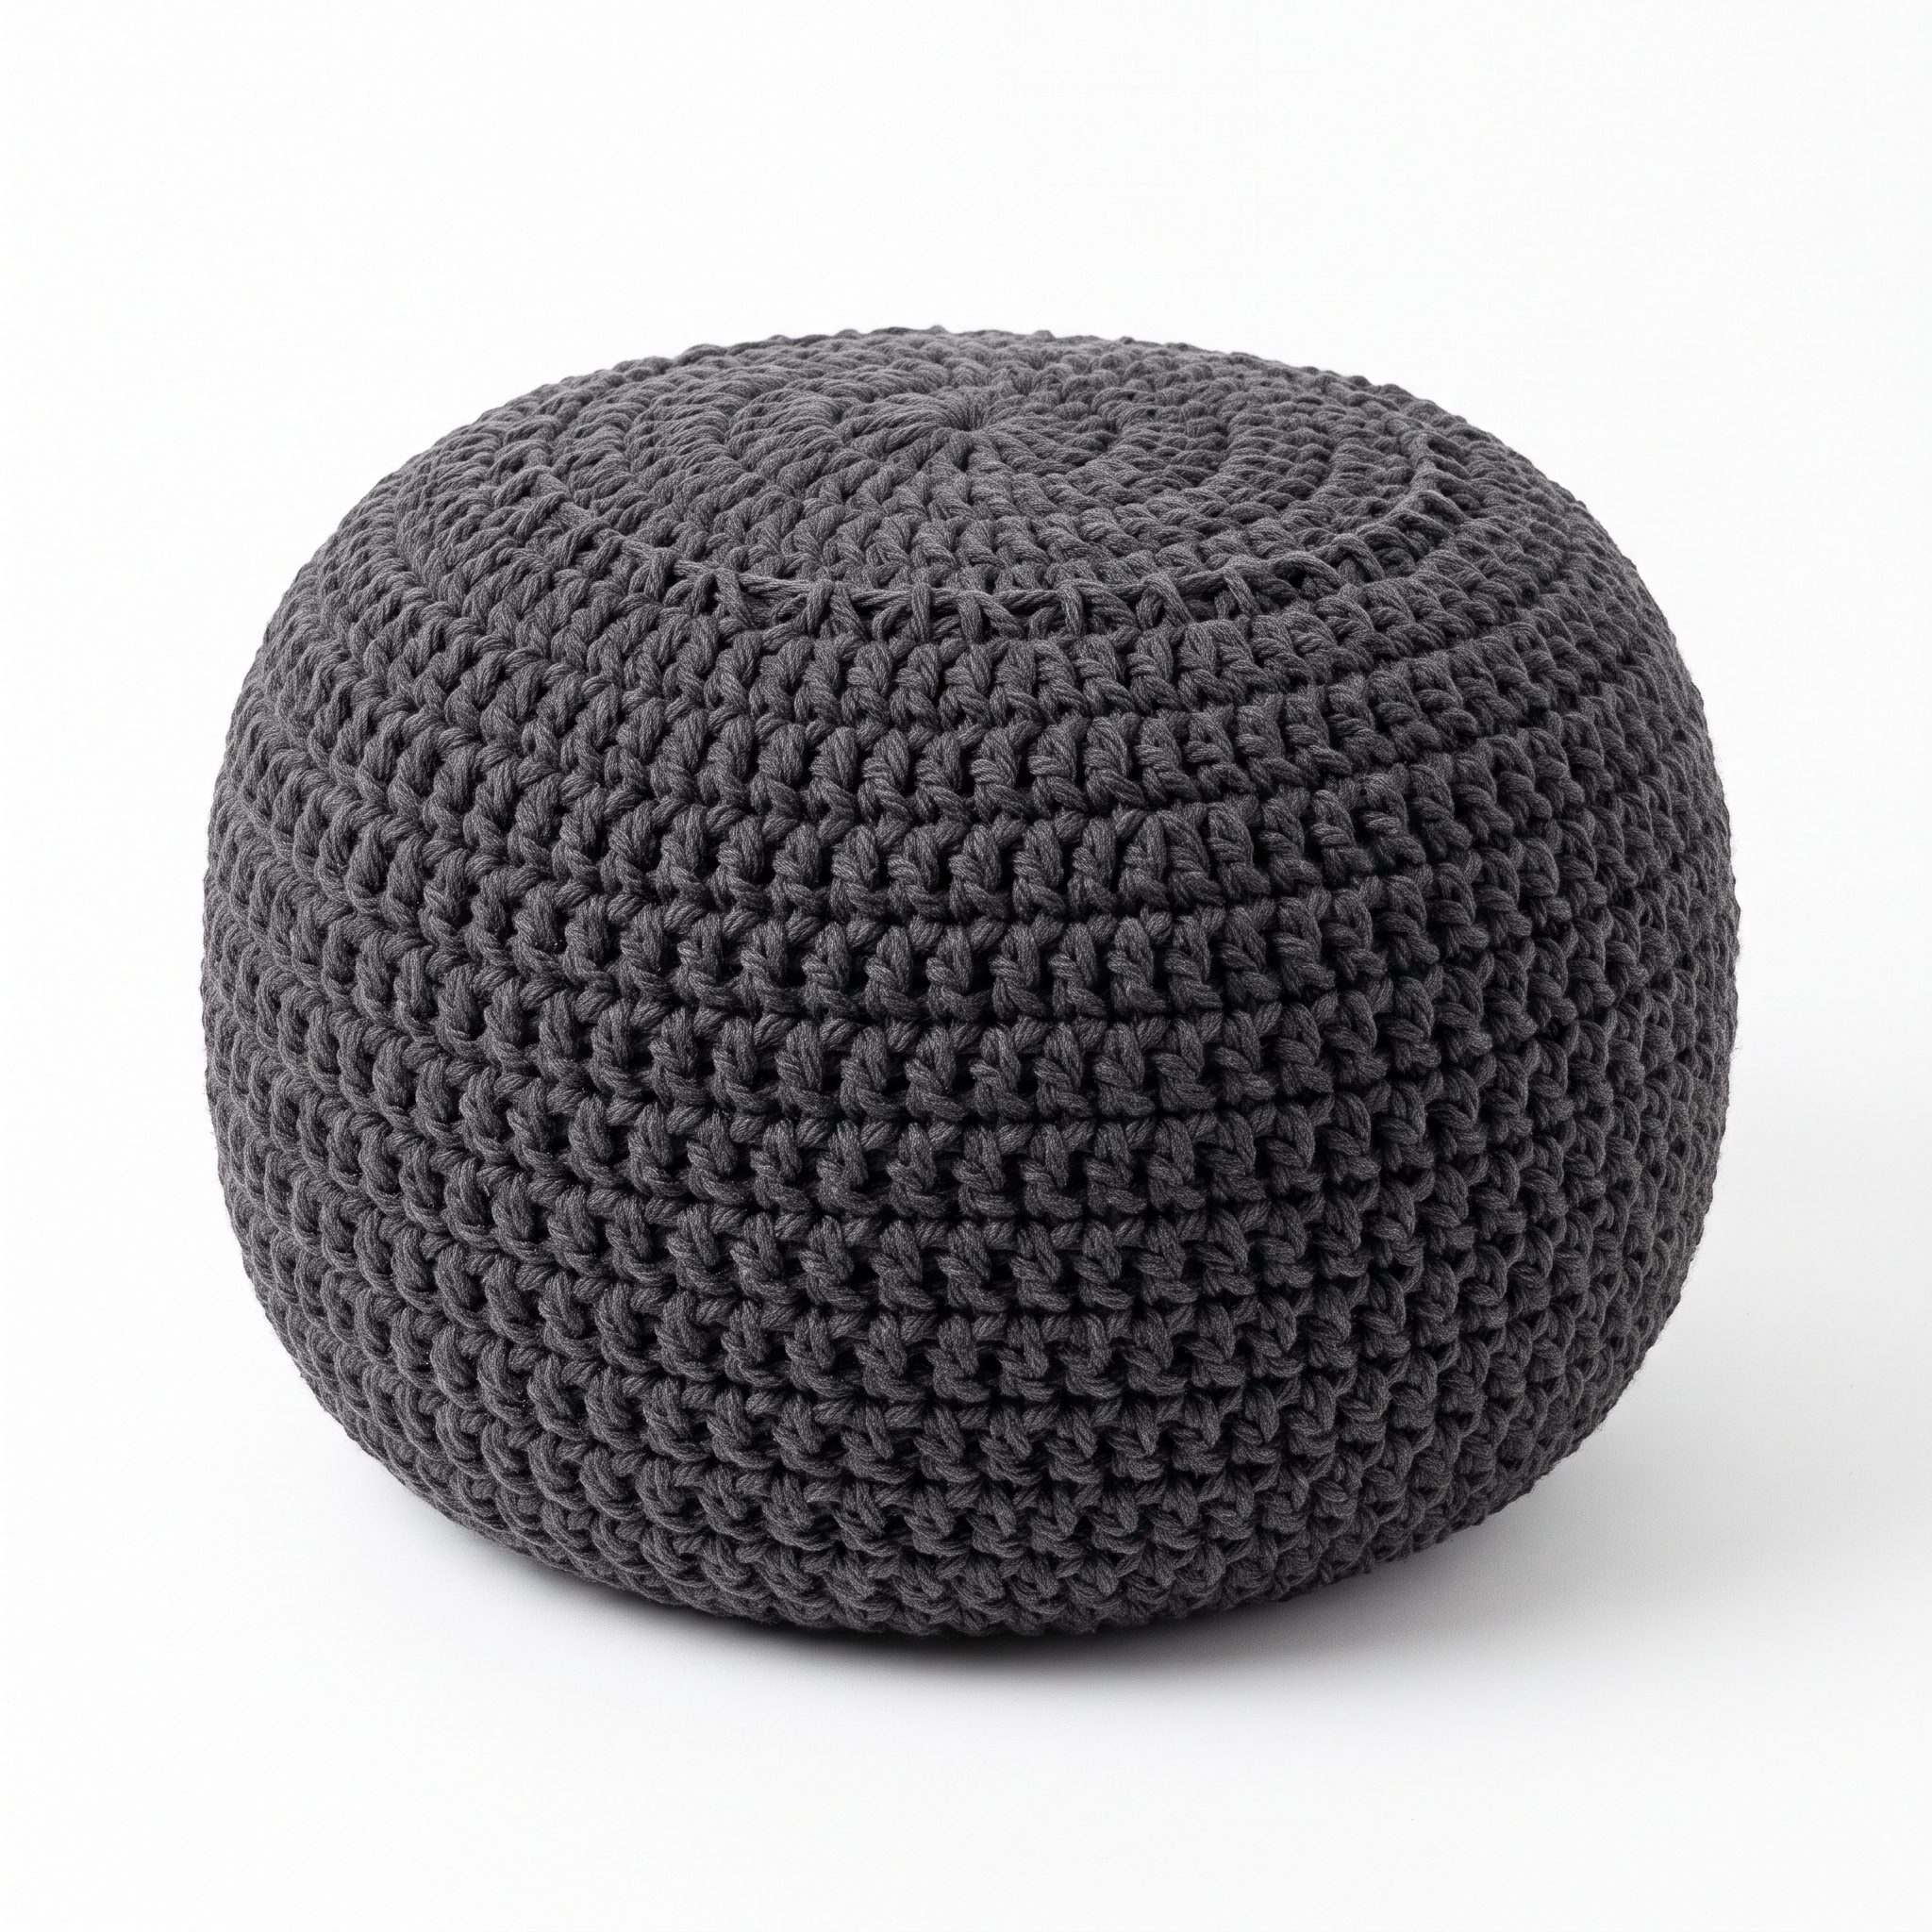
Welcome! Today, we’re going to crochet a lovely pouf ottoman cover. It’s super stylish and functional, perfect for extra seating or as a cozy footrest. Don’t worry if you’re new to crochet; this pattern is beginner-friendly!
Published October 5, 2026 · by Lina
- Skill level
- Beginner
- Yarn weight
- Bulky
- Hook size
- 9 mm
- Time
- About 4 hours total
- Sizes
- Approximately 20 inches (51 cm) in diameter and 12 inches (30 cm) in height
Welcome! Today, we’re going to crochet a lovely pouf ottoman cover. It’s super stylish and functional, perfect for extra seating or as a cozy footrest. Don’t worry if you’re new to crochet; this pattern is beginner-friendly!
[Descriptive image caption of the finished piece]
Why You’ll Love This Pattern
This pouf cover is great for beginners because it uses simple stitches, and chunky yarn makes it easy to see your progress. You can complete it in about 4 hours, making it a fun and rewarding project. Plus, it gives a homey touch to your space!
In This Post
- What You'll Need
- Stitches You'll Use in This Pattern
- Pattern Details
- Abbreviations
- Step-by-Step Instructions
- Assembly / Putting It All Together
- Finishing
- Full Summary Box
- What's Next?
What You'll Need
- Yarn:
- Bulky (weight category 6) — this medium-thick yarn is easy to work with and makes a sturdy pouf.
- Approximate amount:
- Color A (Charcoal Gray) - 3 skeins (about 200 yards each)
- Color B (Cream) - 1 skein (about 200 yards)
- Crochet Hook:
- 9 mm hook (US N/P-15) — the larger hook makes it easy to work with bulky yarn.
- Stitch Markers (optional but helpful):
- These help keep track of rounds, especially if you're new to crochet.
- Scissors:
- For cutting your yarn.
- Yarn/Tapestry Needle:
- Used to weave in the ends and sew pieces together.
- Stuffing:
- Polyester stuffing or bean bag filling (about 2 pounds) gives your pouf its shape.
- Fabric for Lining (optional):
- This supports the pouf if you want to add extra structure.
Stitches You'll Use in This Pattern
- Chain (ch): This is a basic stitch that creates a series of loops to start your work. You do this by pulling the yarn through the loop on your hook.
- Double Crochet (dc): This stitch gives your work height. Here’s how to do it:
- Yarn over (wrap the yarn around your hook).
- Insert your hook into the stitch.
- Yarn over again and pull through the stitch (you now have three loops on your hook).
- Yarn over and pull through the first two loops (you’ll have two loops left).
- Yarn over again and pull through the last two loops.
- Slip Stitch (sl st): This is used to join rounds or pieces together.
- Insert your hook into the stitch.
- Yarn over and pull through the stitch and through the loop on your hook at the same time.
- Single Crochet (sc): A more compact stitch than double crochet. Here’s how to do it:
- Insert your hook into the stitch.
- Yarn over and pull through (you should have two loops on your hook).
- Yarn over again and pull through both loops on your hook.
- Single Crochet Two Together (sc2tog): This reduces the stitch count by crocheting two stitches together as one:
- Insert hook into the first stitch and yarn over.
- Pull through (you have two loops on your hook).
- Insert your hook into the next stitch and yarn over again.
- Pull through (you now have three loops on your hook).
- Yarn over and pull through all three loops.
Pattern Details
- Skill Level: Beginner
- Finished Size: Approximately 20 inches (51 cm) in diameter and 12 inches (30 cm) in height
- Time to Complete: About 4 hours total
- Yarn Amounts:
- Color A (Charcoal Gray) - 3 skeins
- Color B (Cream) - 1 skein
- Terms: This pattern uses US crochet terms. The difference in UK terms is mainly that double crochet in the US is equivalent to treble crochet in the UK.
Abbreviations
- ch = chain
- dc = double crochet
- sl st = slip stitch
- st = stitch
- sp = space
- rnd = round
Let's Get Started: Full Pattern Instructions
Base
- Ch 4, join with a sl st to form a ring. (1 st)
- Rnd 1: Ch 3 (this counts as your first dc), then make 11 dc in the ring. Join with a sl st to the top of the ch 3. (12 sts)
- Rnd 2: Ch 3, make 1 dc in the same st, then make 2 dc in the next st. Repeat from * around. Join with a sl st. (24 sts)
- Rnd 3: Ch 3, make 1 dc in the same st, then make 1 dc in the next st, 2 dc in the next st. Repeat from * around. Join with a sl st. (36 sts)
- Rnd 4: Ch 3, make 1 dc in the same st, then make 1 dc in the next 2 sts, 2 dc in the next st. Repeat from * around. Join with a sl st. (48 sts)
- Rnd 5: Ch 3, make 1 dc in the same st, then make 1 dc in the next 3 sts, 2 dc in the next st. Repeat from * around. Join with a sl st. (60 sts)
- Rnd 6: Ch 3, make 1 dc in the same st, then make 1 dc in the next 4 sts, 2 dc in the next st. Repeat from * around. Join with a sl st. (72 sts)
Side
- Rnd 7: Ch 3, make 1 dc in the same st, then dc in each st around. Join with a sl st. (72 sts)
- Rnd 8-18: Repeat round 7 for a total of 11 rounds (This means you will have a total of 12 rounds for the side). You should have a height of about 12 inches (30 cm).
Top
- Rnd 19: Ch 1, make 1 sc in the same st, then sc in each st around. Join with a sl st. (72 sts)
- Rnd 20: Ch 1, then make sc2tog in the next 2 sts. Repeat from * around. Join with a sl st. (36 sts)
- Rnd 21: Ch 1, then make sc2tog. Repeat from * around. Join with a sl st. (18 sts)
- Rnd 22: Ch 1, then make sc2tog. Repeat from * around. Join with a sl st. (9 sts)
- Fasten off and leave a long tail for sewing.
Assembly / Putting It All Together
- Turn the pouf cover inside out.
- Stuff it with polyester filling until it feels firm but comfortable.
- Use the long tail from round 22 to sew the top closed using a whip stitch.
- Weave in any remaining ends.
- Optional: For added structure, you can line the inside with a fabric before stuffing it.
Finishing
- Weave in Ends: To do this, use your yarn/tapestry needle to thread the yarn tail back and forth through the stitches. This secures it so it won’t unravel.
- Blocking (optional): This is the process of wetting your finished item and shaping it to dry. It helps even out stitches and create a nice shape. If your pouf looks perfect, you can skip this step!
FULL RECIPE-CARD-STYLE SUMMARY BOX
- Title: Crochet Pouf Ottoman Cover
- Yield: 1
- Description: A stylish and functional pouf cover using chunky yarn.
- Materials List:
- Bulky yarn in Color A (Charcoal Gray) - 3 skeins
- Bulky yarn in Color B (Cream) - 1 skein
- Tools List:
- 9 mm crochet hook (US N/P-15)
- Stitch markers (optional)
- Scissors
- Yarn/tapestry needle
- Polyester stuffing or bean bag filling (about 2 pounds)
- Fabric for lining (optional)
- Instructions:
- Ch 4, join with sl st. (1 st)
- Rnd 1: Ch 3, 11 dc, join. (12 sts)
- Rnd 2: Ch 3, 1 dc same st, 2 dc next st around, join. (24 sts)
- Rnd 3: Ch 3, 1 dc same st, 1 dc next st, 2 dc next st around, join. (36 sts)
- Rnd 4: Ch 3, 1 dc same st, 1 dc next 2 sts, 2 dc next st around, join. (48 sts)
- Rnd 5: Ch 3, 1 dc same st, 1 dc next 3 sts, 2 dc next st around, join. (60 sts)
- Rnd 6: Ch 3, 1 dc same st, 1 dc next 4 sts, 2 dc next st around, join. (72 sts)
- Rnd 7: Ch 3, dc around, join. (72 sts)
- Rnd 8-18: Repeat round 7 for 11 rounds. (72 sts)
- Rnd 19: Ch 1, sc around, join. (72 sts)
- Rnd 20: Ch 1, sc2tog around, join. (36 sts)
- Rnd 21: Ch 1, sc2tog around, join. (18 sts)
- Rnd 22: Ch 1, sc2tog around, join. (9 sts)
- Fasten off, leaving a long tail for sewing.
- Notes: Hand wash, lay flat to dry.
What's Next?
- Save this for later: Don't forget to save this post to Pinterest so you can find it later!
- Leave a comment: If you have any questions or need help, just ask! All questions are welcome, and I'm here to support you.
- Share your finished project: I would love to see your beautiful pouf! Share your creation whenever you're ready. You've got this!
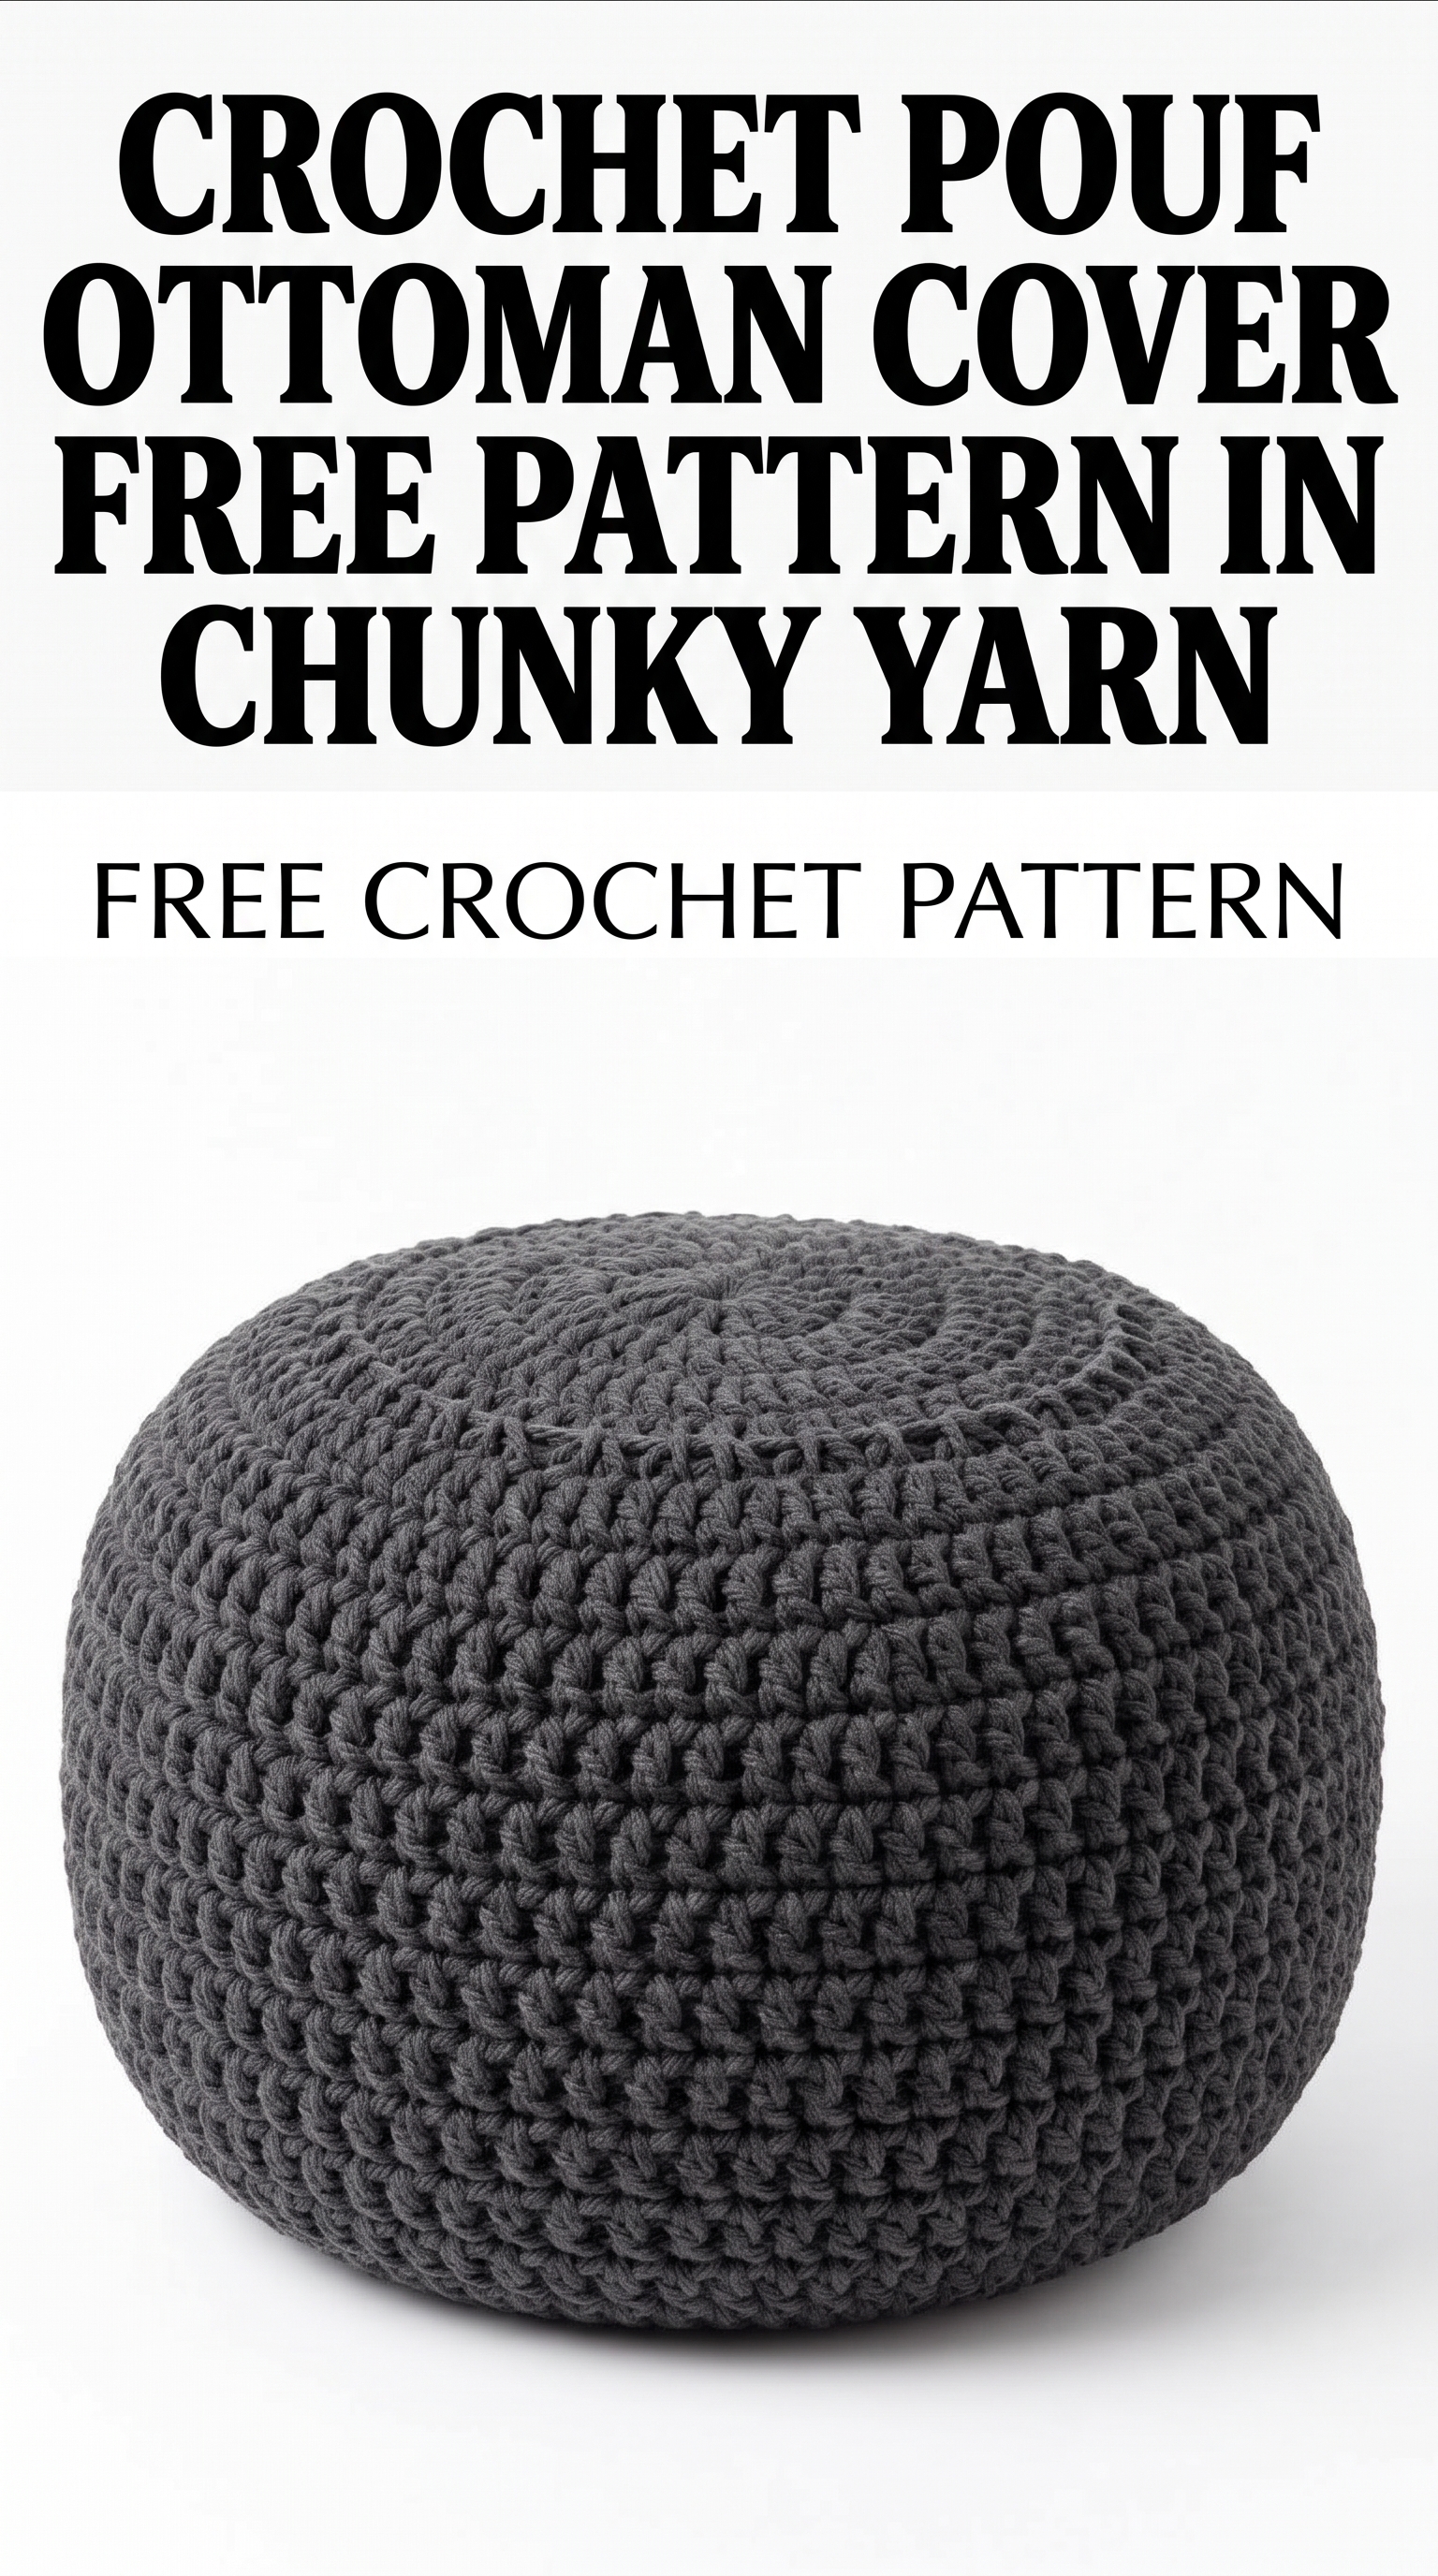
Image shown for inspiration — your finished result may vary slightly.