How to Crochet a Sofa Arm Pillow Wrap Headrest (The Arm Nest)
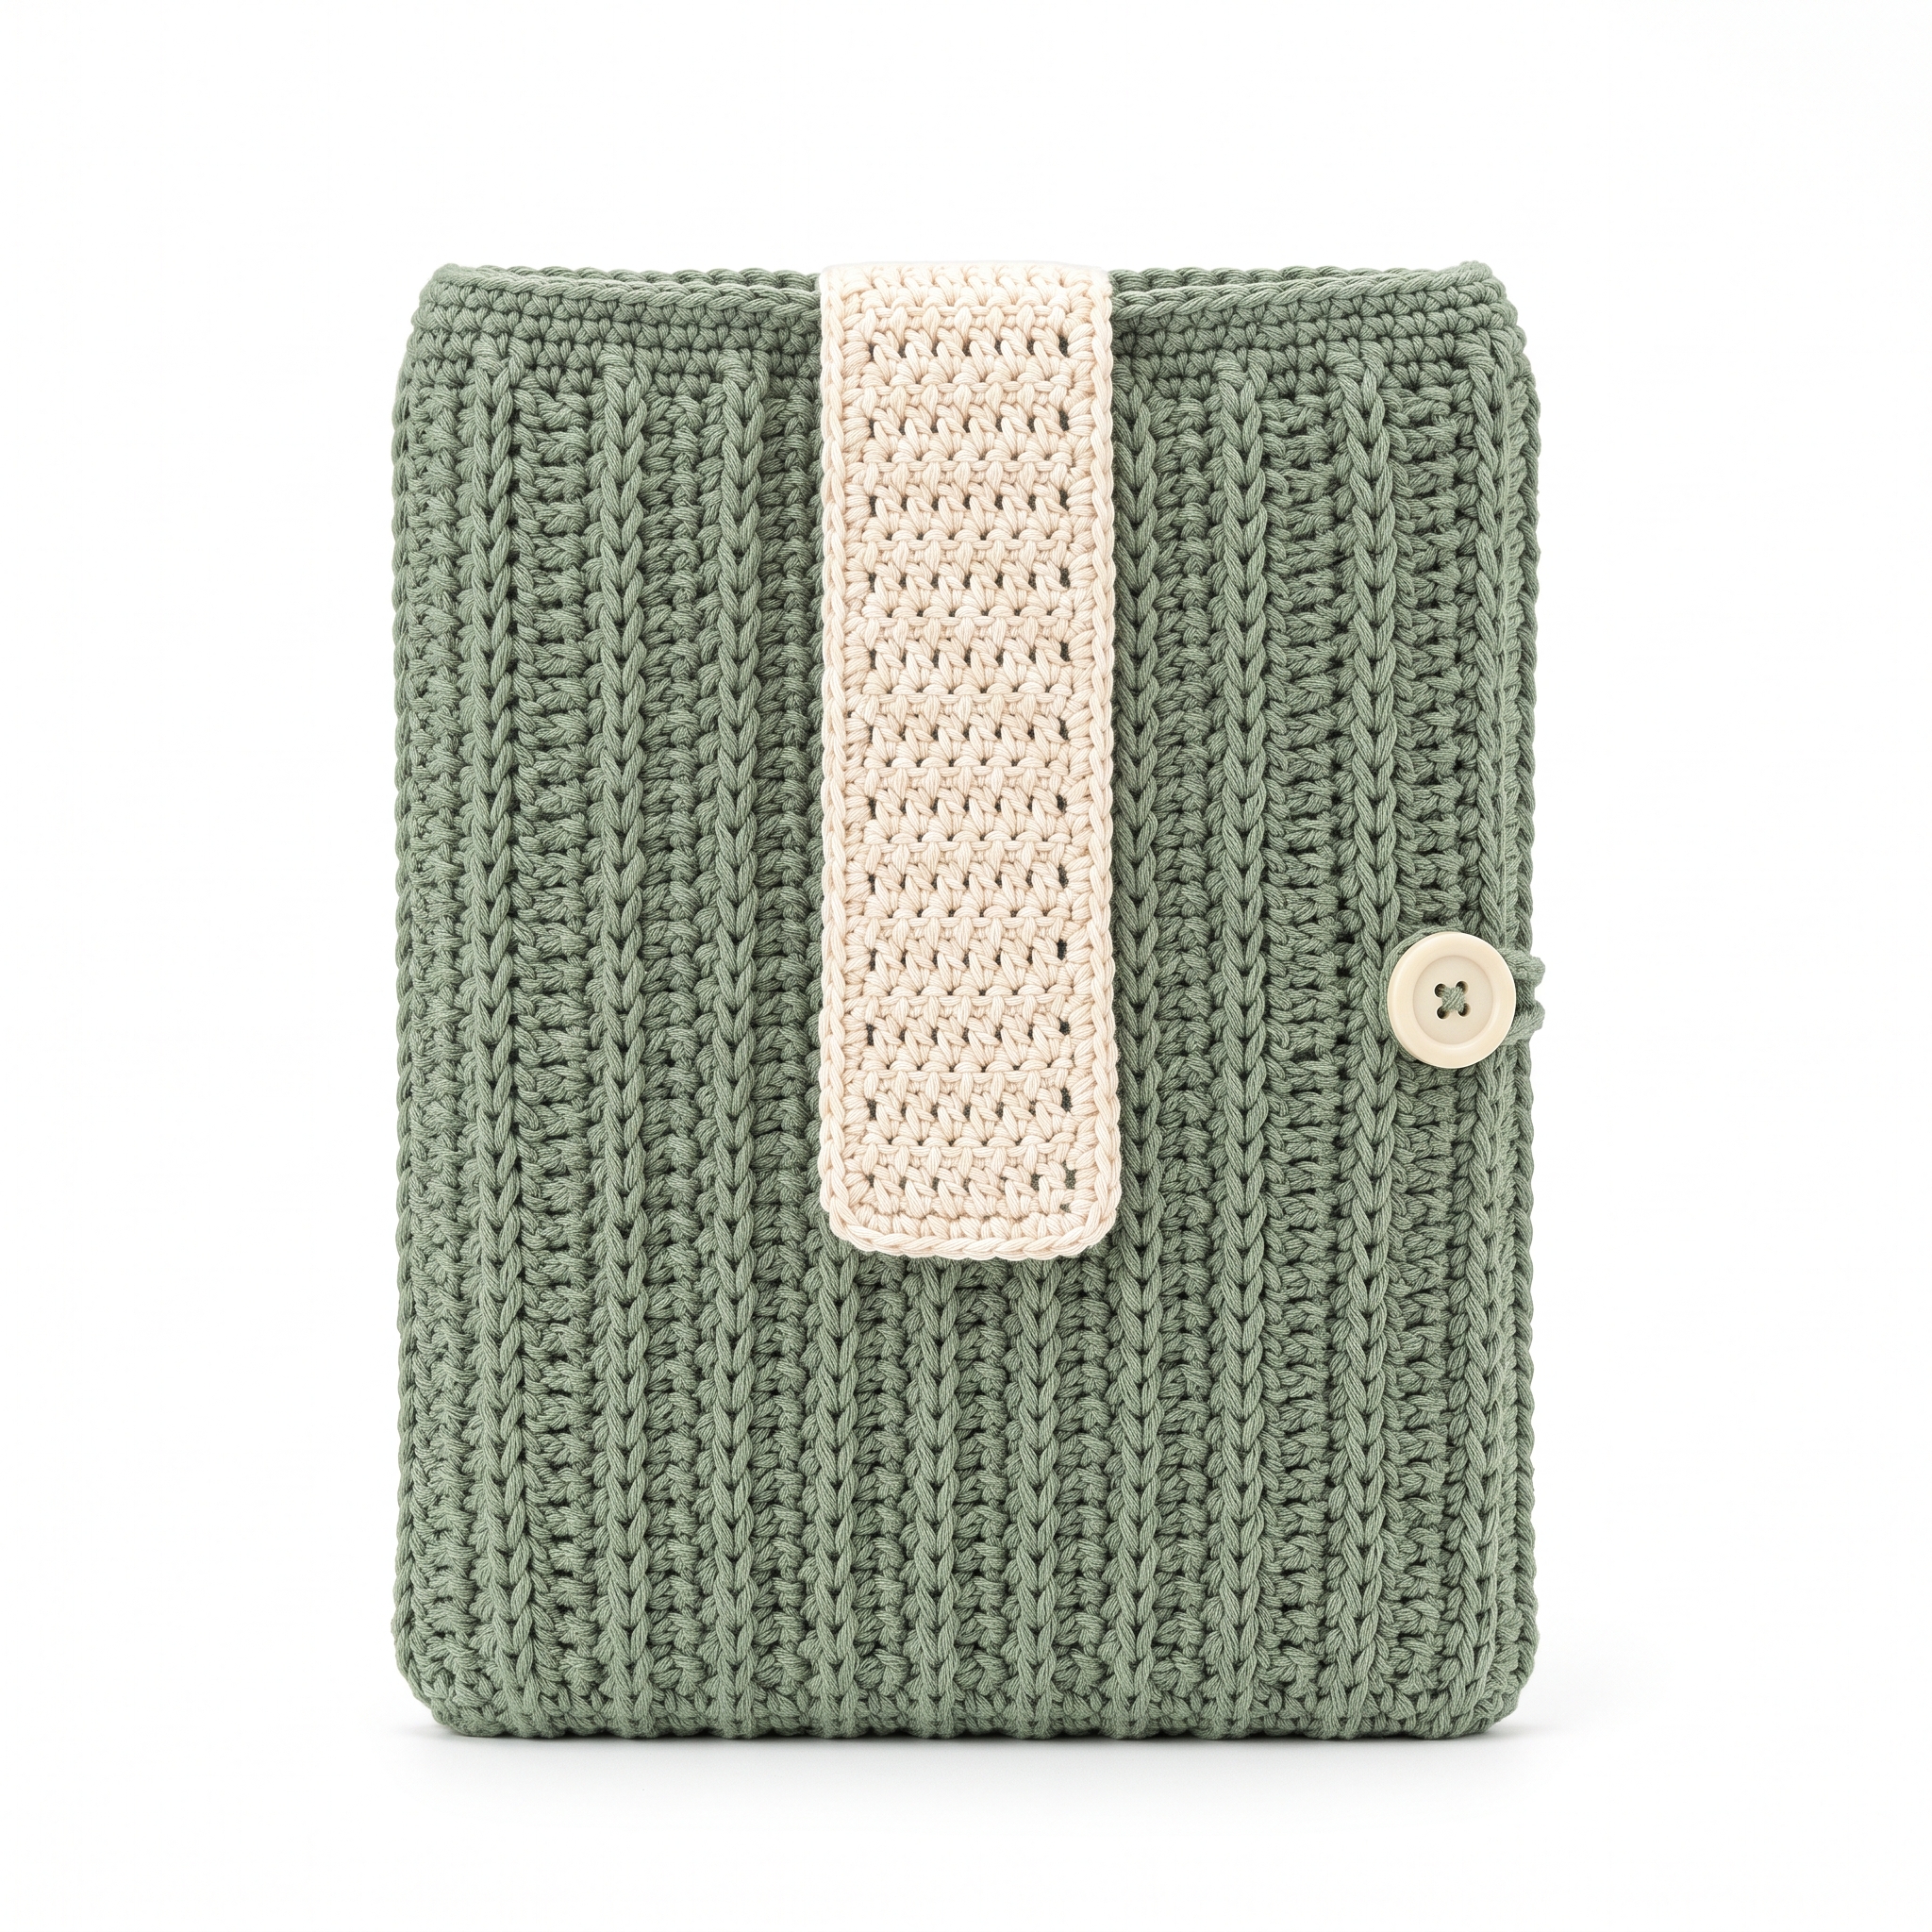
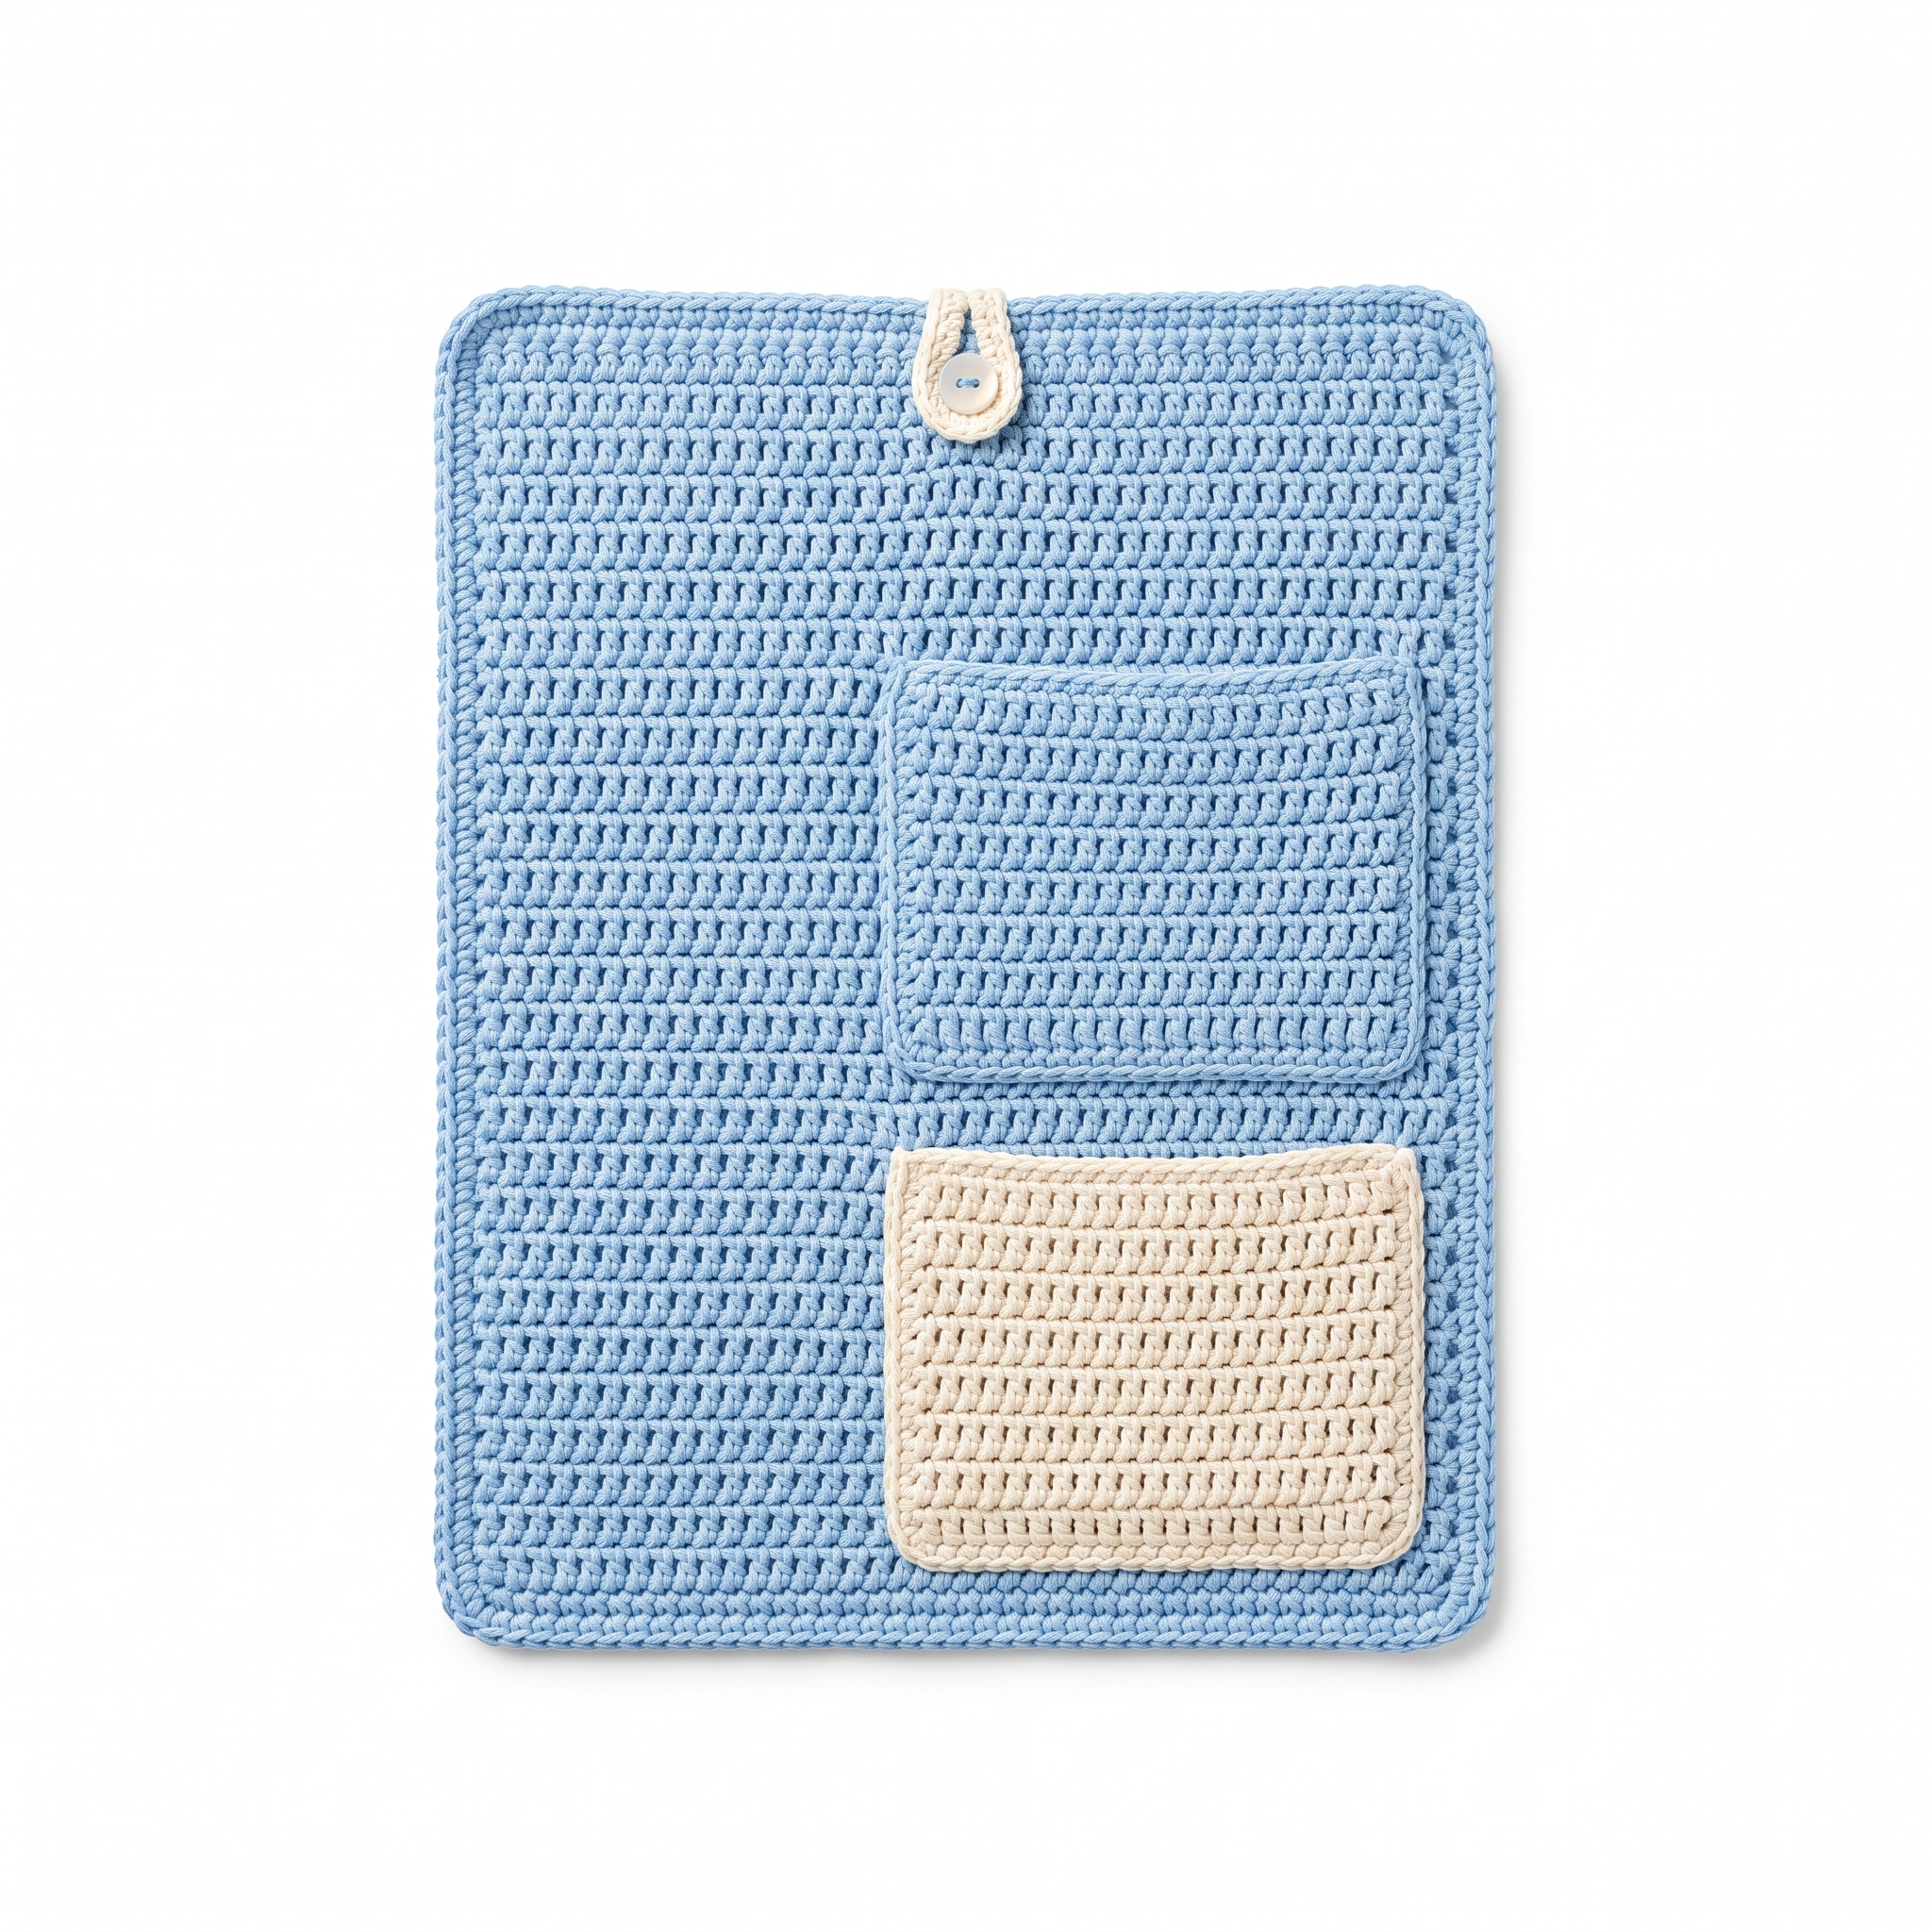
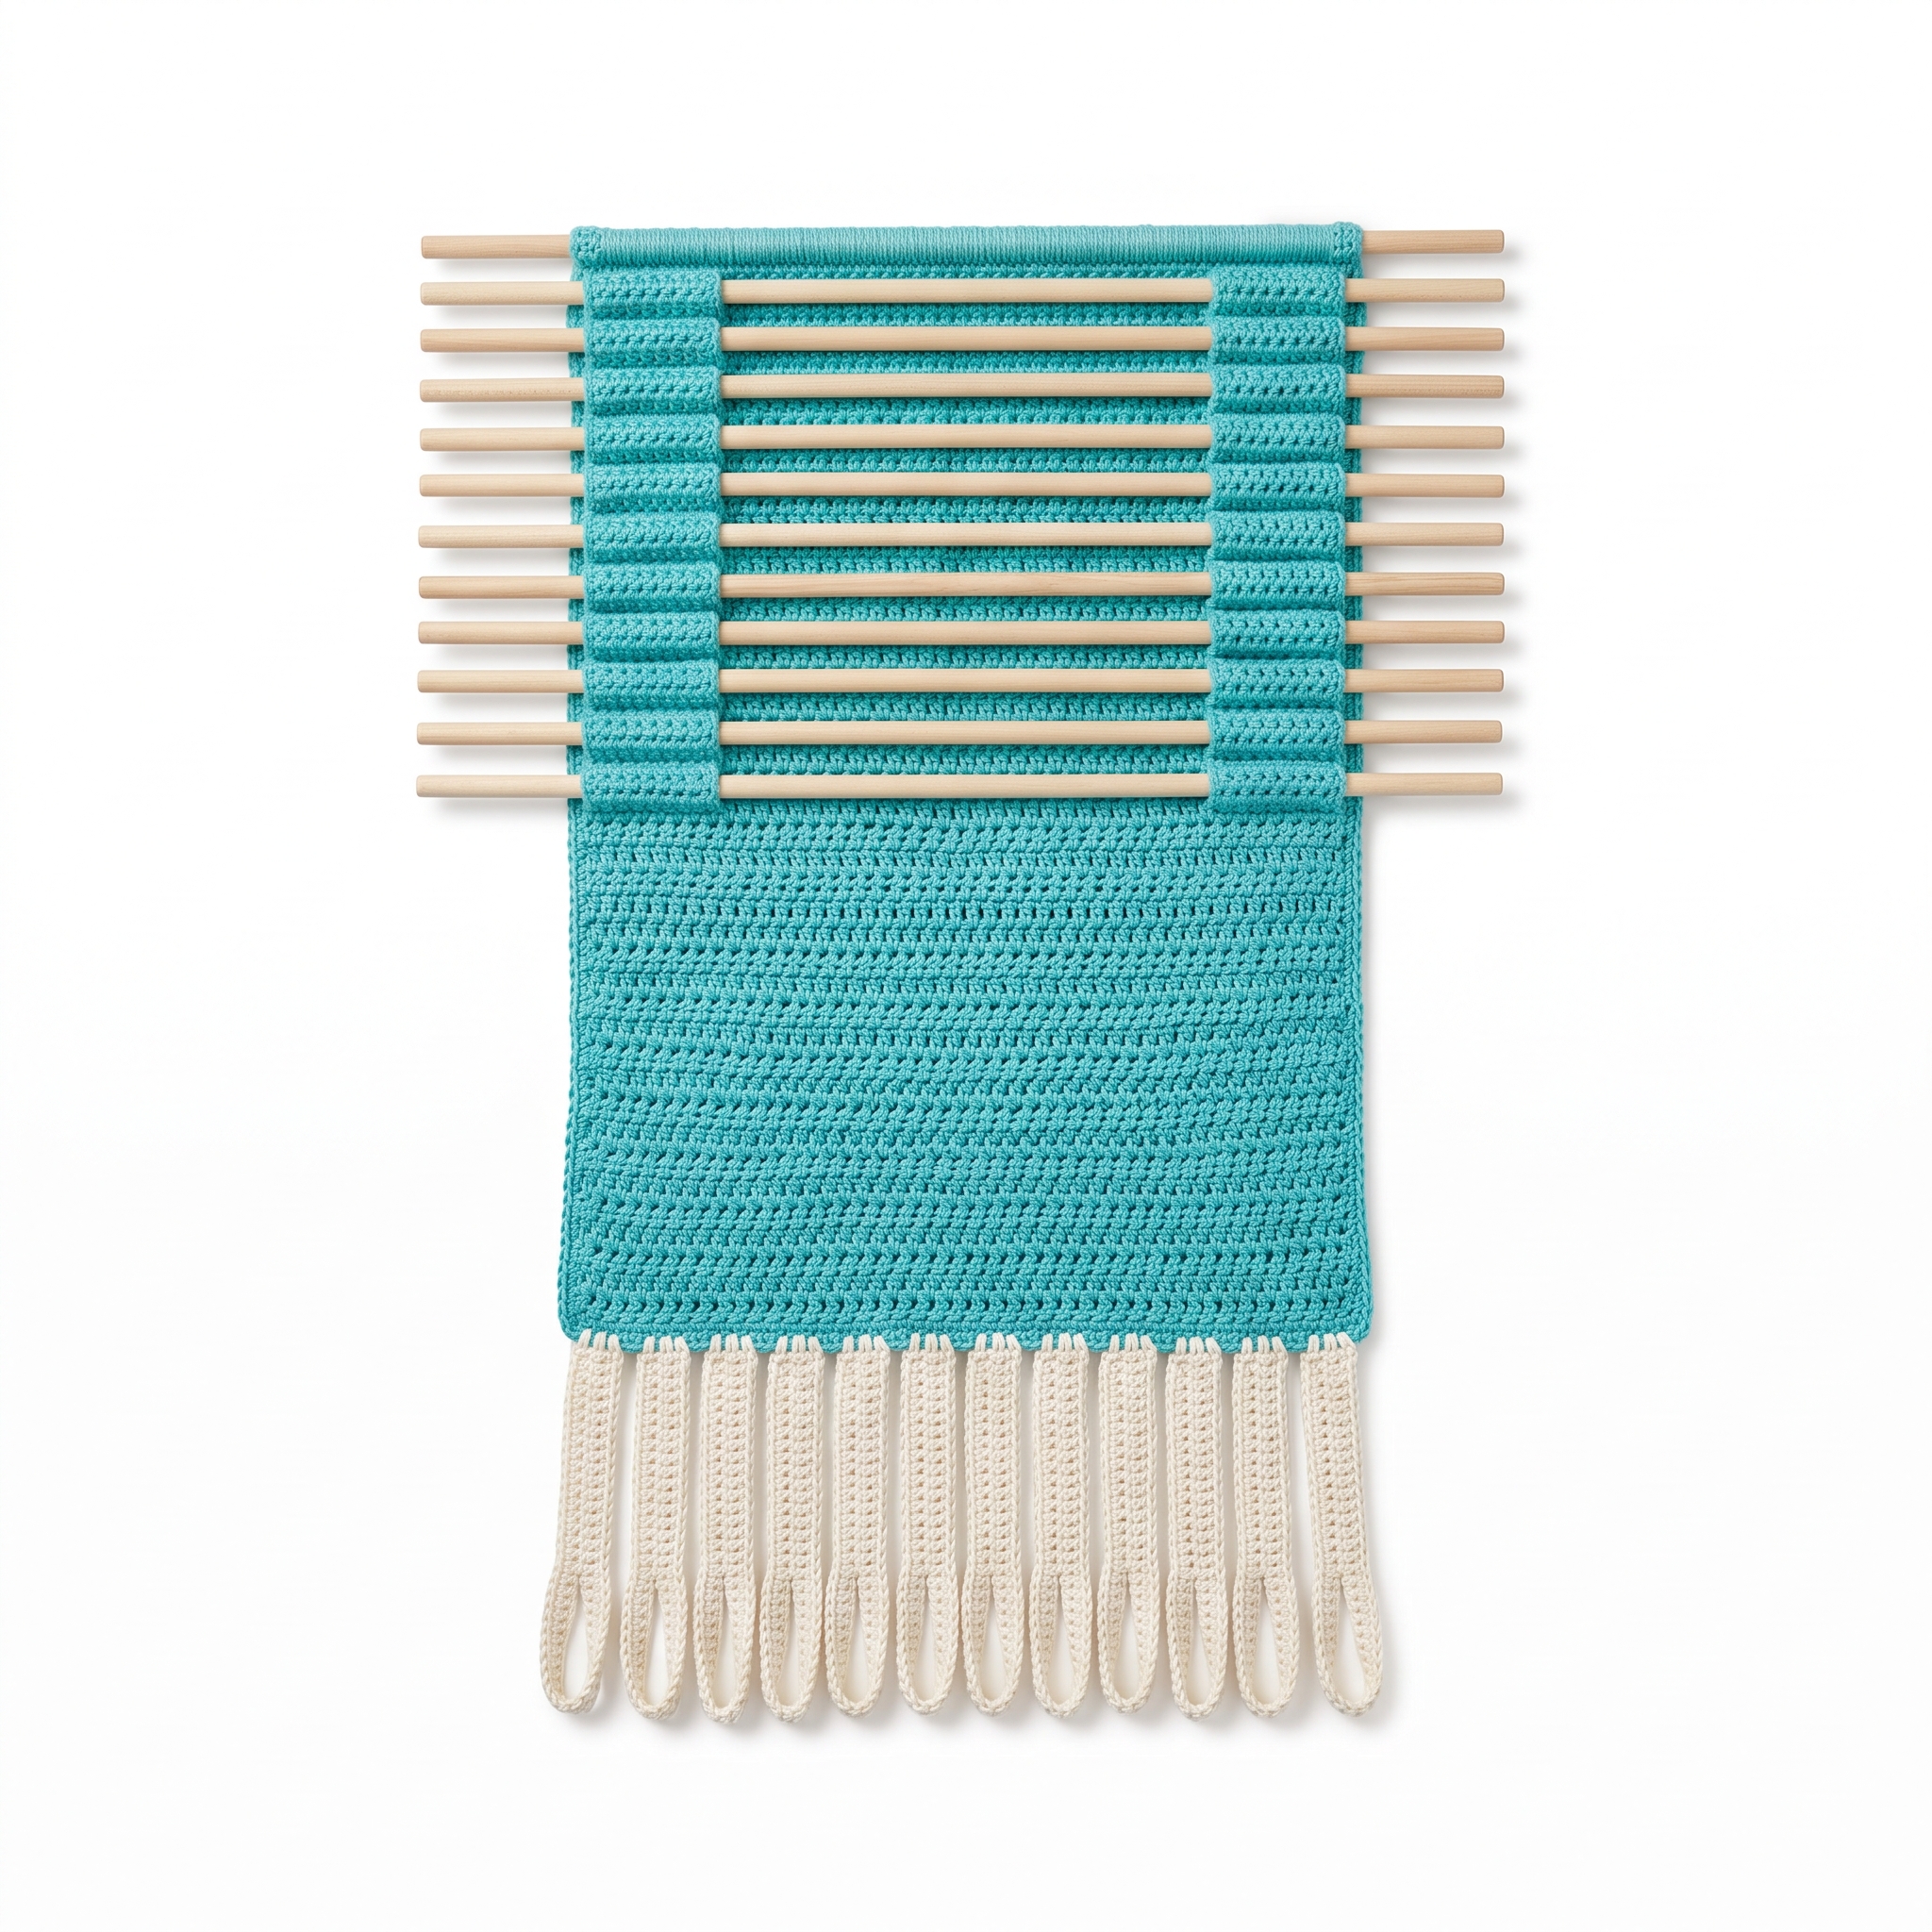
Make yourself a cozy, supportive wrap that fits snugly over the arm of your sofa. The Arm Nest serves both as a pillow and a headrest for added comfort. This beginner-friendly project will enhance your relaxation while adding a decorative touch to your living space.
Published October 5, 2026 · by Lina
- Skill level
- Intermediate
- Yarn weight
- Worsted Weight
- Hook size
- 5.5 mm (I-9)
- Time
- Approximately 4-6 hours
- Yardage
- MC: approx. 450 yards; CC: approx. 150 yards
- Sizes
- Approximately 18 inches wide x 12 inches high (46 cm x 30 cm)
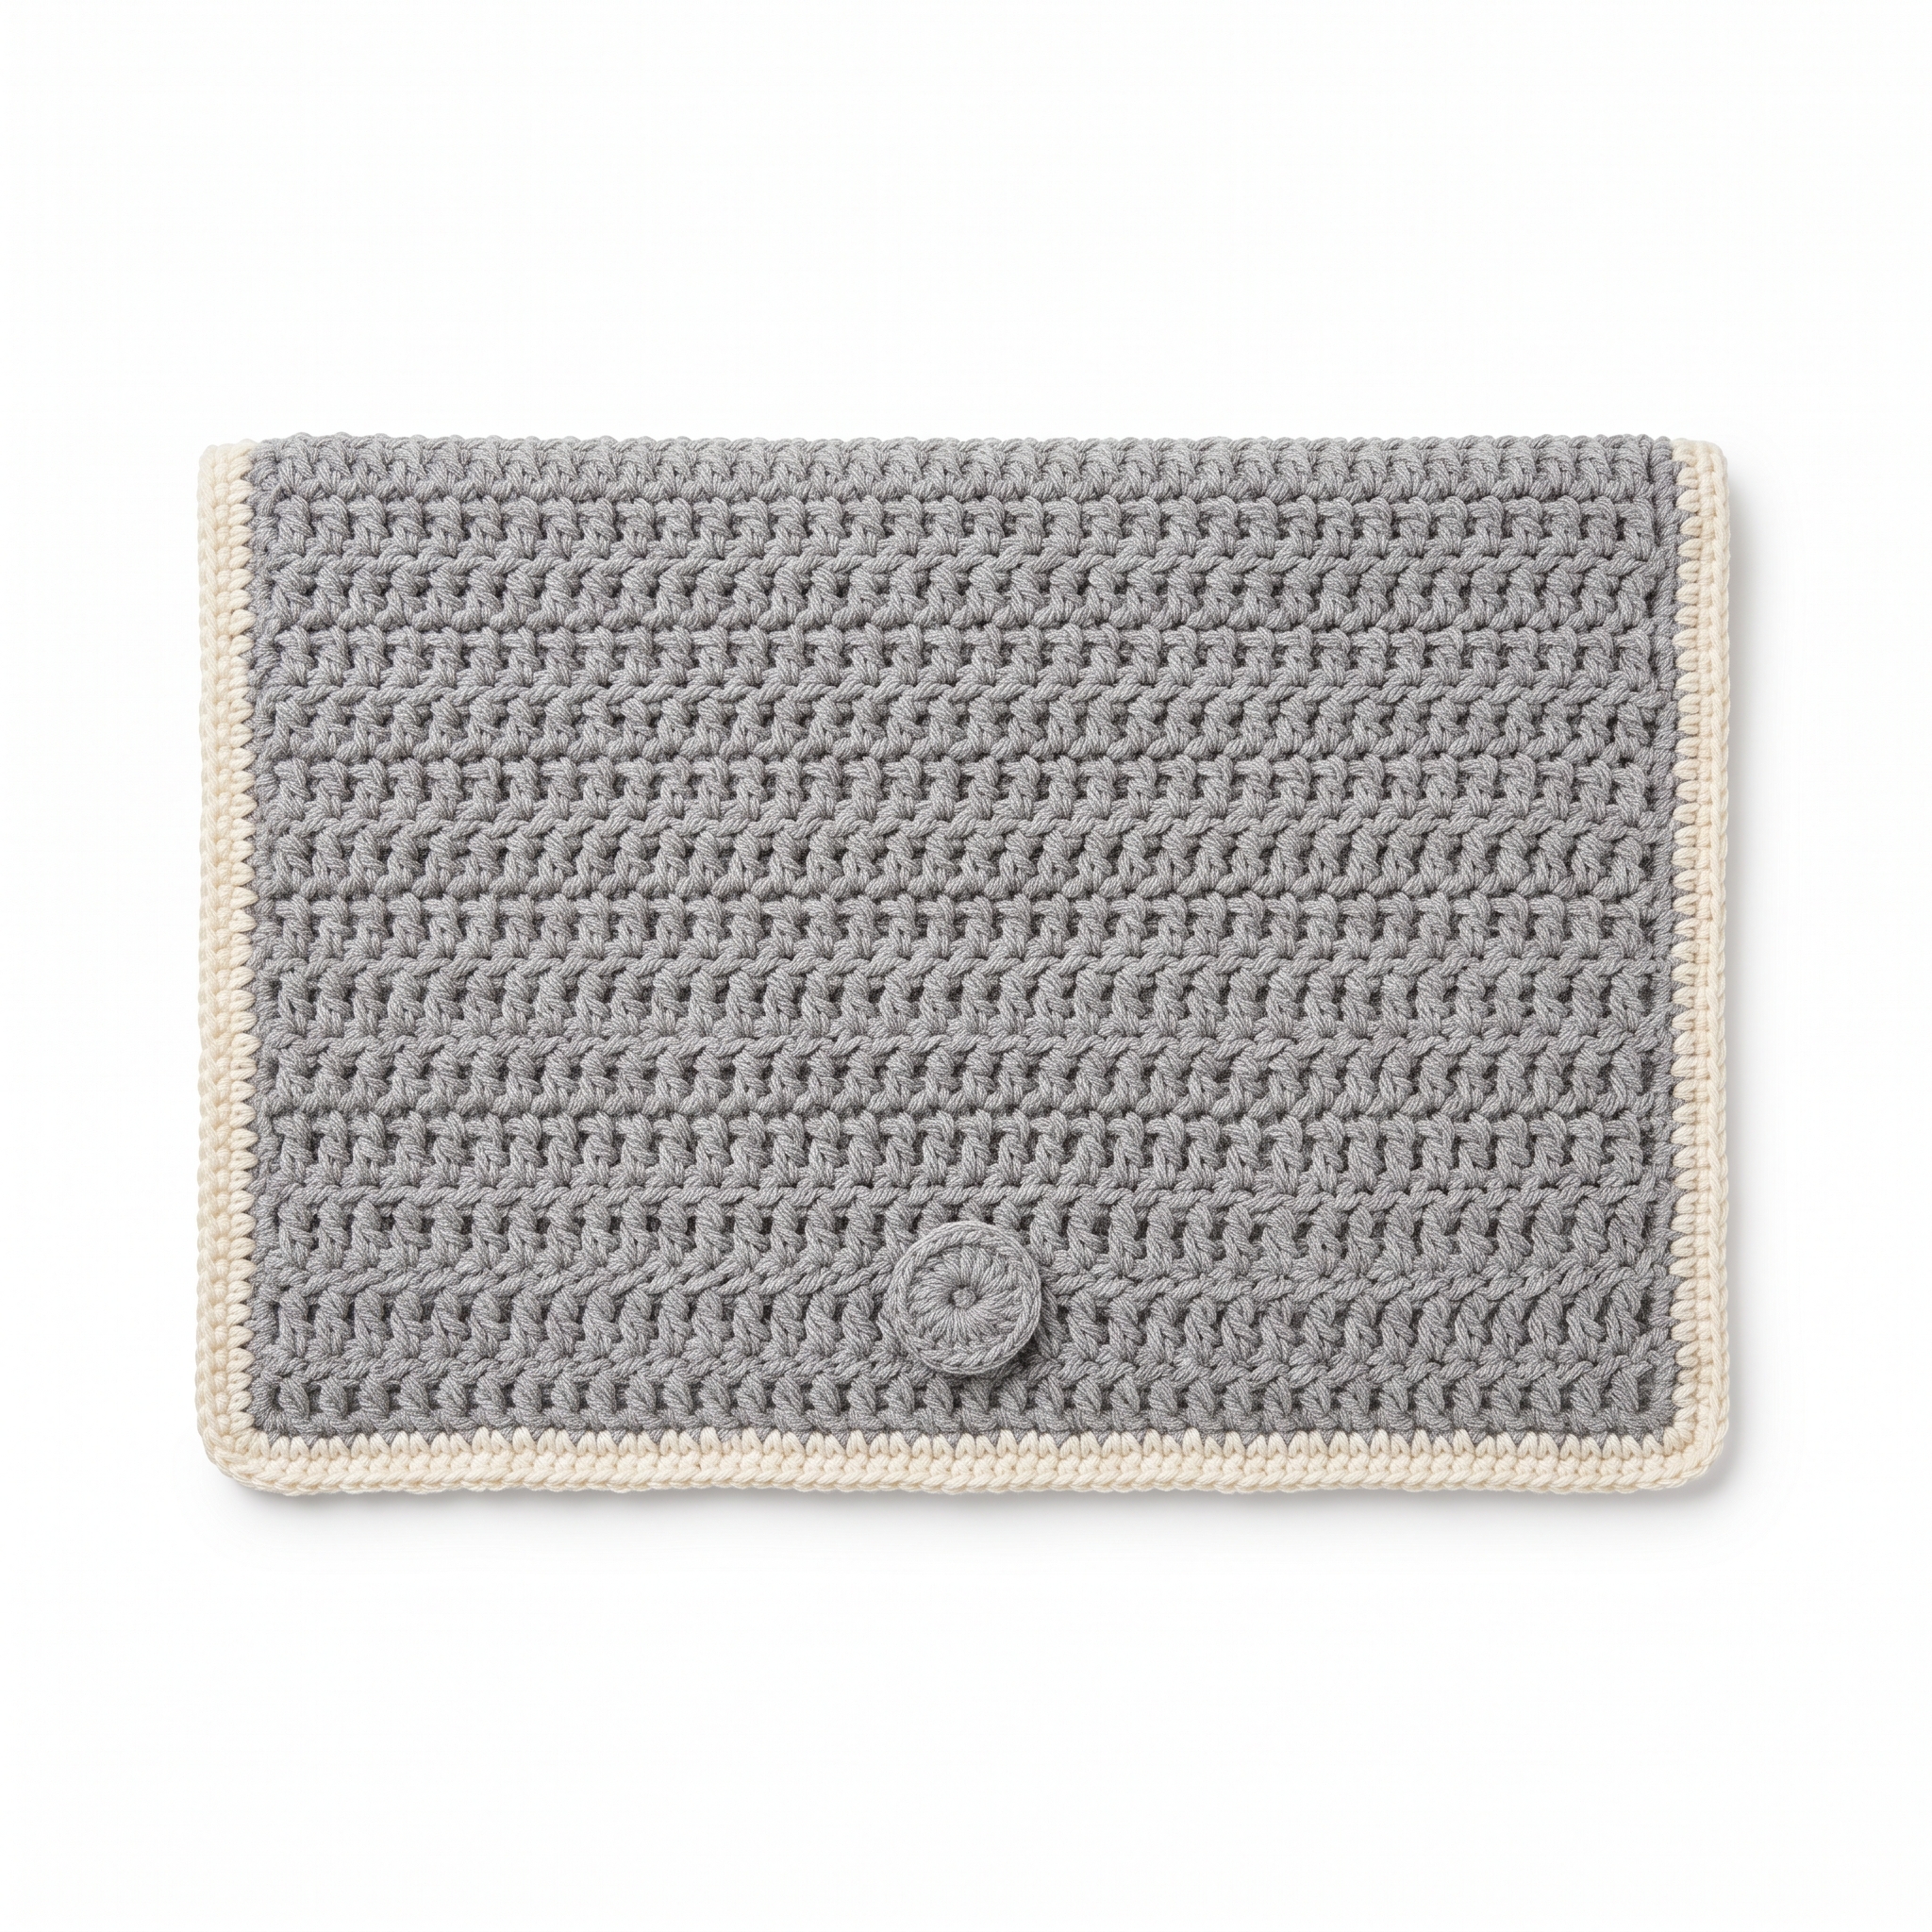
Make yourself a cozy, supportive wrap that fits snugly over the arm of your sofa. The Arm Nest serves both as a pillow and a headrest for added comfort. This beginner-friendly project will enhance your relaxation while adding a decorative touch to your living space.
[Descriptive image caption of the finished piece]
Why You'll Love This Pattern
This pattern is great for beginners because it uses simple stitches and creates a practical item you’ll love to use. It typically takes about 4-6 hours to complete, making it a perfect project for a cozy weekend at home. Plus, it’s a fun way to customize your space with your favorite yarn colors!
In This Post
- What You'll Need
- Stitches You'll Use in This Pattern
- Pattern Details
- Abbreviations
- Step-by-Step Instructions
- Assembly / Putting It All Together
- Finishing
- Full Summary Box
- What's Next?
What You'll Need
Yarn:
- Worsted Weight (Category 4) — This is a medium-thickness yarn that's easy to see your stitches with.
- Main Color (MC): Soft Grey (approx. 450 yards / 410 meters)
- Contrast Color (CC): Cream (approx. 150 yards / 140 meters)
Crochet Hook:
- 5.5 mm (I-9) crochet hook — This is the size you'll use to make your stitches.
Stitch Markers (optional but helpful): These help keep track of your rounds or rows.
Scissors: You'll use these to cut your yarn.
Yarn/Tapestry Needle: This is for weaving in your ends after you finish crocheting.
Stuffing (if applicable): Polyester Fiberfill for stuffing, about 1 bag (8 oz).
Safety Eyes (if applicable): Not used in this pattern, but good to know for other projects!
Stitches You'll Use in This Pattern
- Chain (ch): Create a series of loops to start your work. For example, if the pattern says to chain 60, make a total of 60 loops.
- Double Crochet (dc): This stitch is taller than a single crochet. Begin by yarn over (wrap the yarn around your hook). Insert the hook into the stitch, yarn over again, pull up a loop (you will have 3 loops on the hook). Yarn over and pull through the first 2 loops, yarn over again and pull through the last 2 loops.
- Slip Stitch (sl st): This is used to join rounds or pieces together. Insert your hook, yarn over, and pull the yarn through both the stitch and the loop on your hook.
- Single Crochet (sc): Insert your hook into the stitch, yarn over, pull up a loop (2 loops on the hook). Yarn over again and pull through both loops.
Pattern Details
- Skill Level: Intermediate
- Finished Size: Approximately 18 inches wide x 12 inches high (46 cm x 30 cm)
- Time to Complete: Approximately 4-6 hours
- Yarn Amounts: MC: approx. 450 yards; CC: approx. 150 yards
- Terms: This pattern uses US crochet terms.
Abbreviations
- ch: chain
- dc: double crochet
- sl st: slip stitch
- sc: single crochet
- st(s): stitch(es)
- RS: right side
- WS: wrong side
Let's Get Started: Full Pattern Instructions
Body
Foundation Chain
- Foundation Chain: Ch 60. (60 sts)
Row 1
- Row 1: Dc in 4th ch from hook, dc in each ch across. Turn. (58 dc)
Row 2
- Row 2: Ch 3 (counts as first dc), dc in each dc across. Turn. (58 dc)
Rows 3-19
- Row 3-19: Repeat Row 2 (58 dc).
Shaping the Arm Nest
Row 20
- Row 20: Ch 1, sc in first dc, ch 2, skip next 2 dc, sc in next dc repeat from * to * across. Do not turn. (End with a sc in the last dc; you will be working in rounds now).
Round 1
- Round 1: Ch 3 (counts as first dc), dc in first sc, ch 2, skip next 2 ch, dc in next sc repeat from * to * around. Join to top of beginning ch-3 with sl st. (58 dc and 29 ch-2 spaces)
Rounds 2-5
- Round 2-5: Ch 3, dc in each ch-2 space (remember to treat ch-3 as a dc); join with sl st. Continue until the piece measures approximately 12 inches high from the start of the ch.
Edging
Sc Edging
- Sc Edging: Ch 1, sc evenly around the entire piece, placing 3 sc in each corner. Join with sl st to the first sc.
Buttonhole (optional)
- Buttonhole: Ch 1, sc in first st, ch 2, skip a few stitches based on your button size (about 2 stitches), sc in the next st. Finish around to ensure the button fits snugly into the buttonhole.
Assembly / Putting It All Together
- Weave in all ends with a tapestry needle.
- Stuff the Arm Nest with polyester fiberfill to your desired firmness.
- If needed, block the object to help maintain its shape.
Finishing
- Weave in Ends: Use your tapestry needle to sew in any loose ends from your yarn. This helps to tidy up your piece.
- Blocking (optional): Blocking involves dampening your finished piece and laying it flat to dry to help it keep its shape and look its best.
FULL RECIPE-CARD-STYLE SUMMARY BOX
- Title: Crochet Sofa Arm Pillow Wrap Headrest (The Arm Nest)
- Yield: 1
- One-line description: A cozy, supportive wrap for your sofa arm that doubles as a pillow and headrest.
- Full materials list:
- Worsted weight yarn - Soft Grey (approx. 450 yards), Cream (approx. 150 yards)
- Polyester fiberfill for stuffing
- 1 large button (optional)
- Full tools list:
- 5.5 mm (I-9) crochet hook
- Tapestry needle
- Scissors
- Stitch markers (optional)
- Pins (for blocking)
- Full numbered instructions:
- Ch 60. (60 sts)
- Dc in 4th ch from hook, dc in each ch across. Turn. (58 dc)
- Ch 3 (counts as first dc), dc in each dc across. Turn. (58 dc)
- Repeat Row 2 for Rows 3-19 (58 dc).
- Ch 1, sc in first dc, ch 2, skip next 2 dc, sc in next dc repeat from * to * across. (Ends with a sc in the last dc, 58 dc)
- Ch 3, dc in first sc, ch 2, skip next 2 ch, dc in next sc repeat from * to * around. Join with sl st. (58 dc and 29 ch-2 spaces)
- Ch 3, dc in each ch-2 space; join with sl st, repeat for 4 rounds.
- Ch 1, sc evenly around the entire piece, placing 3 sc in each corner. Join with sl st.
- Ch 1, sc in first st, ch 2, skip a few stitches, sc in next st. Finish around.
- Notes: For a larger or smaller Arm Nest, adjust the foundation chain accordingly. Machine wash cold, tumble dry low. Do not iron.
What's Next?
- Save this for later: Don’t forget to save or pin this post to Pinterest so you can find it again!
- Leave a comment: If you have any questions or run into any trouble, please feel free to ask! I’m here to help.
- Share your finished project: I’d love to see how your Arm Nest turns out! Share your creation and be proud of your work!
You've got this! Enjoy your crocheting!
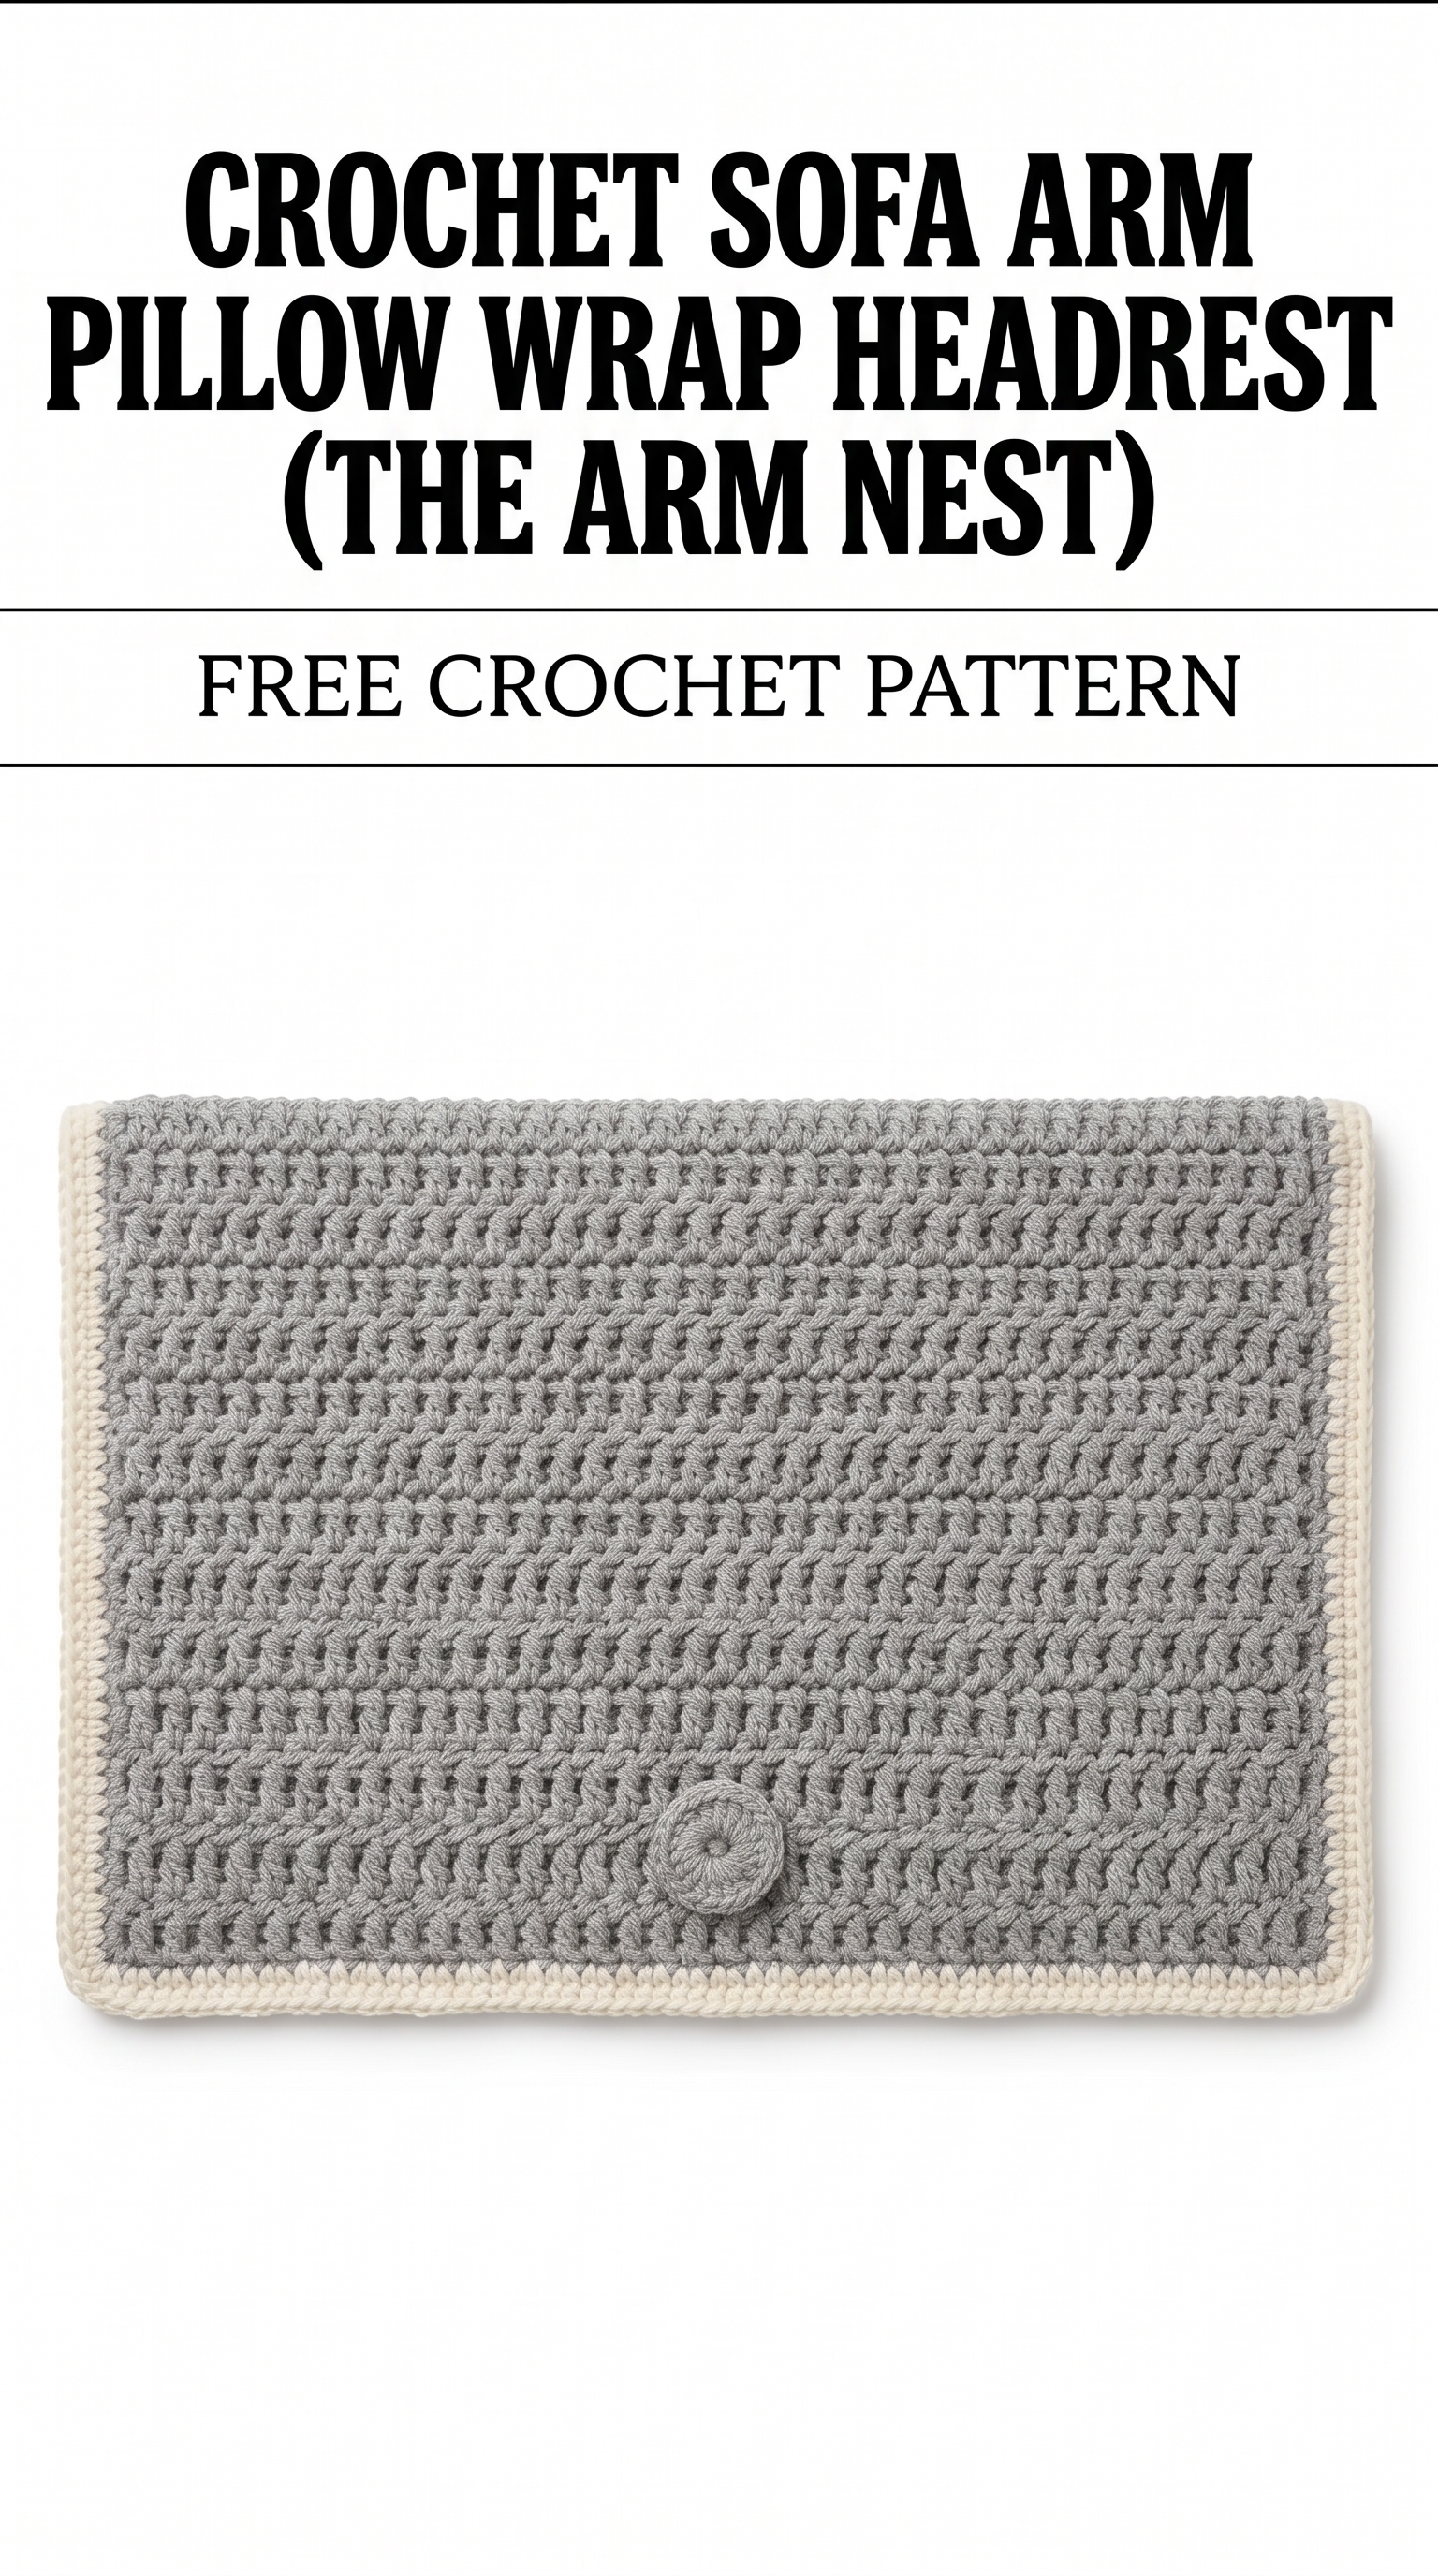
Image shown for inspiration — your finished result may vary slightly.