How to Crochet Boot Tray Mat With Raised Edge (The Puddle Mat)
Welcome to this fun and easy project where you'll make a wonderful Crochet Boot Tray Mat, also known as “The Puddle Mat.” It's perfect for catching dirt and moisture from your boots and shoes. Plus, it has a stylish raised edge to keep spills contained. Don't worry, I'll walk you through each step!
Published October 5, 2026 · by Lina
- Skill level
- Beginner
- Yarn weight
- Bulky
- Hook size
- 6.5 mm (K-10.5 US)
- Sizes
- 22 inches (56 cm) long and 14 inches (35 cm) wide, with a raised edge height of 2 inches (5 cm).
Welcome to this fun and easy project where you'll make a wonderful Crochet Boot Tray Mat, also known as “The Puddle Mat.” It's perfect for catching dirt and moisture from your boots and shoes. Plus, it has a stylish raised edge to keep spills contained. Don't worry, I'll walk you through each step!
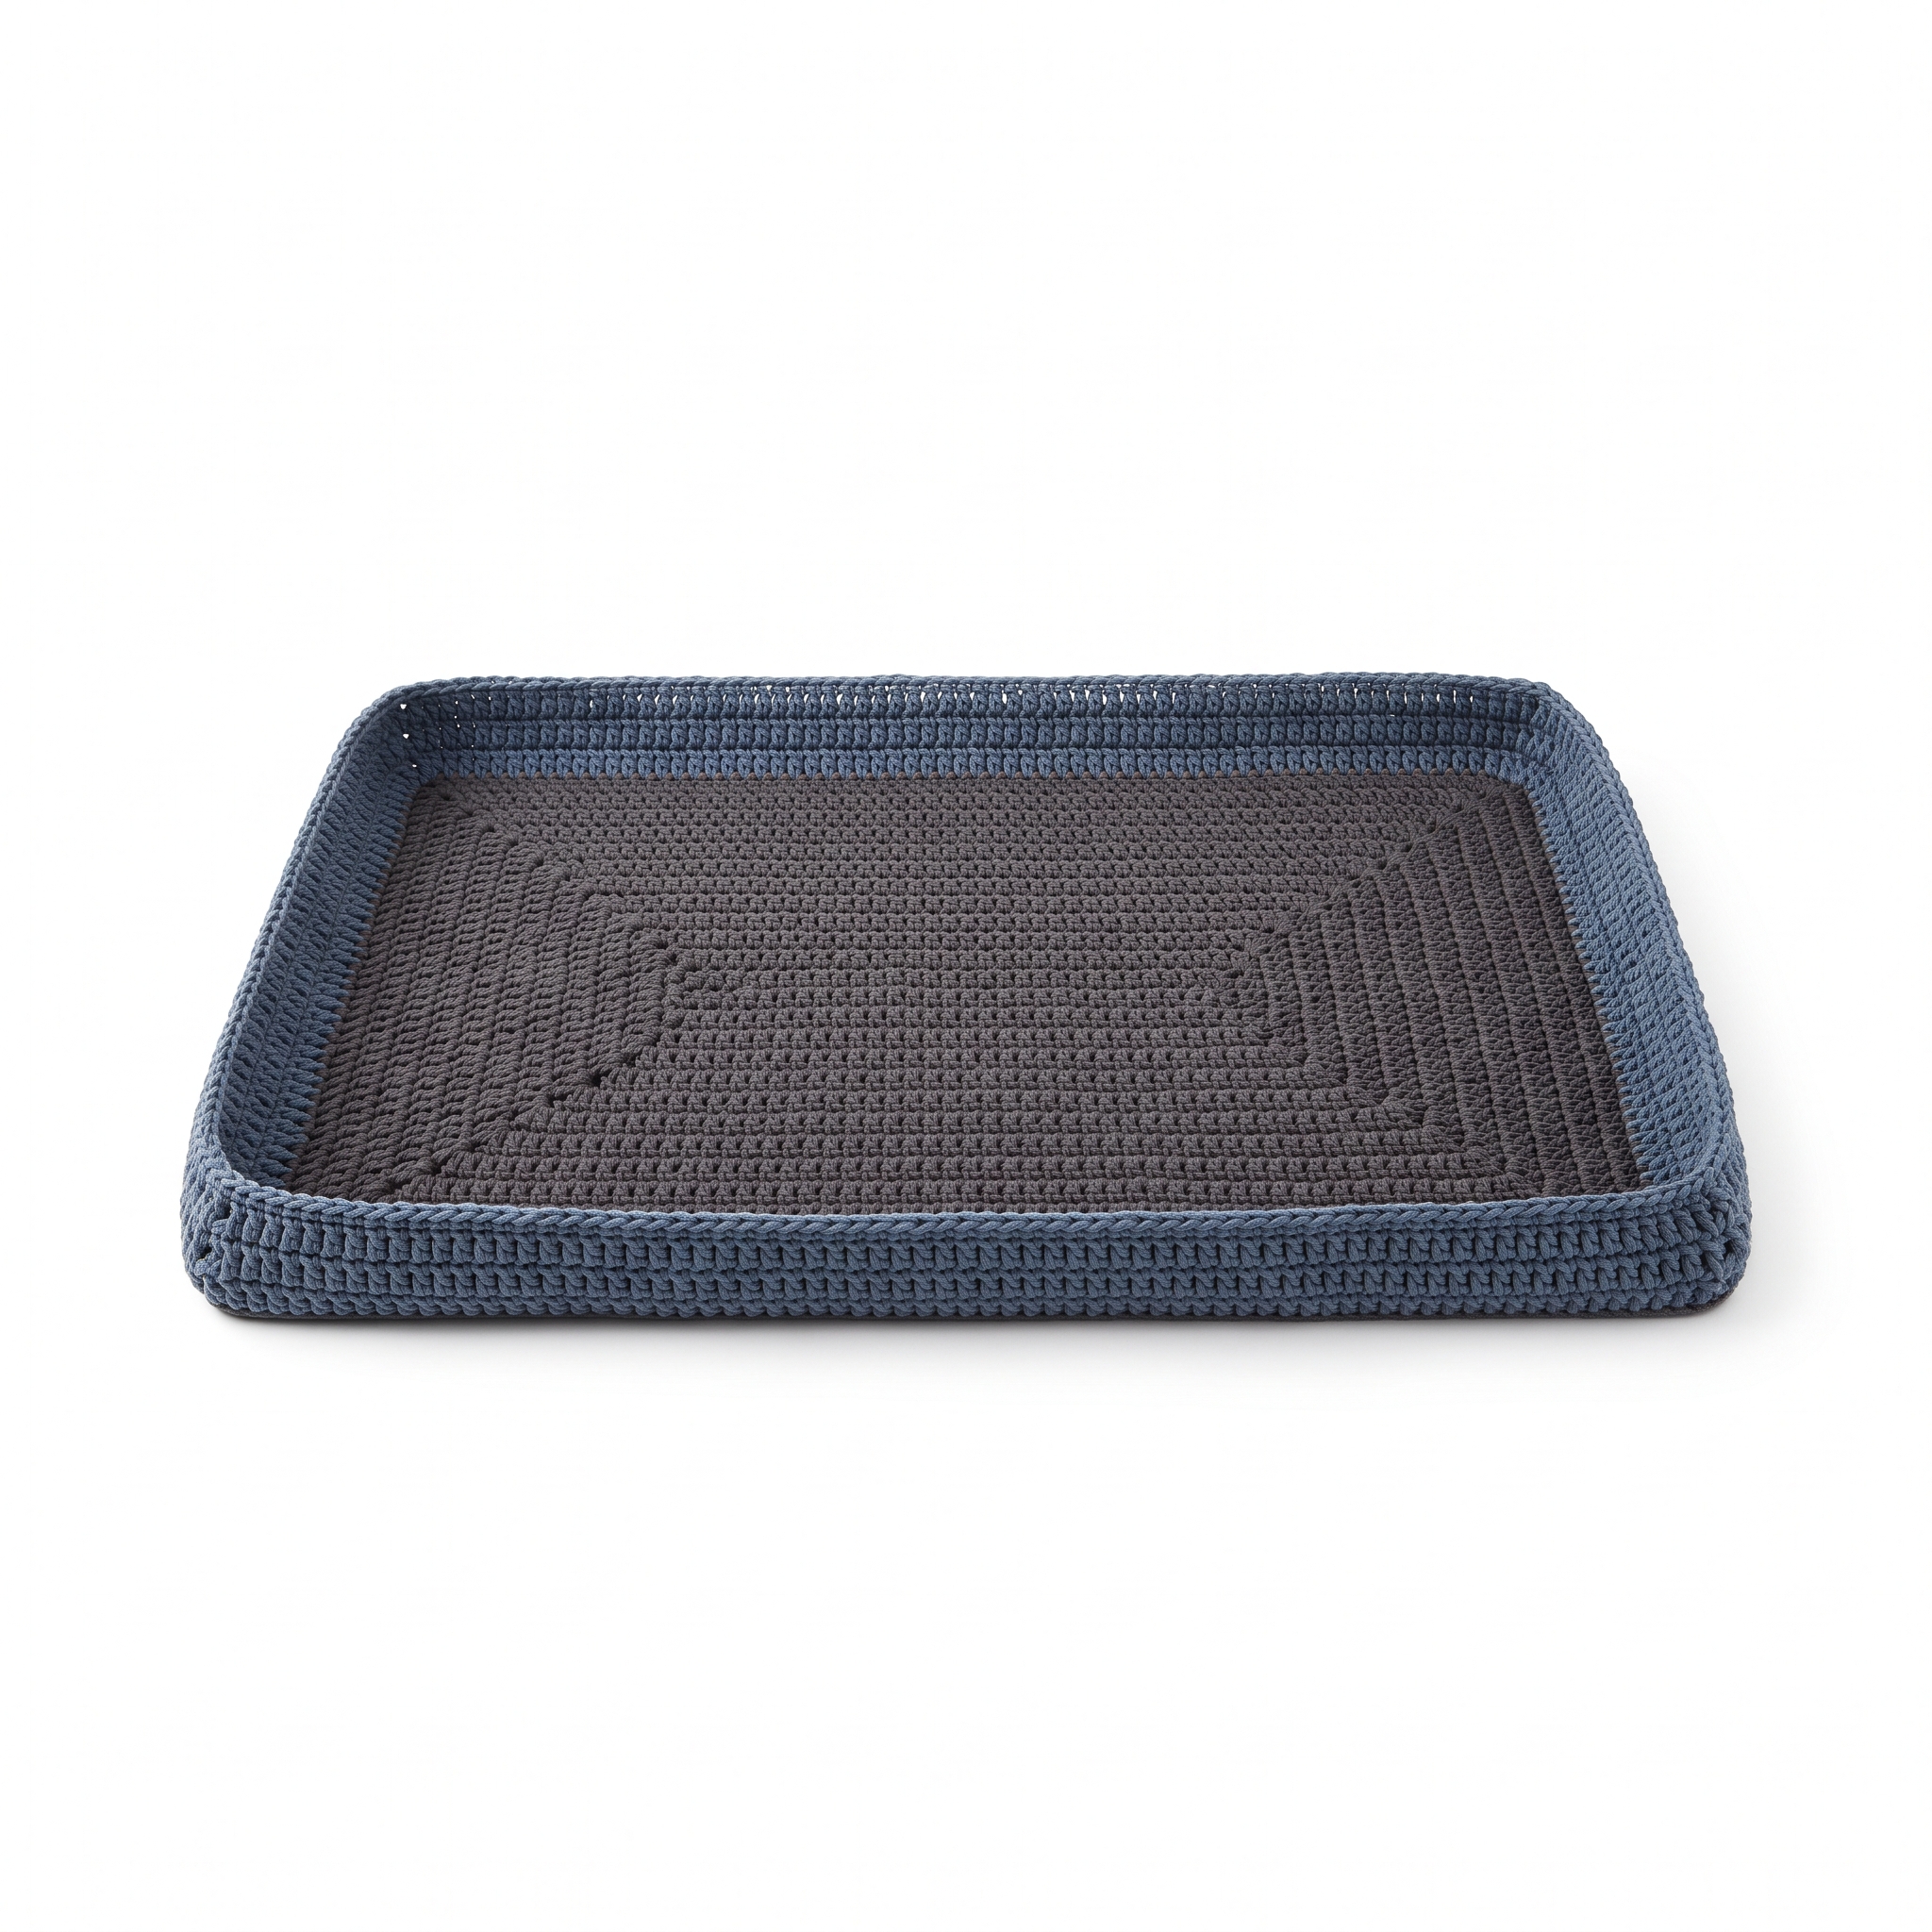
![A completed Crochet Boot Tray Mat with a raised edge, featuring two colors: Charcoal Gray and Slate Blue. It sits attractively on a tiled floor.]
Why You'll Love This Pattern
This mat is not only functional but also a lovely addition to your entryway. It's great for beginners and can be completed in just a few hours. Plus, it's a fantastic way to practice your double crochet stitches!
In This Post
- What You'll Need
- Stitches You'll Use in This Pattern
- Pattern Details
- Abbreviations
- Special Stitches
- Let's Get Started: Full Pattern Instructions
- Assembly / Putting It All Together
- Finishing
- Full Recipe-Card-Style Summary Box
- What's Next?
What You'll Need
- Yarn:
- Bulky (5): This is a thicker yarn, which makes stitches easier to see. You'll need:
- Color A: Charcoal Gray (approximately 400 yards)
- Color B: Slate Blue (approximately 200 yards)
- Bulky (5): This is a thicker yarn, which makes stitches easier to see. You'll need:
- Crochet Hook:
- 6.5 mm (K-10.5 US): This hook works well with bulky yarn.
- Tapestry Needle: This is used for weaving in the ends of your yarn.
- Scissors: To cut your yarn.
- Stitch Markers (optional but helpful): These can mark the beginning of rounds or help you track specific stitches.
- Non-slip Fabric (optional): This can be attached to the bottom for additional grip.
- Blocking Tools (optional): These can help you shape your mat properly.
Stitches You'll Use in This Pattern
- Chain (ch): This creates the starting loops for your work.
- To make a chain, hold the yarn, wrap it around your crochet hook, and pull through.
- Double Crochet (dc): This forms the main stitch of your mat.
- Yarn over and insert your hook into the stitch.
- Yarn over again and pull through.
- You will have three loops on your hook. Yarn over and pull through the first two loops.
- Yarn over again and pull through the last two loops.
- Slip Stitch (sl st): This is used to join rounds together.
- Insert the hook into the stitch, yarn over, and pull through both the stitch and the loop on your hook.
Pattern Details
- Skill Level: Beginner
- Finished Size: 22 inches (56 cm) long and 14 inches (35 cm) wide, with a raised edge height of 2 inches (5 cm).
- Estimated Time to Complete: Approximately 6 hours
- Body: 4 hours
- Raised Edge: 2 hours
- Yarn Amounts:
- Color A: 400 yards
- Color B: 200 yards
- Terms: This pattern uses US crochet terms.
Abbreviations
- ch = chain
- dc = double crochet
- sl st = slip stitch
- st(s) = stitch(es)
Special Stitches
- Raised Edge Stitch:
- In each corner, work [2 dc, ch 1, 2 dc] into the same stitch to create a corner.
- For the straight edges, work 2 dc in each edge, making corners as described.
Let's Get Started: Full Pattern Instructions
Body of the Mat
Foundation
- Chain 50.
Row 1
- Double crochet (dc) in the 4th chain from your hook and in each chain across. (You should have 48 dc total.)
Row 2
- Chain 3 (this counts as your first dc), then turn your work.
- Double crochet in each stitch across. (48 dc)
Rows 3-28
- Repeat Row 2 for 26 more rows. (Each row will have 48 dc.)
At this point, the mat should measure about 14 inches wide.
Change to Color B
- On the last double crochet of Row 28, switch to Slate Blue by finishing the last stitch with the new color.
Row 29
- Chain 3, then turn your work.
- Double crochet in each stitch across. (48 dc)
Rows 30-34
- Repeat Row 29 for 4 more rows. (You will have 48 dc in each row.)
Now, the body ends with 5 rows of Color B.
Raised Edge
Preparation for Edge
- Don’t turn your work. Instead, you will work around the entire perimeter of the mat.
- Starting from the bottom left corner, double crochet into each stitch across the long edge.
- In each corner, work 2 dc, ch 1, 2 dc into the same stitch to create corners.
Round 1
- Continue around the mat, working double crochets evenly across all edges and making corner stitches as you did above.
- Join with a slip stitch (sl st) to the top of the chain 3 from the beginning of this round.
Round 2
- Chain 3, then double crochet in each stitch around, making the corner stitches as before.
- Join with a slip stitch.
Round 3
- Repeat Round 2 for another round.
The raised edge will now be approximately 2 inches high from the base of the mat.
Assembly / Putting It All Together
- Weave in all ends using your tapestry needle. This means threading the needle with your yarn and going through the stitches to hide the loose ends.
- Optional: If you like, you can attach non-slip fabric to the bottom side of the mat for extra durability.
- Blocking (optional): Lightly steam block the mat to shape its edges. To block, use a steam iron lightly over the mat without touching the yarn directly.
Finishing
- Final Dimensions of the Finished Item: Approximately 22 inches (56 cm) long, 14 inches (35 cm) wide, with a raised edge height of 2 inches (5 cm).
Full Recipe-Card-Style Summary Box
- Title: Crochet Boot Tray Mat With Raised Edge (The Puddle Mat)
- Yield: 1
- Description: A functional and decorative mat designed to catch dirt and moisture from shoes and boots.
- Materials List:
- Bulky yarn: 400 yards Charcoal Gray, 200 yards Slate Blue
- Tools List:
- 6.5 mm (K-10.5 US) crochet hook
- Tapestry needle
- Scissors
- (Optional) Stitch markers, non-slip fabric, blocking tools
- Instructions:
- Ch 50.
- Dc in the 4th ch from hook and in each ch across (48 dc).
- Ch 3, turn. Dc in each st across (48 dc).
- Repeat Row 2 for 26 more rows (48 dc each).
- Switch to Color B on last dc of Row 28.
- Ch 3, turn. Dc in each st across (48 dc).
- Repeat for 4 more rows (48 dc each).
- Work around perimeter: dc in each st across and corners (2 dc, ch 1, 2 dc).
- Join with sl st to complete Round 1.
- Ch 3, dc around, join with sl st for Round 2.
- Repeat Round 2 for Round 3.
- Notes: Be sure to check your gauge and maintain even tension throughout your work.
What's Next?
Save this for later: I recommend saving this post to Pinterest so you can come back to it anytime!
Leave a comment: Please ask any questions if you're stuck. I'm here to help! Don't hesitate to reach out.
Share your finished project: I’d love to see your beautiful creations, so feel free to share your work!
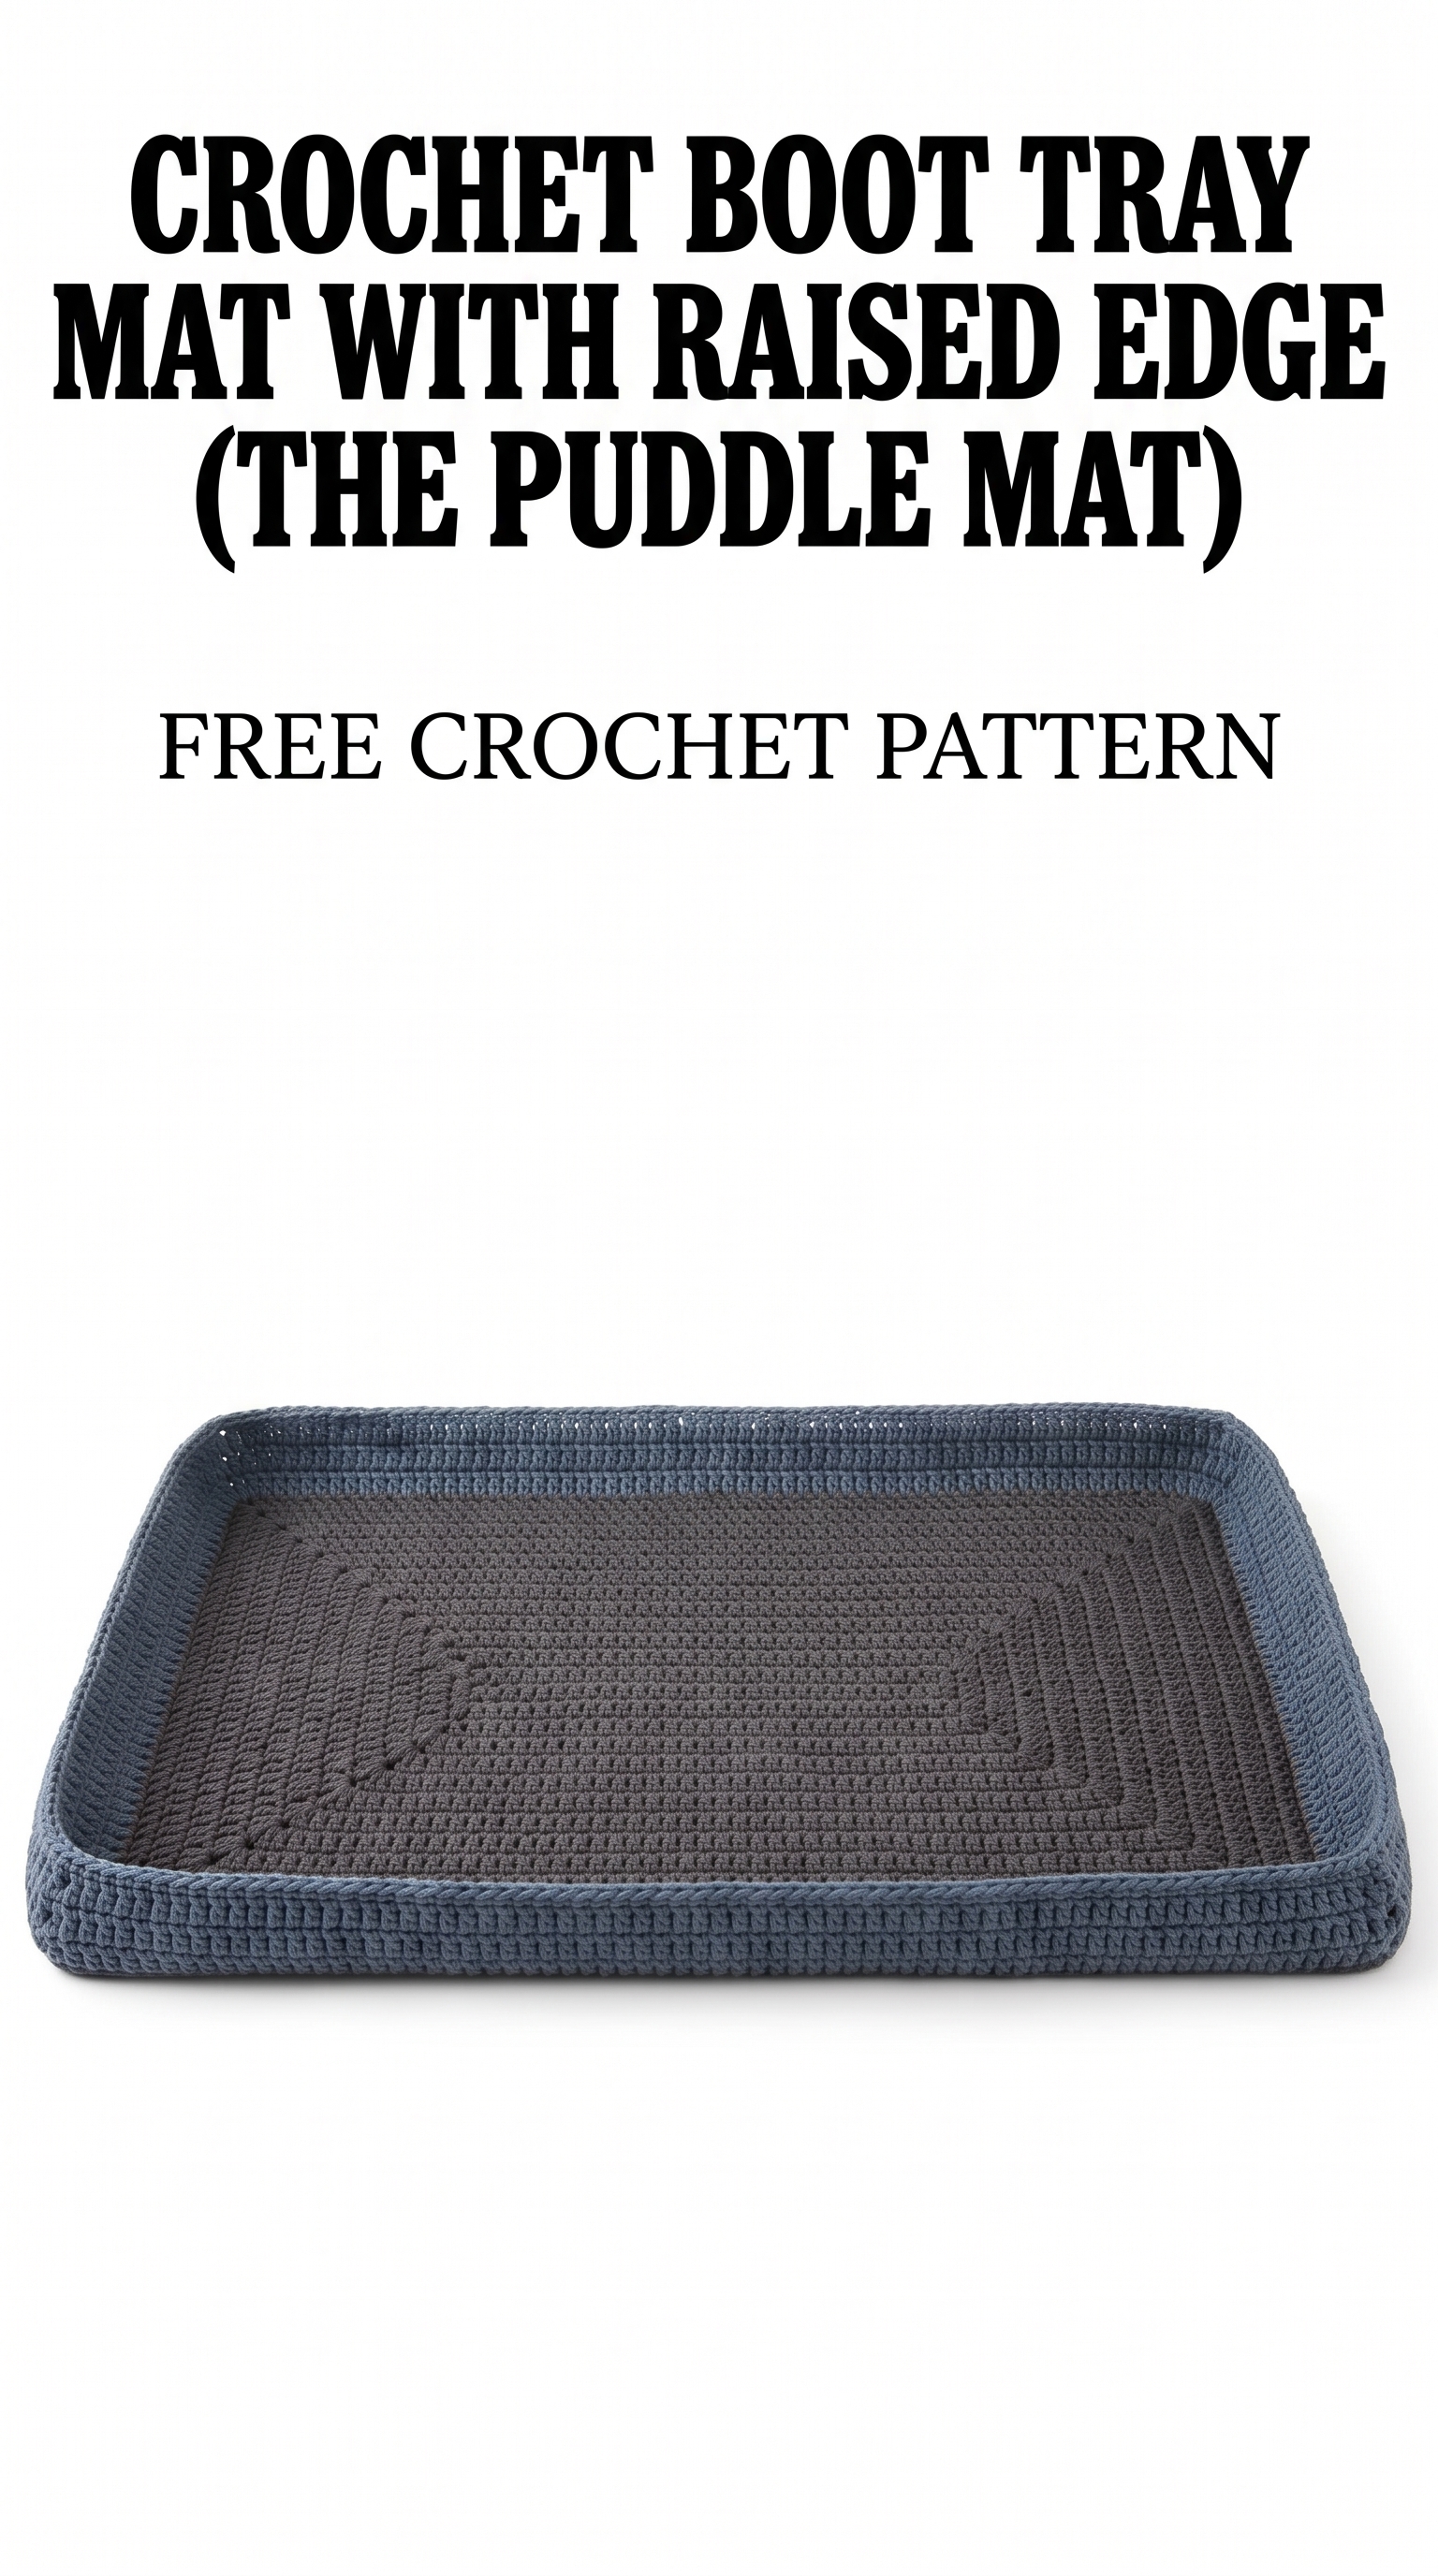
Image shown for inspiration — your finished result may vary slightly.